
Every apple upside down cake I'd made before this one came out of an oven. This stovetop sourdough apple upside down cake doesn't go near one. Caramel, apples and all, it cooks entirely in a lidded frying pan on the hob in under 30 minutes, which matters on the days our ancient oven decides to sulk, or during the one heatwave week North Wales gets a year, when nobody wants a 180°C box running for an hour.

Jump to:
As an Amazon Associate I earn from qualifying purchases, at no extra cost for you! Thank you!

Recipe Highlights
TASTE: Caramelised, buttery, gently tangy
NO OVEN NEEDED: Start to finish in under 40 minutes, entirely on the hob
WATCH FOR: A gummy top if you skip wiping condensation off the lid
SEB'S RATING: Called it "better than the oven one"

Why Make This On The Stovetop
No oven access, a broken oven, or simply not wanting to heat the kitchen up for a small cake are all good enough reasons on their own.
This one is also just faster. Twenty-five minutes with the lid on and it's done, no preheating a whole oven for a cake that serves four to six.

Want a sourdough dessert without an oven or a stove? Try our Slow Cooker Sourdough Apple Cobbler!
This recipe has been tested on an electric cooking ring as well as an induction stove. Unfortunately, I cannot guarantee good results on a gas stove.
Why Sourdough Discard Works So Well Here
The discard isn't decorative. It tenderises the crumb, so the sponge stays soft rather than firm and cakey, and its acidity cuts through the sweetness of the caramel and brown sugar.
It also buys the cake a little extra shelf life, though this one rarely survives long enough to test that properly.
What Pan To Use
This recipe leans on a specific pan size: 24cm (9.5-inch) across the top, 18cm (7-inch) across the base, non-stick, with a lid. That taper matters more here than it would in an oven bake.
A straight-sided pan makes the caramel apples harder to arrange evenly and can make the finished cake trickier to release cleanly when you flip it.
The lid matters just as much as the shape. Without one, the top of the cake won't set through, since all the cooking here comes from the base and trapped heat rather than an oven's all-round warmth.
Ingredient Notes
Find the full ingredient quantities and instructions in the recipe card below, but a few things are worth knowing first:
- Apples. Braeburn, Granny Smith or Honeycrisp all hold their shape well under heat. Avoid very soft eating apples, they'll collapse into the caramel instead of sitting on top of it.
- Sourdough discard. This needs to be 100% hydration (equal parts flour and water by weight) for the quantities to work as written. Active starter can be substituted in the same amount.
- Yogurt. Just one tablespoon, alongside the discard, keeps the crumb moist without adding much extra liquid, which matters in a batter this small.
- Oil, not butter, in the batter. Butter would firm up as the cake cools on the stovetop rather than in an oven's dry heat, and the sponge would lose some softness.

Step-By-Step Method
STEP 1: Mix the Batter
1. Whisk the eggs and sugar together just until combined and slightly thickened, no longer.
TIP: Overwhisking here is what tips this cake into tasting eggy rather than properly cakey.
2. Whisk in the oil in a steady stream, then the yogurt, discard and vanilla.
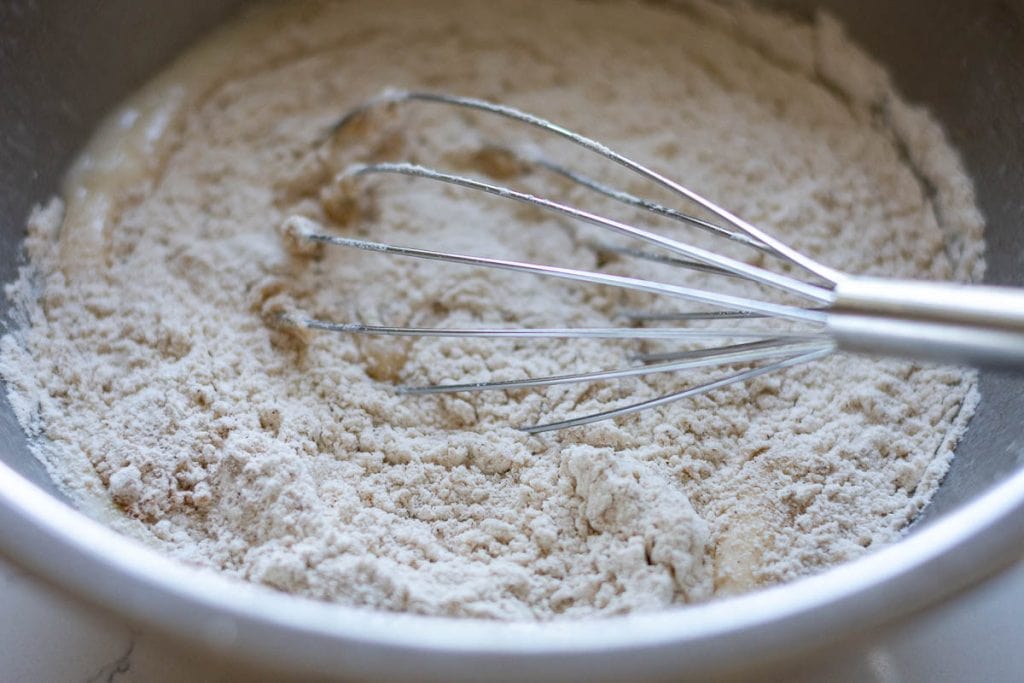
3. Combine the flour, baking soda, baking powder, cinnamon and salt in a separate bowl.
4. Fold in the dry ingredients just until no flour streaks remain.


STEP 2: Make the Caramel Apples
1. Melt the butter in the pan over medium heat, then add the brown sugar.
2. Swirl the pan gently rather than stirring; a spoon dragged through will encourage the sugar to seize into grainy clumps instead of melting smoothly.
3. Once it's a deep caramel colour, take the pan off the heat, arrange the apple slices over the caramel in a single layer, and scatter over the cinnamon.


STEP3: Cook on the Hob
1. Pour the batter over the apples and spread it evenly.
2. Cover and cook over low heat for 20-25 minutes.
TIP: Skip the toothpick test here; the cake is thin enough that a toothpick can pierce straight through without telling you much. Instead, press the centre gently. It's done when it feels dry and set, not wet or wobbly.
3. Every 5-8 minutes, lift the lid and tilt it away from the pan so any condensation drips onto a folded tea towel rather than back onto the cake. Wipe the lid dry before replacing it. Skip this and trapped steam will turn the top of the cake gummy instead of set.
4. Invert the cake onto the plate when it's still warm.


Tips For Success
🔥 Keep the heat low once the batter's in. Anything higher than low risks catching the caramel on the base before the middle has cooked through.
👀 Go by touch, not time. Pan thickness and hob strength vary enough that the 20-25 minute window is a guide, not a guarantee.
💧 Manage the condensation properly. This is the step most people skip, and it's the one that decides whether the top sets or turns gummy.
🍎 Slice the apples to an even thickness. Uneven slices cook unevenly, and thin cake means very little room to hide a raw patch.
Serving Suggestions
Best served warm, tipped straight out of the pan. A spoonful of Greek yogurt or crème fraîche cuts through the caramel nicely, and vanilla ice cream turns it into a proper pudding.

Storage
Store in an airtight container at room temperature for up to 2 days. Any longer and the caramel top starts to weep, softening the cake underneath. It isn't a great freezer candidate for the same reason; the caramel doesn't thaw back to how it started.
More Sourdough Recipes With Apples
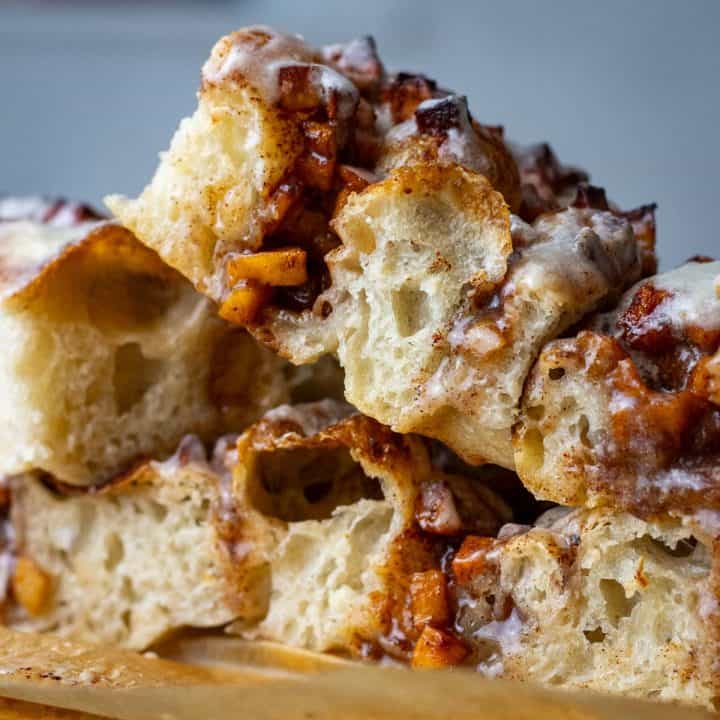
If you've got discard left over, it's worth putting to use elsewhere. Try this Sourdough Apple Cake or a Sourdough Apple Galette if you'd rather work with pastry than batter. For something you can eat with your hands, Sourdough Apple Fritters are ready in under 30 minutes too. For more ideas, have a look at the recipes below:



LOVE BAKING SOURDOUGH WITH ME?
You can now add Somebody Feed Seb as a preferred source on Google. It only takes a tick box, and tells Google you'd like to see more of my recipes when relevant.

Sourdough Stovetop Apple Upside Down Cake
Equipment
- Balloon Whisk
- 24cm (9.5in) top / 18cm (7in) base non-stick frying pan, with a lid
Ingredients
For the sourdough cake batter
- 2 large eggs
- 60 g (¼ cup plus 1 tbsp) granulated sugar
- ½ teaspoon ground cinnamon
- 55 g (¼) vegetable oil or sunflower oil
- 15 g (1 tablespoon) Greek yogurt or plain yogurt, or sour cream
- 90 g (7 tbsp, scant ½ cup) sourdough discard 100% hydration
- 1 teaspoon vanilla extract optional
- 65 g (generous ½ cup) all-purpose flour a.k.a. plain flour
- 1½ teaspoon baking powder
- ⅛ teaspoon baking soda a.k.a. bicarbonate of soda
- ¼ teaspoon salt
For the apples
- 300 g (10½ oz) apples (2 medium) peeled, cored and sliced ¼ inch (6mm) thick
- 20 g (2 tablespoon) unsalted butter
- 30 g (3 tablespoon) soft light brown sugar
- ½ teaspoon ground cinnamon
Instructions
Make the cake batter
- In a bowl, whisk the eggs and granulated sugar together just until combined and slightly thickened. Don't overwhisk here. Whipping in extra air is what tips a small cake like this into tasting eggy.
- Whisk in the oil in a steady stream, then the yogurt, sourdough discard and vanilla extract.
- In a separate bowl, combine the flour, baking powder, bicarbonate of soda, cinnamon and salt. Fold into the wet ingredients just until no dry flour remains. Set it the batter aside whilst you prepare the apples
Make the caramel apples
- Place the frying pan over medium heat. Add the butter and let it melt.
- Add the brown sugar and cook, swirling the pan gently rather than stirring, until the sugar has dissolved and turned a deep caramel colour.
- Remove from the heat and arrange the apple slices over the caramel in a single layer. Sprinkle over the cinnamon.
Cook
- Pour the batter over the apples, spreading it evenly.
- Cover the pan and cook over low heat for 18-25 minutes.
- Test for doneness by touch rather than with a toothpick. The cake is thin enough that a toothpick can give a misleading read. The centre of the top should feel dry and set, not wet or wobbly, when gently pressed.
- Every 5-8 minutes, lift the lid, tilt it away from the pan so any condensation drips onto a folded tea towel rather than back onto the cake, wipe the lid dry, and replace it. This stops trapped steam turning the top of the cake gummy.
- Once set, invert onto a serving plate while still warm.
Video
Notes
Nutrition
FAQ
Yes. Substitute it in the same amount, gram for gram. The cake doesn't rely on any fermentation or rise from the discard, so active or inactive starter both work equally well here.
Braeburn, Granny Smith and Honeycrisp all hold their shape well once cooked, which keeps the caramel layer looking neat once flipped. Very soft eating apples tend to collapse into the caramel rather than sitting on top of it.
This usually comes down to stirring instead of swirling. Stirring the sugar as it melts encourages it to seize into grainy clumps rather than turning smooth and glossy. Keep the heat at medium, swirl the pan gently instead, and give it time.
Press the centre of the top gently with a finger. It's ready when it feels dry and set rather than wet or wobbly. A toothpick can pierce all the way through a cake this thin without picking up any batter, even when the middle isn't fully cooked, so it isn't a reliable test here.
It's really best eaten the day it's made, ideally still warm. The caramel top starts to weep at room temperature after about 2 days, and freezing softens it further once thawed, so it isn't a great candidate for making far ahead.
Overwhisking the eggs and sugar is the most common cause. Whisk only until just combined and slightly thickened. Overmixing the batter once the flour goes in, or skipping the condensation management under the lid, can also weigh the crumb down




Reilly says
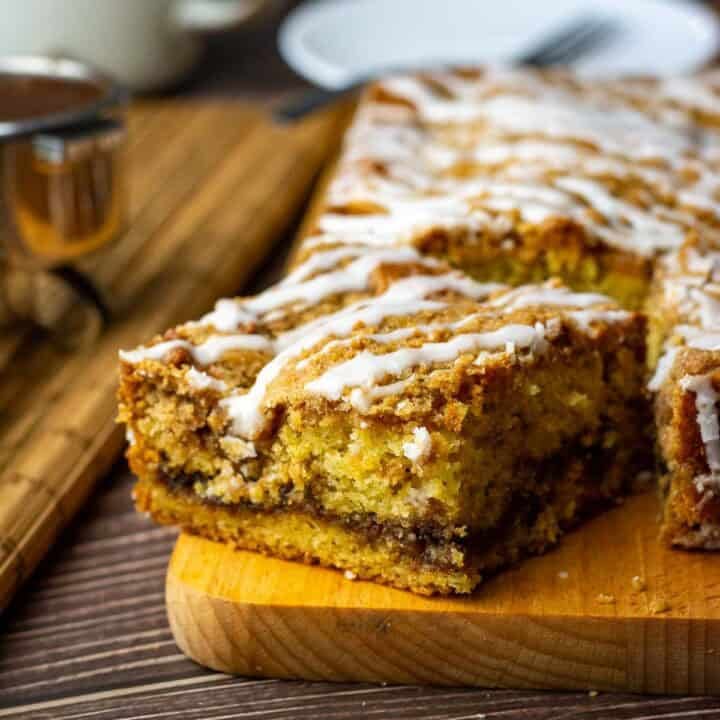
This was so good with the soft apples and caramelized top, and a scoop of vanilla ice cream!! I loved that it all came together on the stovetop without turning on the oven!!
Ieva Greber says
Thanks, Reilly — soft apples and that caramelised top with ice cream is exactly the combo, and no oven needed makes it even better. Glad it won you over!
Swathi says
This is wonderful idea of making sourdough apple upside down cake using stovetop. I tried it came out good.
Ieva Greber says
Thanks, Swathi! No oven, one pan and an upside-down cake at the end of it is a neat trick, and I’m glad you gave it a go. Delighted it came out well, and the caramelised apple on top is always worth the flip.