
Looking for a beautiful dessert to impress? These Port Poached Pears are a show-stopper, combining the deep, rich flavours of port wine with the natural sweetness of the pears. Elegant, easy to make, and perfect for any special occasion-this dish has it all! In this recipe, we will talk you through everything from the best pears to choose for poaching to expert tips to make this dessert truly unforgettable!

Jump to:
As an Amazon Associate I earn from qualifying purchases, at no extra cost for you! Thank you!
Port Poached Pears: Our Go-To Special Treat
This pear recipe is our go-to for special occasions (alongside our Mulled Wine Pears) - a stunning elegant dessert that's surprisingly simple to make. With their beautiful colour and rich flavour, these port poached pears feel right at home on the Christmas table as a lighter, yet festive, alternative to heavier puddings.
They're also a romantic showstopper for Valentine's Day-imagine sharing this winter dessert by candlelight!
My family loves serving them after a big holiday meal, when everyone's craving something indulgent yet not too heavy.
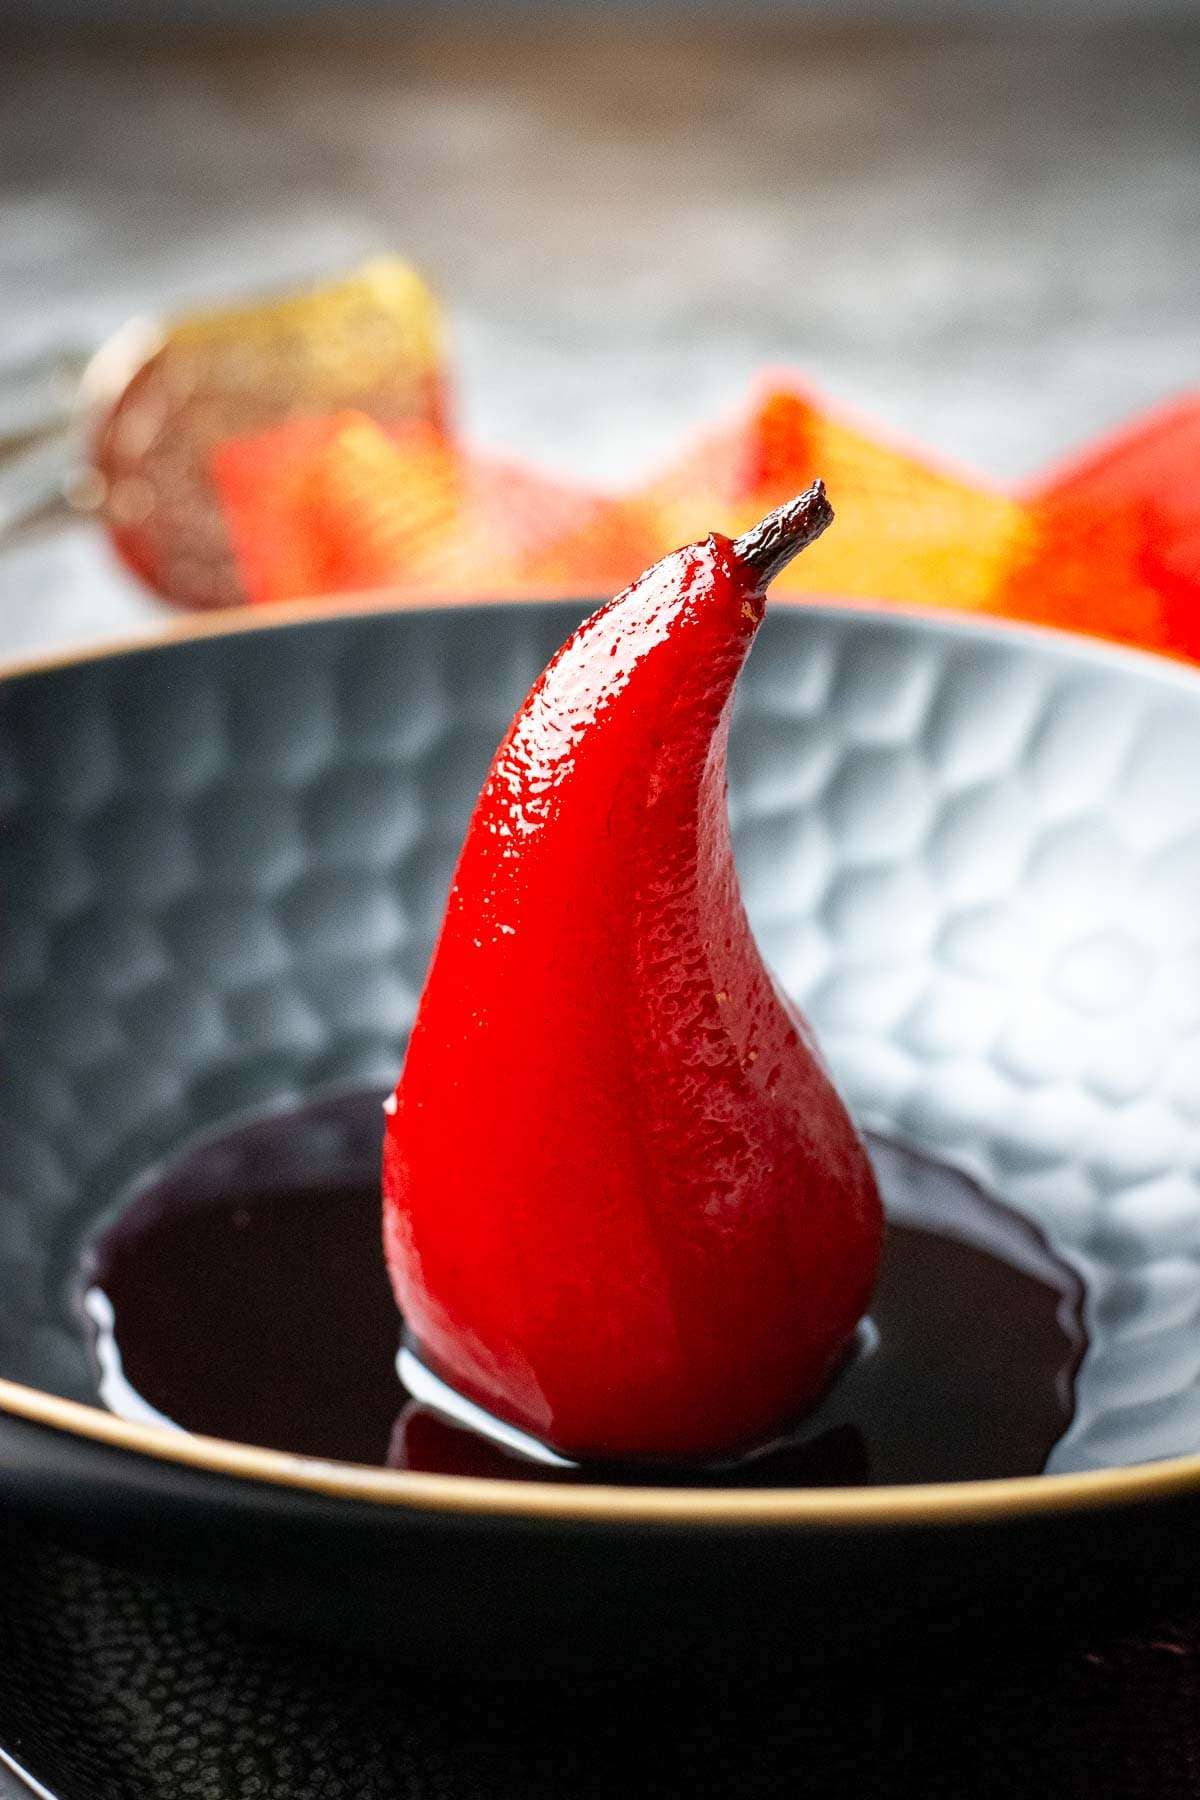
But First, What is Port?
Port is a fortified red wine from Portugal, celebrated for its rich, sweet flavour and velvety texture. Unlike regular wine, it's slightly stronger and makes an excellent pairing with desserts-or, in this case, perfect for cooking pears in.
Its robust notes of berries and spice make it the ideal choice for transforming simple fruit into an indulgent treat.
Ingredient Notes
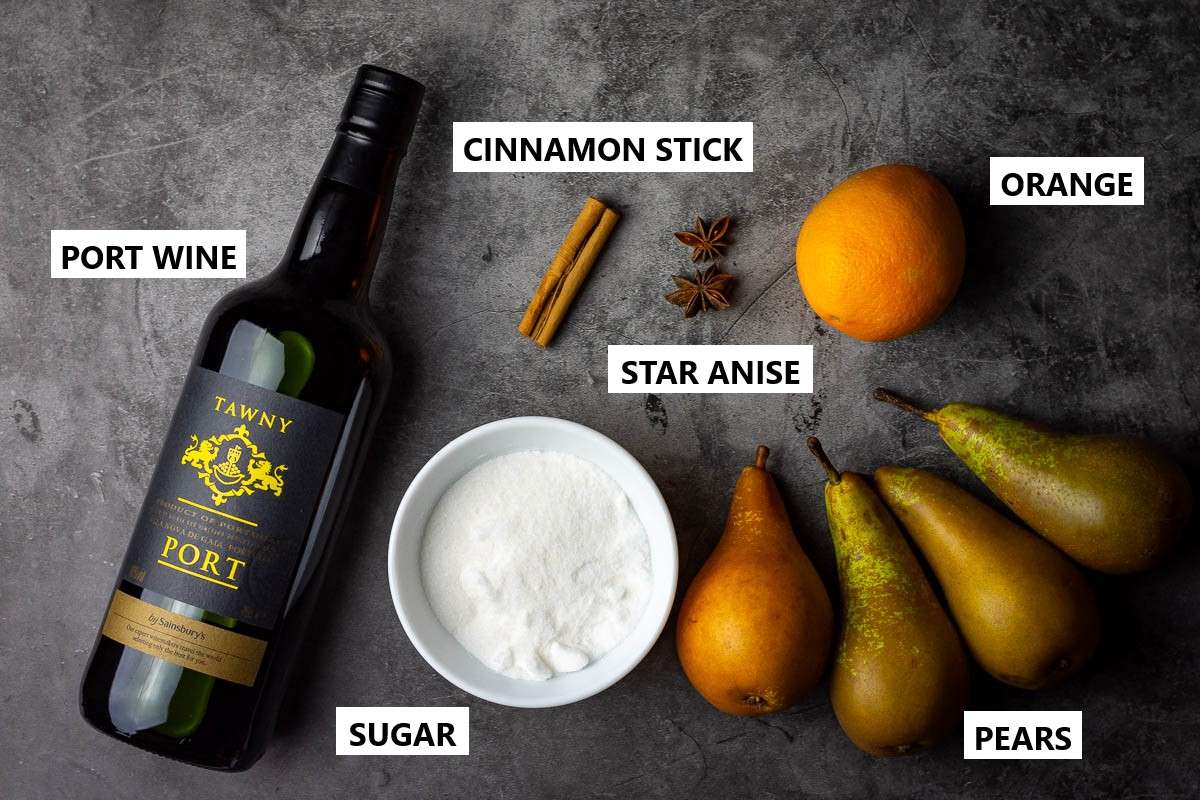
You will need these ingredients to make this elegant but simple dessert:
- port wine: we used Tawny Port. If you have no port, but plenty of mulled wine, try our Mulled Wine Poached Pears instead!
- caster sugar: or granulated white sugar.
- spices: we used a cinnamon stick, star anise and orange zest, but you can experiment with a bunch of warm spices, herbs and citrus zest. Add a vanilla bean pod, whole cloves, lemon peel, a sprig of fresh thyme or rosemary and even black peppercorns to the poaching liquid.
- pears: always choose ripe but firm pears that can hold their shape during cooking. Conference and Bosc pears are the best choice thanks to their dense texture and ability to absorb flavours without turning mushy.
Step-By-Step Method
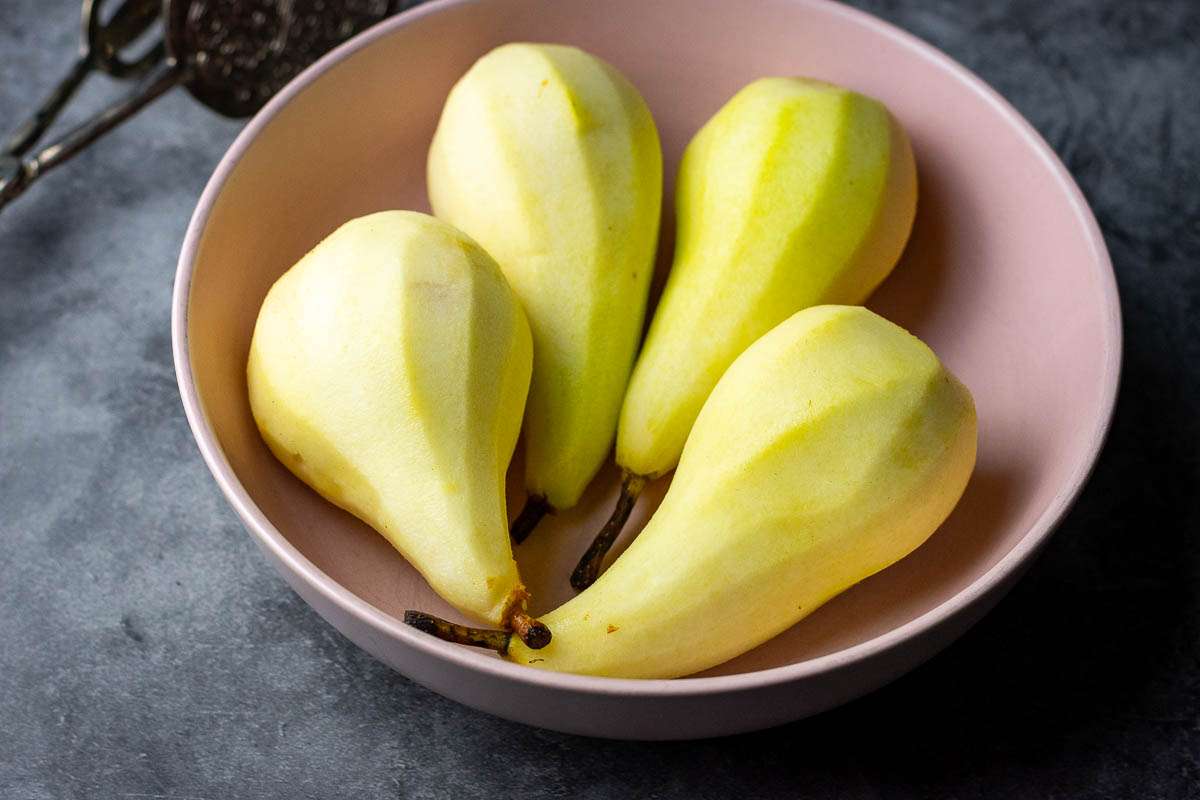
1. Peel the pears keeping the stalks intact. Check that your pears can stand up without tipping over - if they don't cut the bottom of each pear to make a level base.
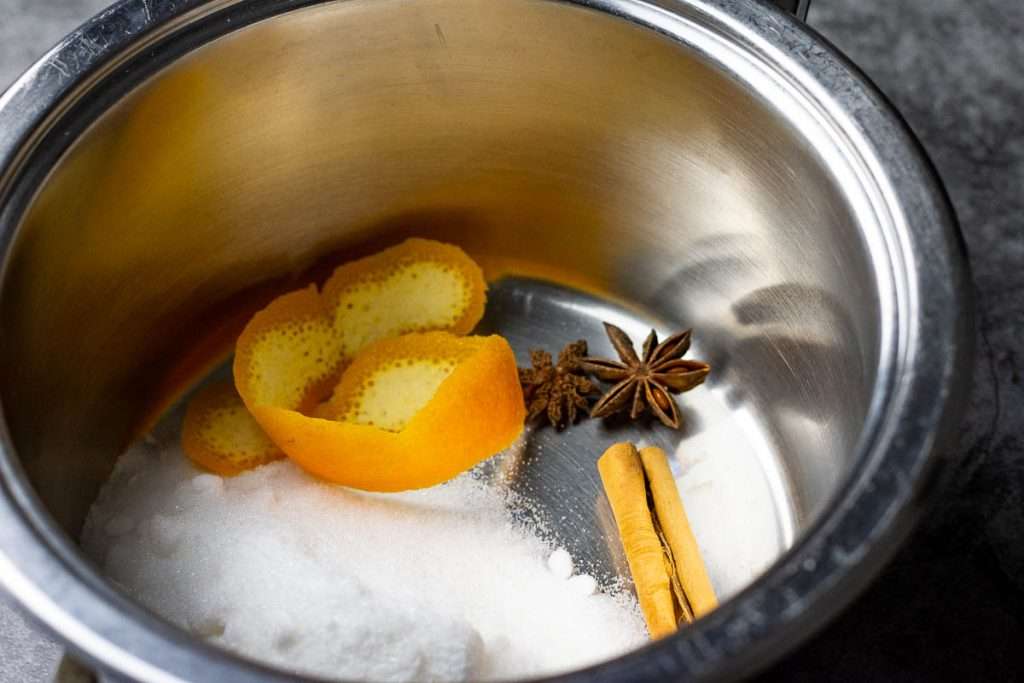
2. Pour the port into a large pot that will fit your pears on their sides comfortably. Add the sugar, orange peel, cinnamon and star anise. Beat over low-medium heat, stirring until sugar dissolves.
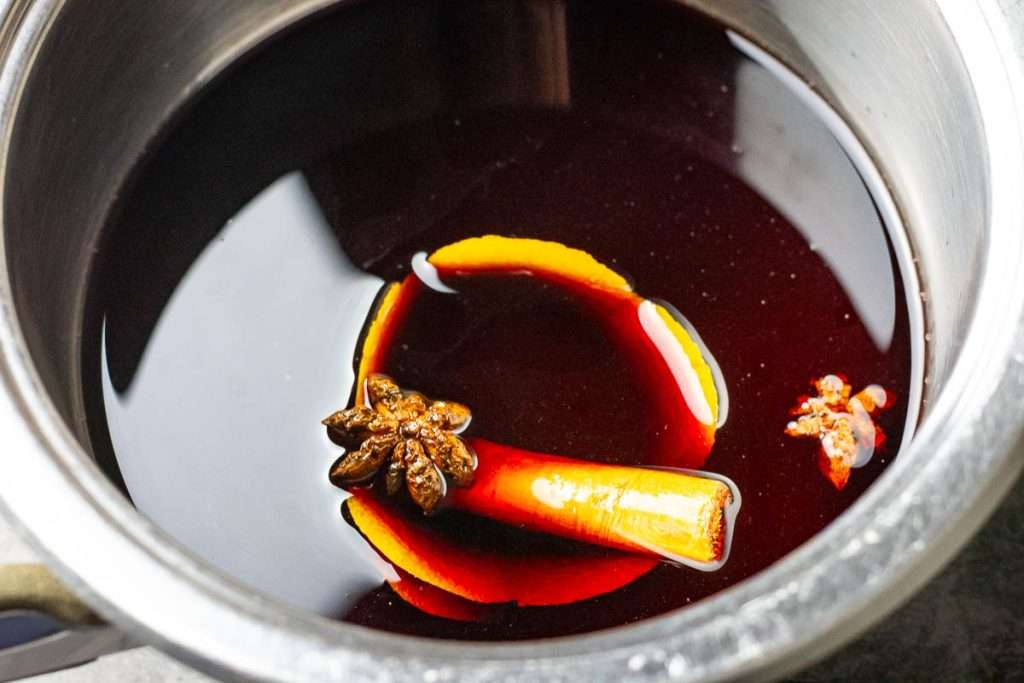
3. Carefully lower the pears on their sides into the hot liquid. Simmer for 20-30 minutes, turning the pears once ever so often in the poaching liquid. Your pears are cooked, when you can insert a pointy knife all through to the centre with little resistance.
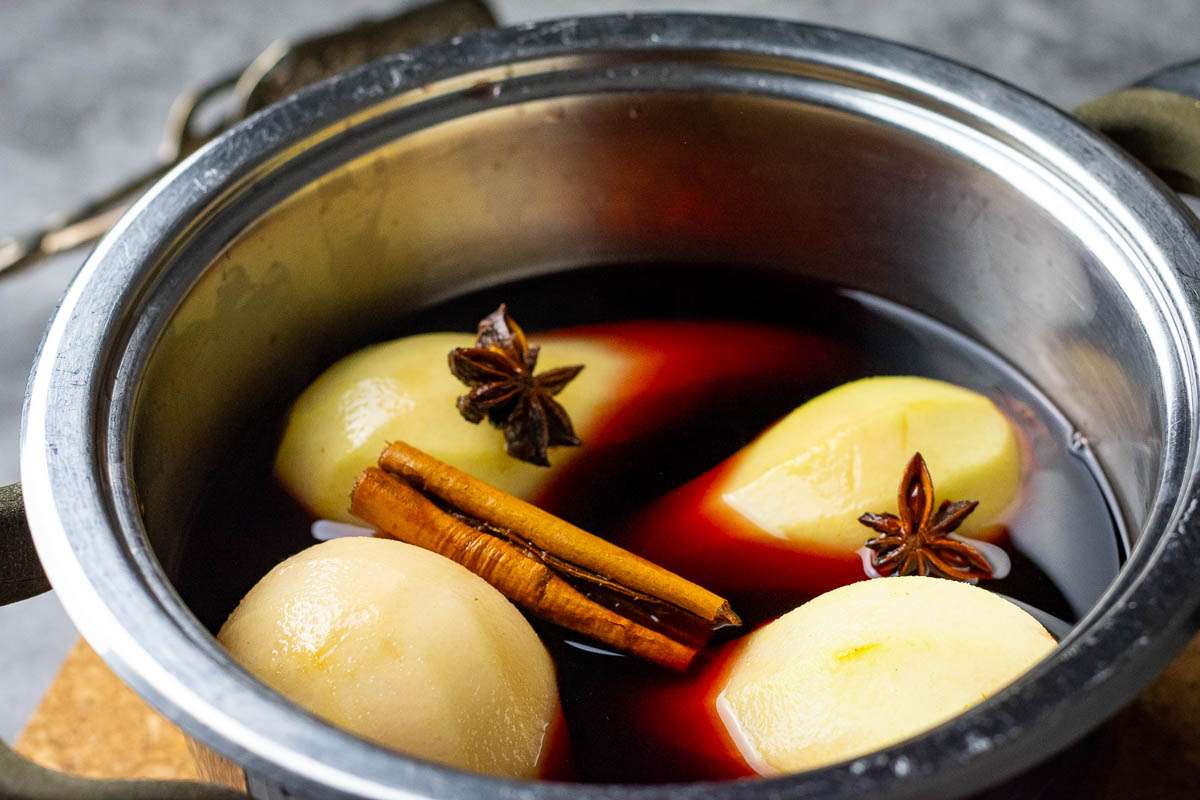
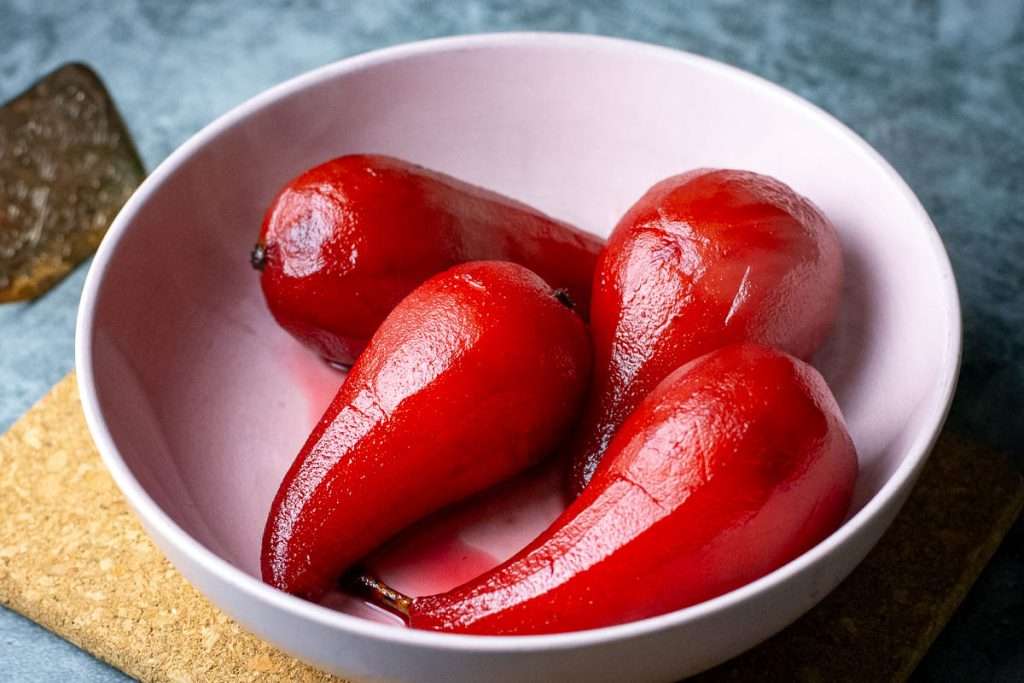
4. Once cooked, take the pan off the heat and allow the pears to cool down slightly in the liquid (about 20 minutes). If you intend to serve the pears cold, cool them completely in the syrup and store them in the fridge (again, in the syrup) for up to 3 days.
5. If you intend to serve the pears warm, carefully take the pears out of the liquid, and set them aside.
6. If your port syrup hasn't thickened much, return it to medium-high heat and bring to a boil. Reduce a little to thicken to the consistency of maple syrup. Discard the spices and orange peel.
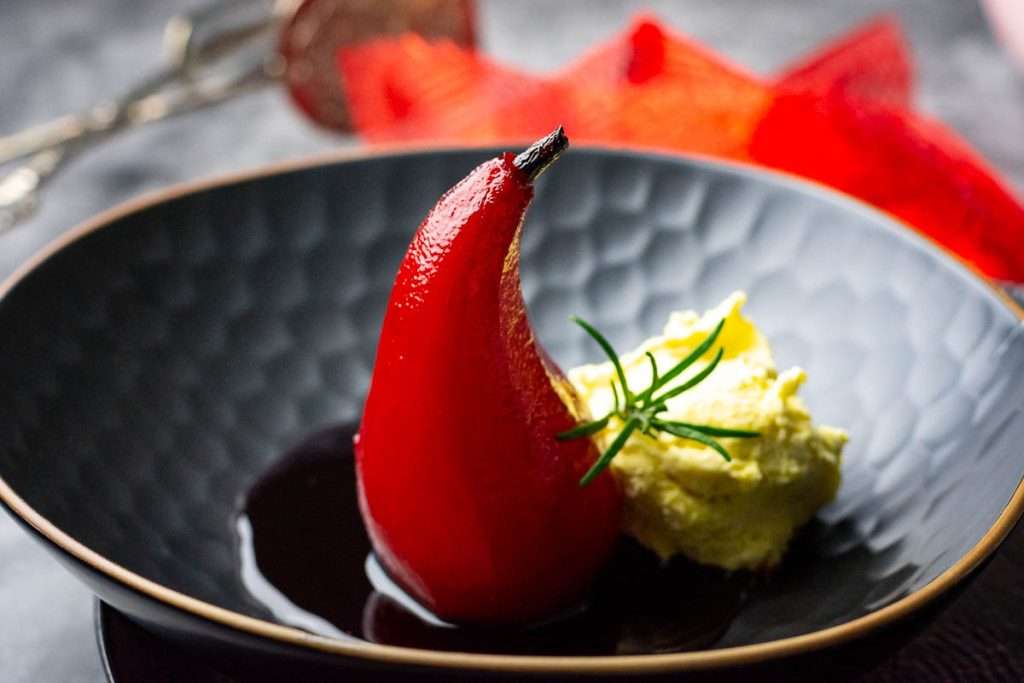
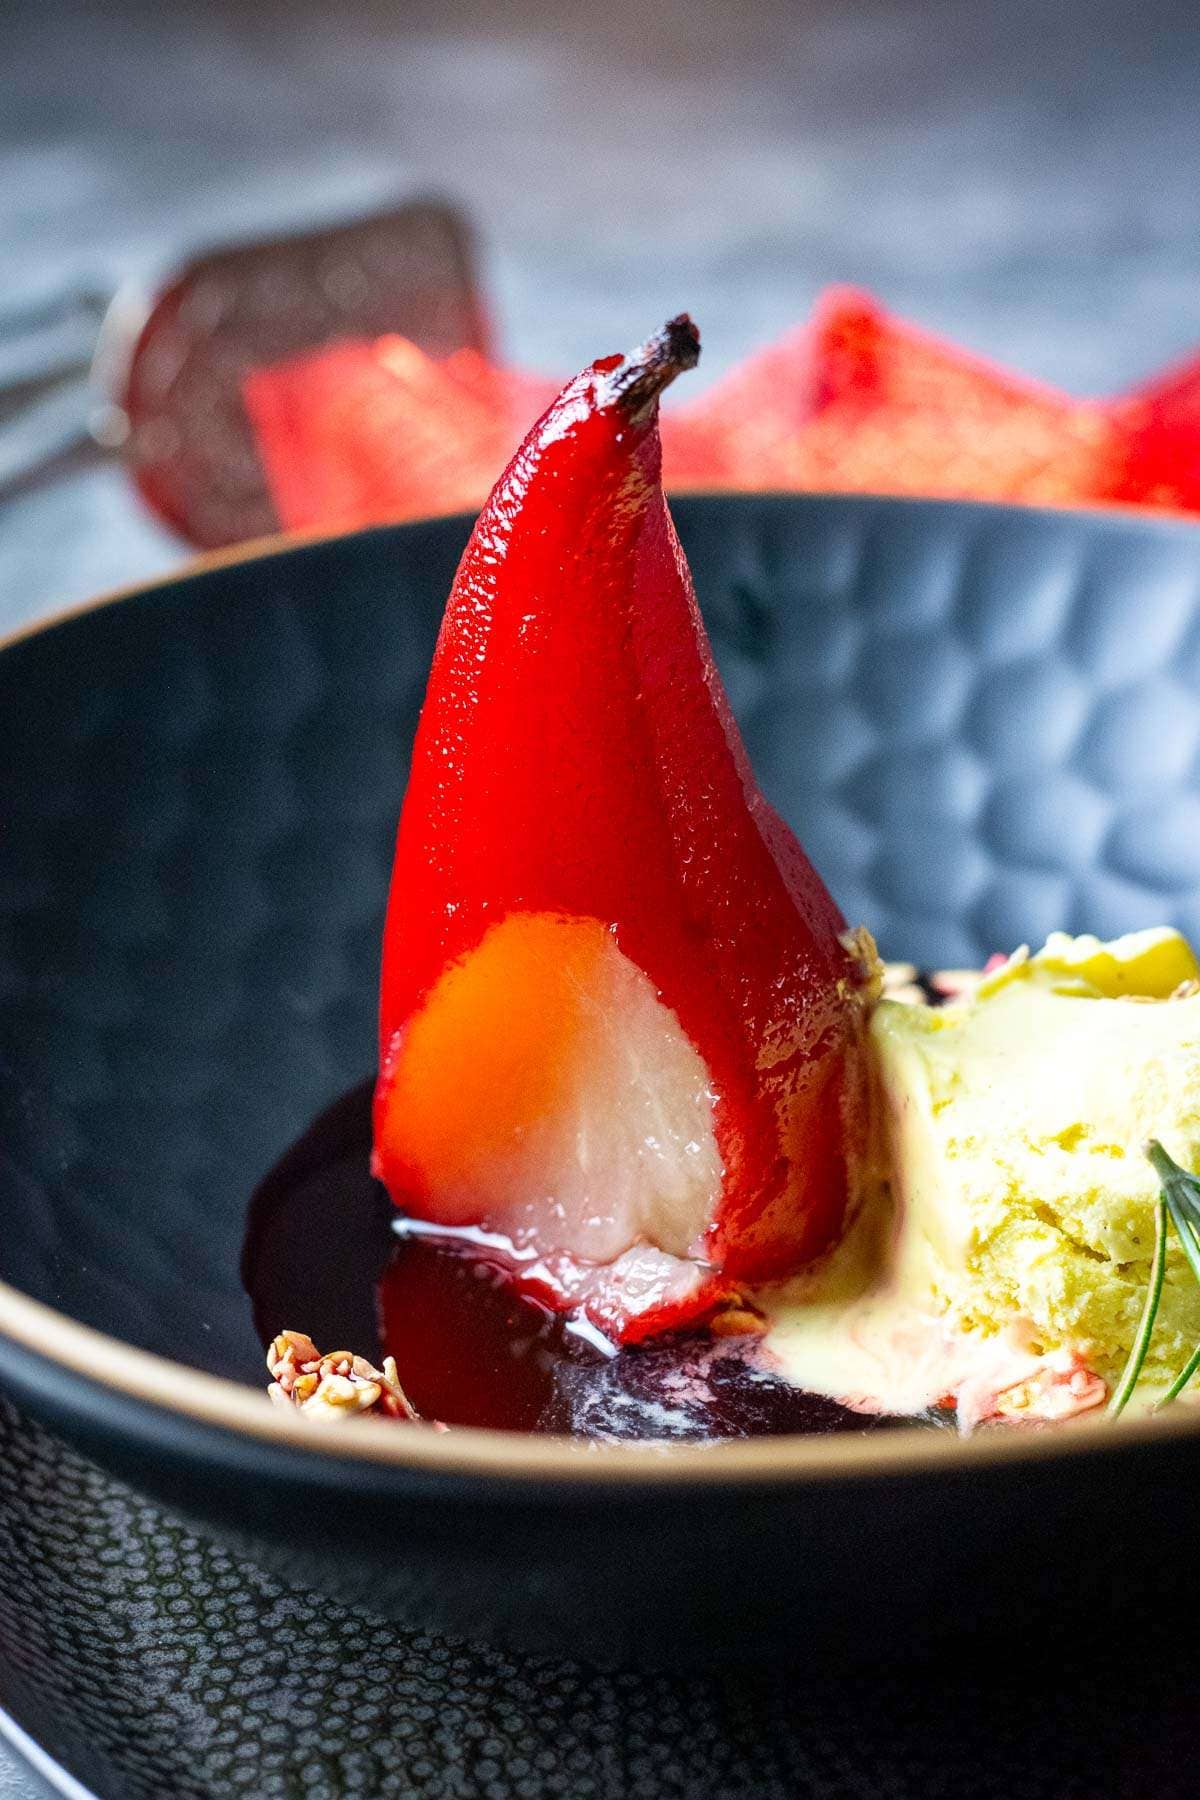
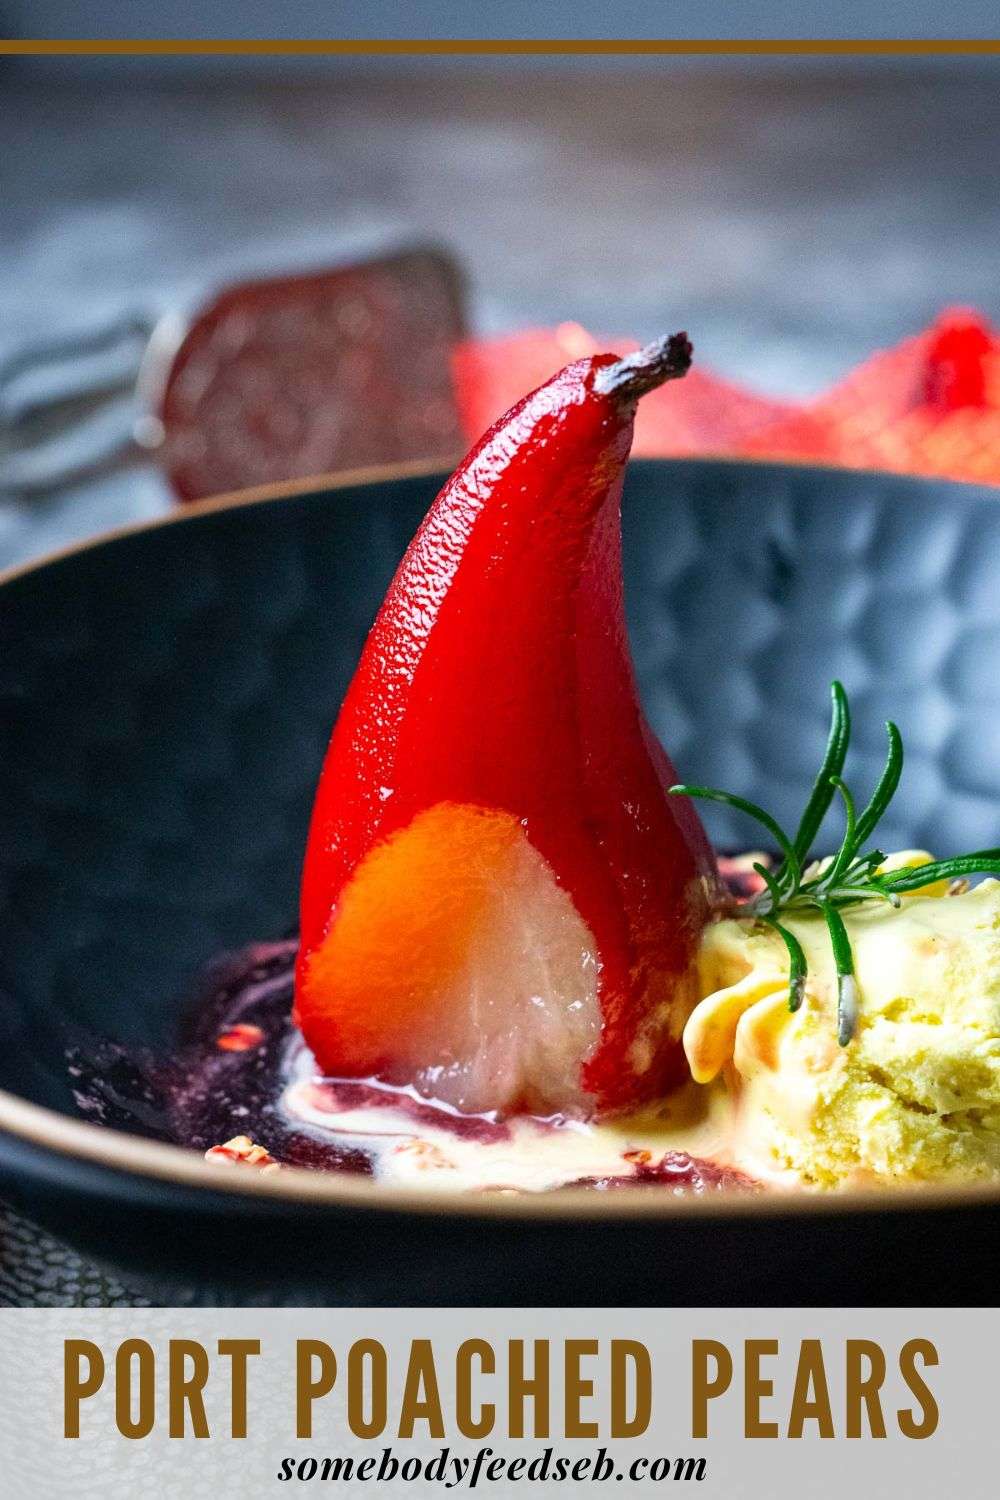
7. Serve the port poached pears standing up on a plate with a drizzle of reduced port sauce and a dollop of creme fraiche, a scoop of vanilla ice cream, or custard.
Serving Suggestions
A poached pear deserves a perfect pairing! Serve yours with a dollop of crème fraîche, custard, or a scoop of vanilla ice cream for an elegant dessert with a beautiful presentation. Drizzle a small pool of syrup on the plate for added decadence. For crunch, sprinkle toasted pecans or a spoonful of granola over the pears.
For something unexpected, these pears are a surprisingly good match for a festive cheese board. The sweetness of the pears pairs beautifully with blue cheese or a creamy Brie-trust us, it's a game-changer! You can even smear a bit of cream cheese onto crackers and top with slices of poached pear for a creative twist.
Recipe Tips
- Cut the base of the pear flat to help it stand tall on the plate without tipping over-perfect for an elegant presentation.
- Taste a pear for sweetness before poaching; if your pears are naturally sweet, you may not need to add as much sugar to the poaching liquid.
- Choose ripe but firm pears to hold their shape during poaching. Softer pears may collapse or become mushy.
- Let the pears cool slightly in the syrup for better flavour absorption and deeper colour. For a stronger infusion, chill them overnight in the liquid.
- Leftover syrup? It's fantastic as a cocktail mixer, stirred into yoghurt, or poured over desserts like cakes and brownies, ice cream, or even pancakes the next day.
Storage
Port poached pears can be stored in their syrup in an airtight container. Keep them at room temperature for up to 6 hours if serving the same day. For longer storage, refrigerate them in the syrup for up to 3 days. Reheat gently on the stovetop or serve chilled straight from the fridge.
More Christmas Desserts
Do you also think that dessert is the best part of any meal (especially a festive meal)? We have plenty more sweet treats for you to try:




Port Poached Pears
Equipment
- Large pot
Ingredients
- 500 ml (2 cups) port
- 50 g (⅓ cups) caster sugar *less if your pears are extra sweet
- 1 cinnamon stick
- 2 star anise
- 1 wide strip of orange zest
- 4 pears ripe but firm
Instructions
- Peel the pears keeping the stalks intact.
- Pour the port into a large pot that will fit your pears on their sides comfortably. Add the sugar, orange peel, cinnamon and star anise. Simmer over low-medium heat, stirring until sugar dissolves.
- Carefully lower the pears on their sides into the port mixture. Simmer for 20-30 minutes, turning the pears once ever so often in the poaching liquid. Your pears are cooked, when you can insert a pointy knife all through to the centre without much resistance.
- Once cooked, take the pan off the heat and the pears to cool down slightly in the liquid (about 20 minutes). If you intend to serve the pears cold, cool them completely in the syrup and store them in the fridge (again, in the syrup) for up to 3 days.
- If you intend to serve the pears warm, carefully take the pears out of the liquid, and set them aside.
- If your port syrup hasn't thickened much, return it to the boil and reduce a little to thicken.
- Serve the port poacjed pears with a drizzle of reduced port and a dollop of creme fraiche, ice cream or custard.
Nutrition


Leave a Reply