
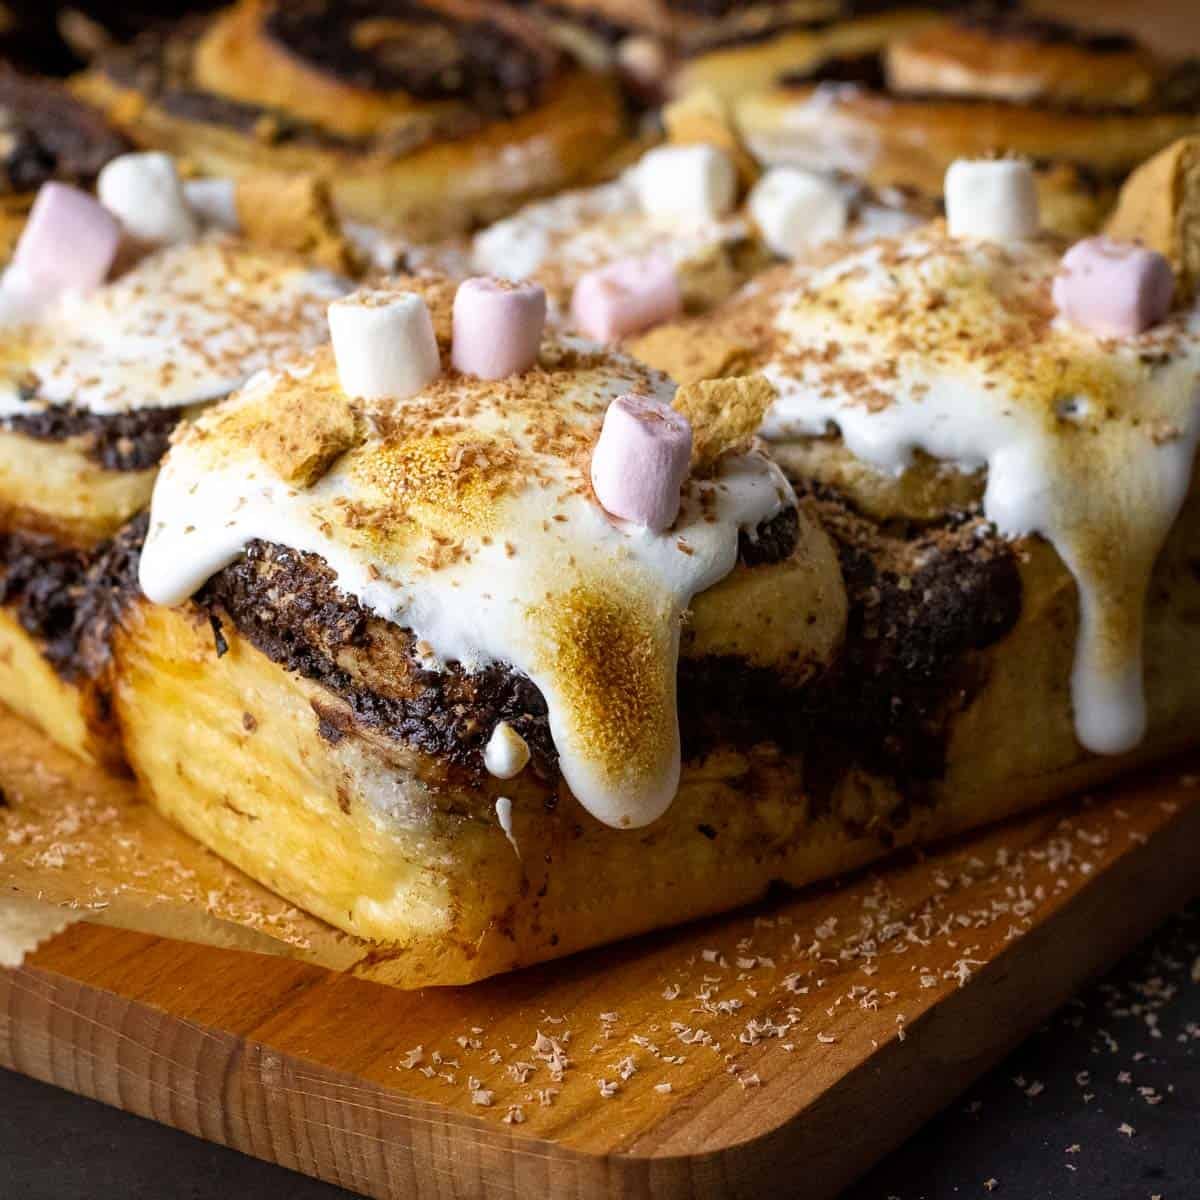
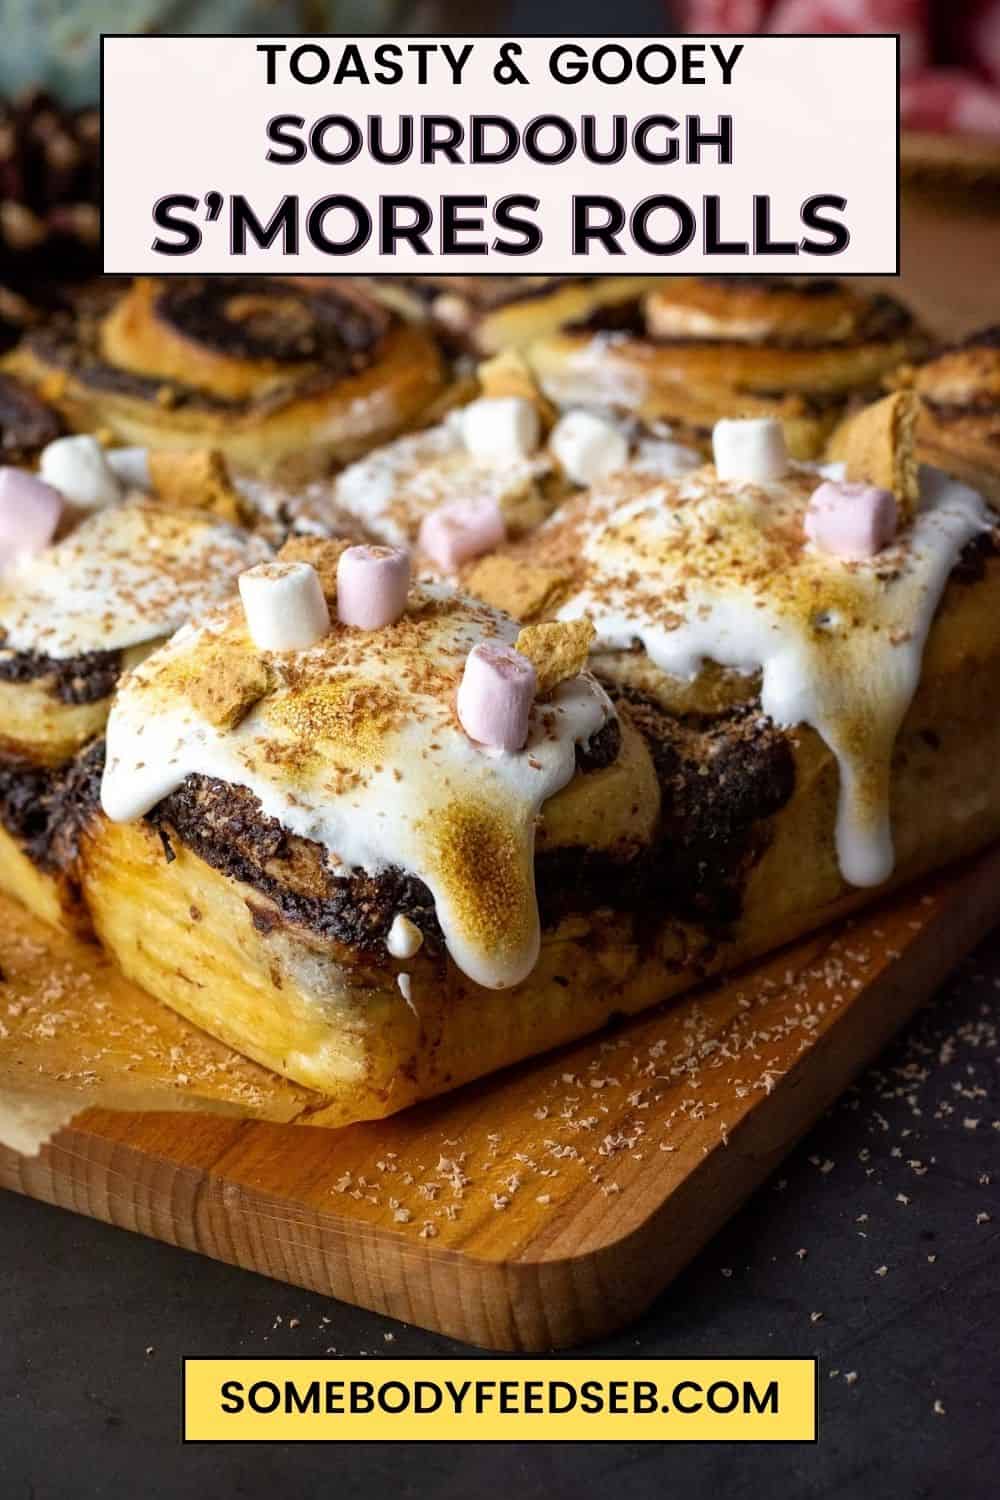
These sourdough s'mores rolls take a campfire treat, milk chocolate, toasted marshmallow, crushed graham crackers, and roll it through a properly long-fermented sourdough dough instead of a quick commercial-yeast one. They're baked in a 9x9 pan making 9 tall and generously filled, rolls and finished with plain marshmallow fluff!
Jump to:
As an Amazon Associate I earn from qualifying purchases, at no extra cost for you! Thank you!
Two days sounds like a commitment. It isn't, the hands-on time on day two is under an hour, and the method actually explains why the marshmallow filling behaves the way it does in the oven, rather than just telling you to watch it carefully.

Recipe Highlights
TASTE: Gooey milk chocolate, toasted marshmallow, a proper sourdough tang underneath
THE DOUGH: Genuinely long-fermented, no packet yeast
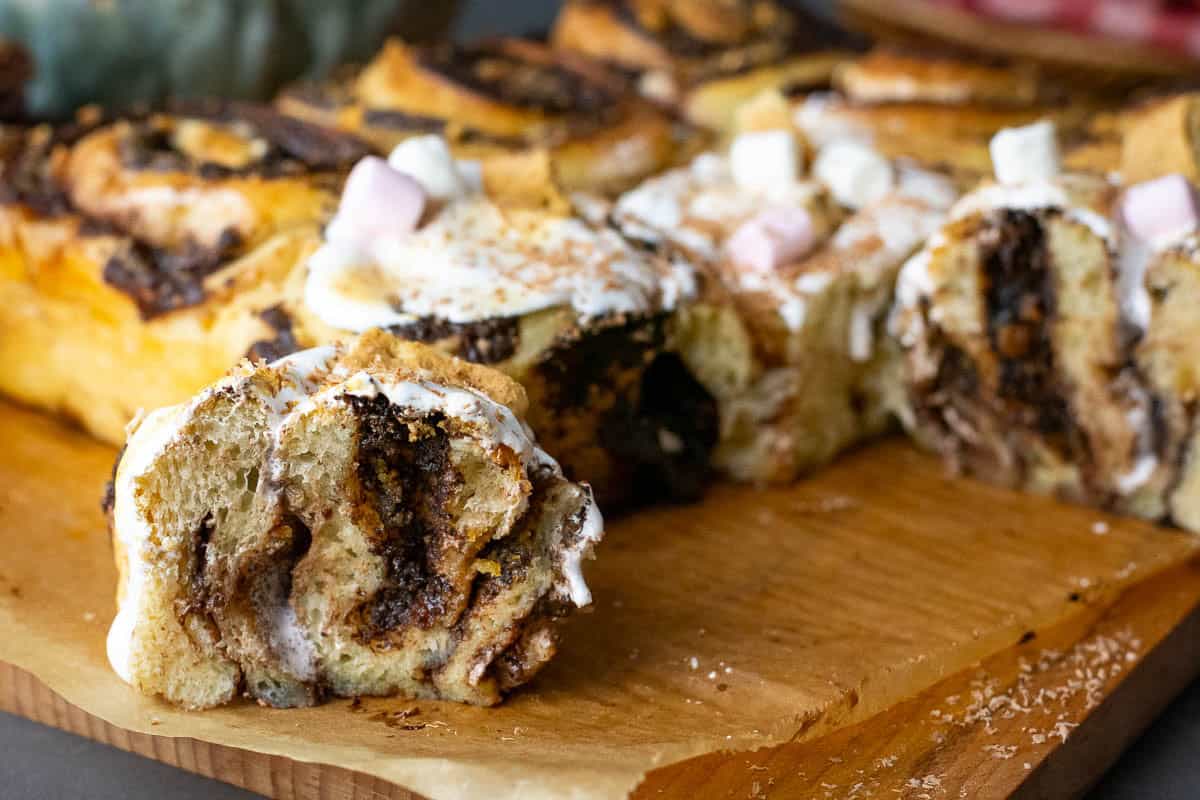
THE SWIRL: Slice one open and the marshmallow pockets and chocolate ribbon do the talking
SEB'S RATING: Wonders why we ever have cream cheese icing on things when a marshmallow option exists.

Ingredient Notes
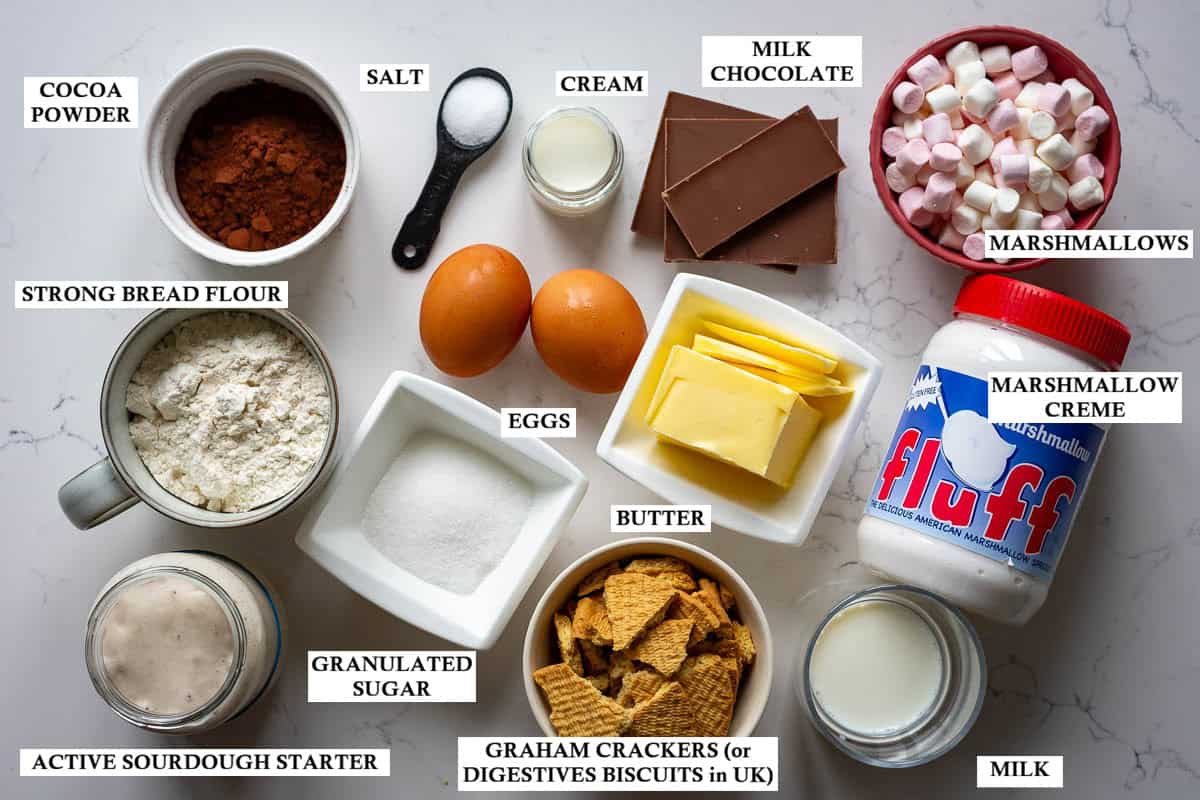
- Active sourdough starter (100% hydration): feed it four to six hours before mixing so it's domed and doubled. Discard works if that's what you've got (full reasoning in the FAQ below), but active starter gives a noticeably better rise in an enriched dough like this one.
- Milk chocolate: the ganache here uses less sugar and a touch more cocoa powder than a dark chocolate version would need, so the flavour doesn't disappear against the sweetness of the marshmallow and fluff. It's the same technique I use in my Sourdough Chocolate Babka, just tuned sweeter to match the rest of the filling. Swap in dark chocolate for something less sweet overall, the ganache just needs slightly less added sugar to compensate.
- Graham crackers: the filling and the garnish both rely on them. Digestive biscuits are the straightforward UK swap, use roughly six to seven biscuits in place of five to six crackers, crushed the same way.
- Mini marshmallows: minis rather than large ones so they distribute evenly through the filling instead of leaving big gaps between chunks.
- Marshmallow fluff: marshmallow creme is the same product under a different regional name, use whichever your shop stocks.
- No blow torch? A hot grill does the same job. It's not a compromise, and I've given timing for both below.
Find the full ingredient quantities and instructions in the recipe card below.
Why Slow Fermentation Makes the Difference Here
A long, cold fermentation does two things a same-day yeasted dough can't. It builds a stronger gluten structure, which matters because this dough is carrying a genuinely heavy filling, melted chocolate ganache, marshmallows, crushed biscuits, and a weaker dough turns gummy under that weight instead of staying light around it.
The natural acidity from the starter also balances all that sugar. Fluff, mini marshmallows and a cocoa ganache is a lot of sweetness in one bite, and the faint sourdough tang is what stops it tipping into cloying.
The two-day schedule is more convenient than it sounds, too. Almost all of the fermentation happens in the fridge overnight rather than while you're standing over it, so the actual active time on day two is under an hour before the rolls go in to proof.
How to Make Sourdough S'mores Rolls
Day 1: Mix and Ferment the Dough
1. Feed your starter four to six hours ahead, so it's active and doubled by the time you mix.
2. Combine the flour, sugar and salt, then add the milk, eggs and starter and bring together into a shaggy dough.
3. Rest for ten to fifteen minutes. This hydrates the flour and gives the butter an easier job next.
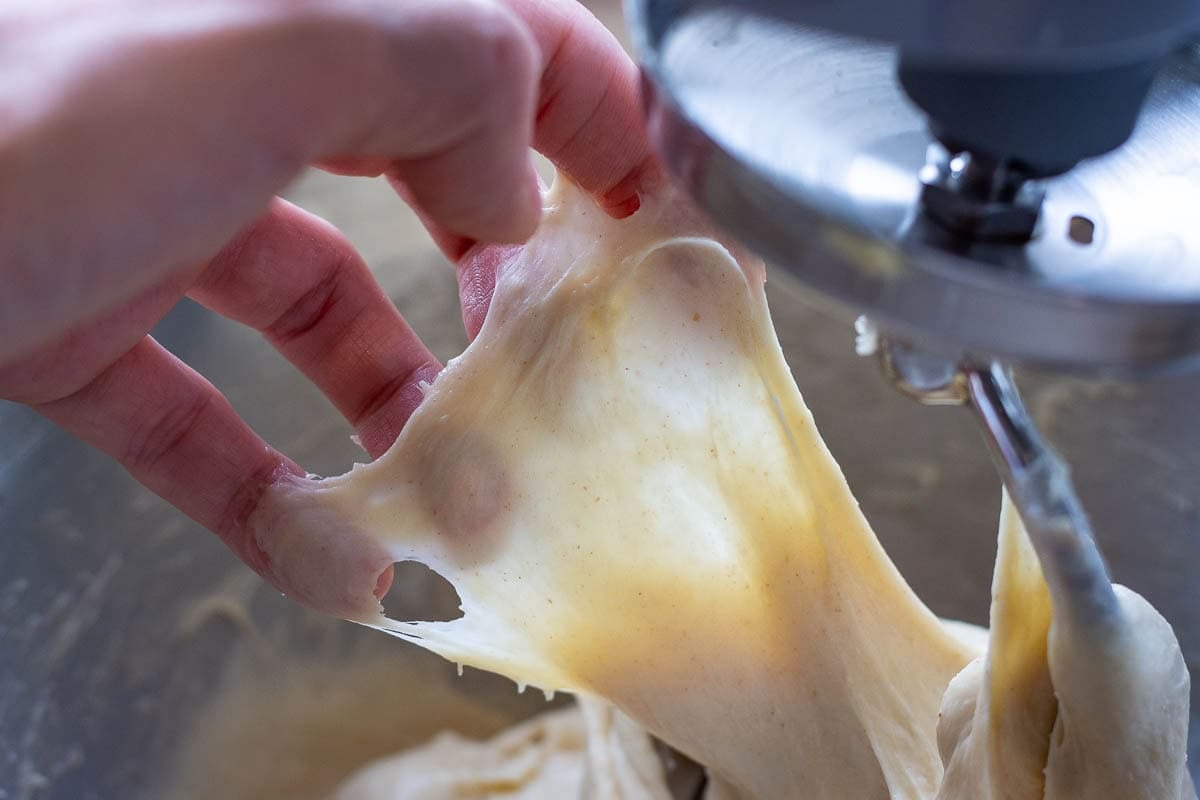
4. Work in the softened butter gradually, then keep mixing until smooth and elastic. It's ready once it passes the windowpane test, thin enough to see light through without tearing. My Sourdough Cinnamon Rolls post covers this stage in more depth, and how to know your starter's ready is worth a read if you're not yet confident judging one.
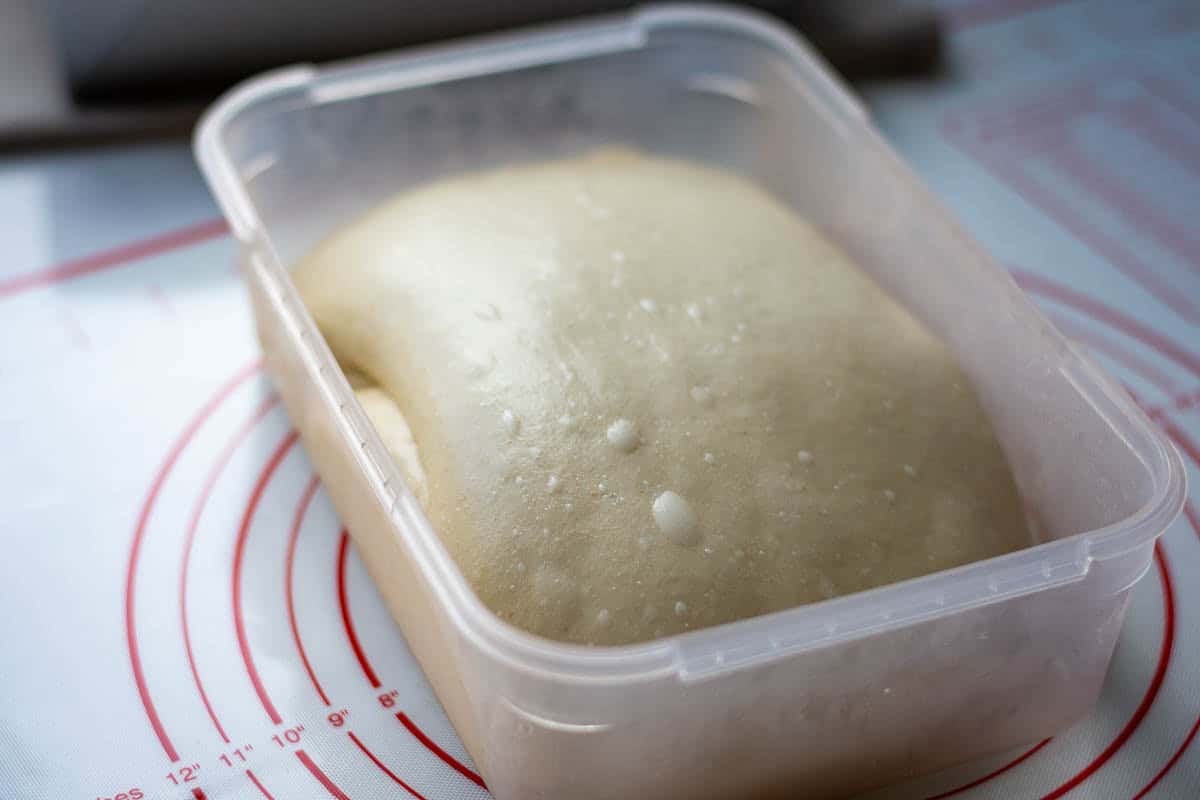
5. Bulk ferment at room temperature for four to six hours. Enriched dough won't double, look for a gentle 20 to 25% rise and a puffy, domed surface instead.
6. Cover tightly and refrigerate for eight to sixteen hours. There are no coil folds in this method, the dough gets all its strength from mixing, and the cold proof does the rest.
Day 2: Fill, Shape and Bake
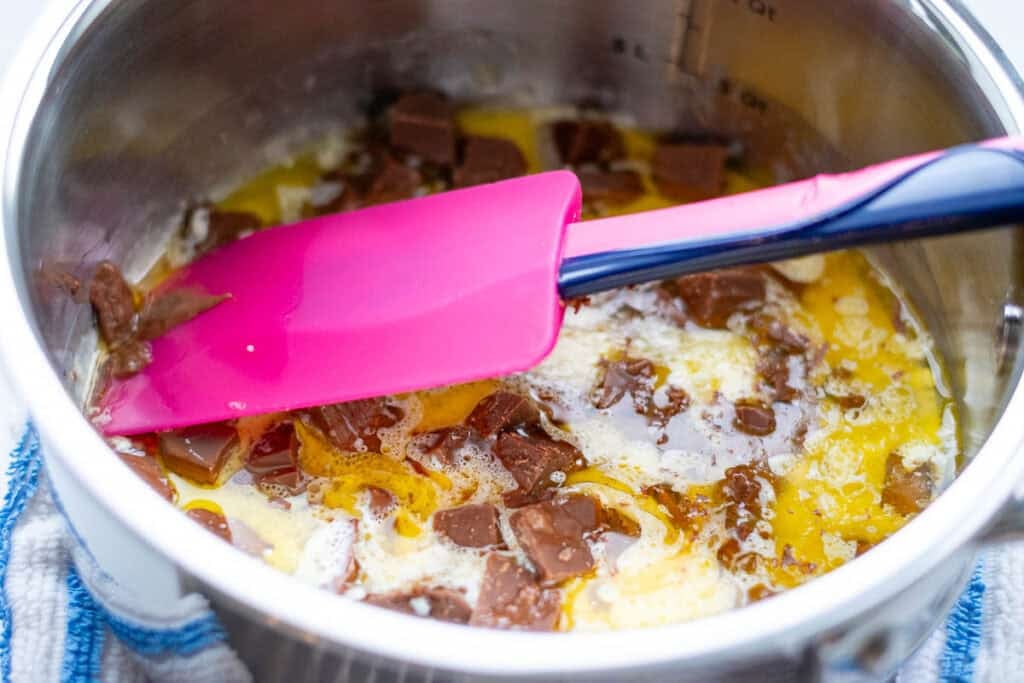
1. Warm the butter and cream, then whisk in the chopped chocolate until smooth. Stir in the cocoa powder and salt to finish the ganache.
2. Cool the ganache for 30 to 45 minutes until it holds its shape on a spoon. Rushing this step is the main reason filling ends up outside the dough instead of in it.
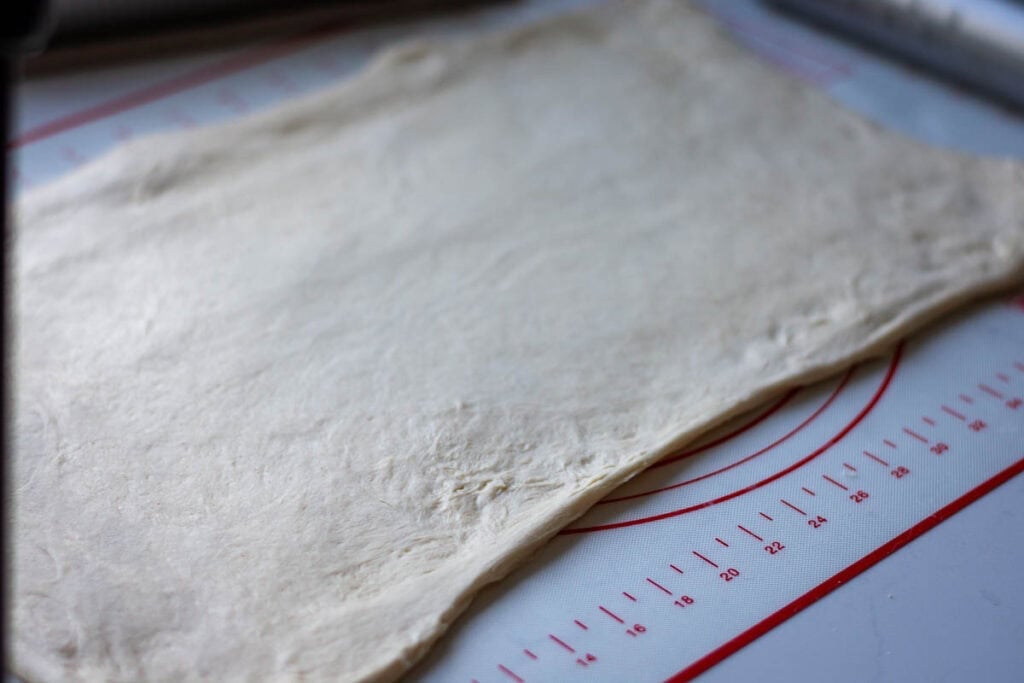
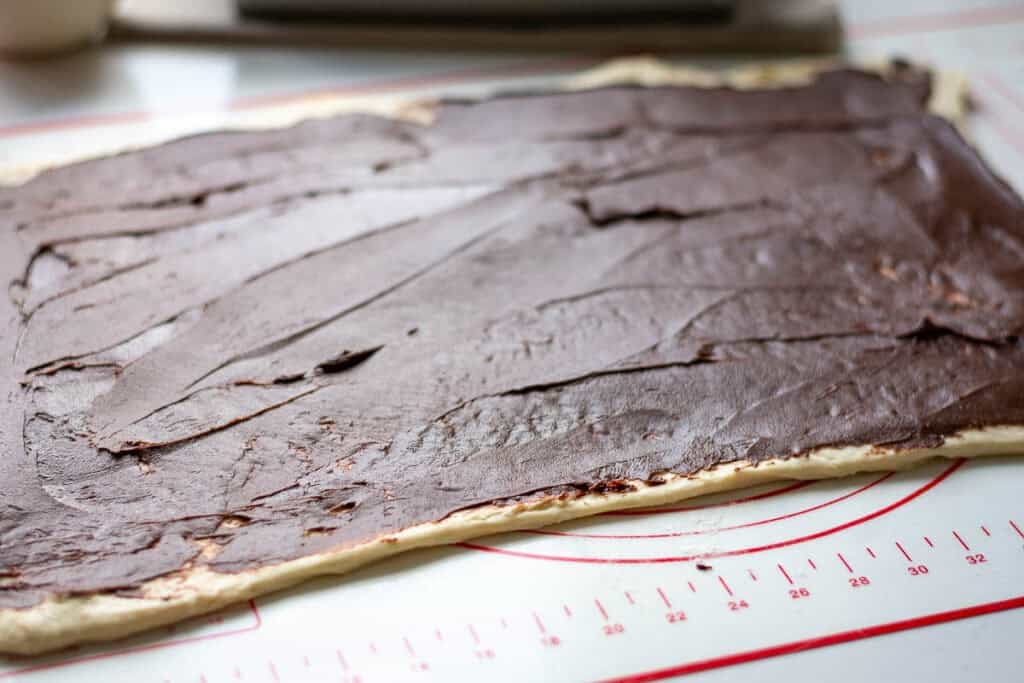
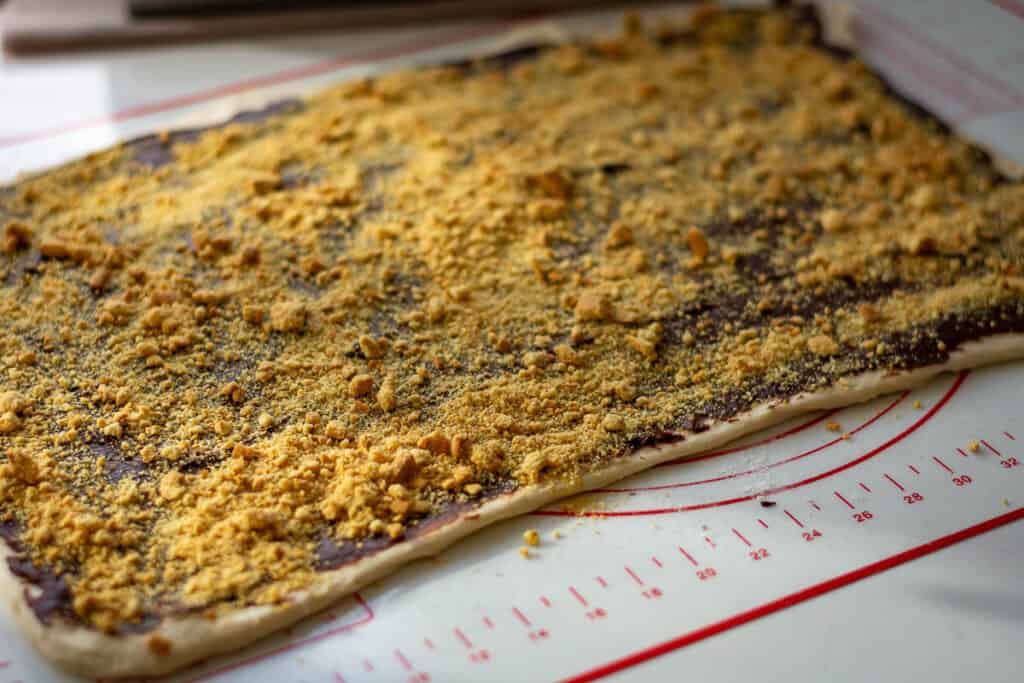
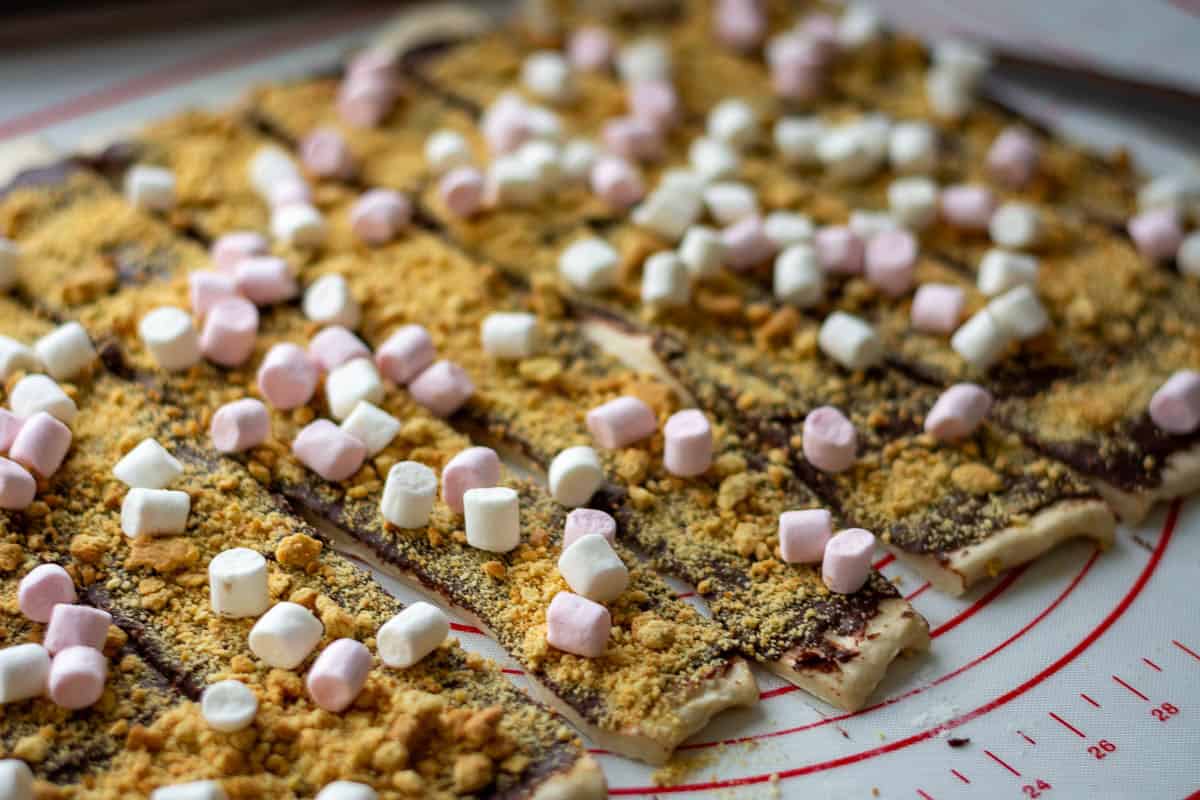
3. Roll out the chilled dough into a rectangle, spread the ganache to the edges, then scatter over the crushed graham crackers and mini marshmallows.
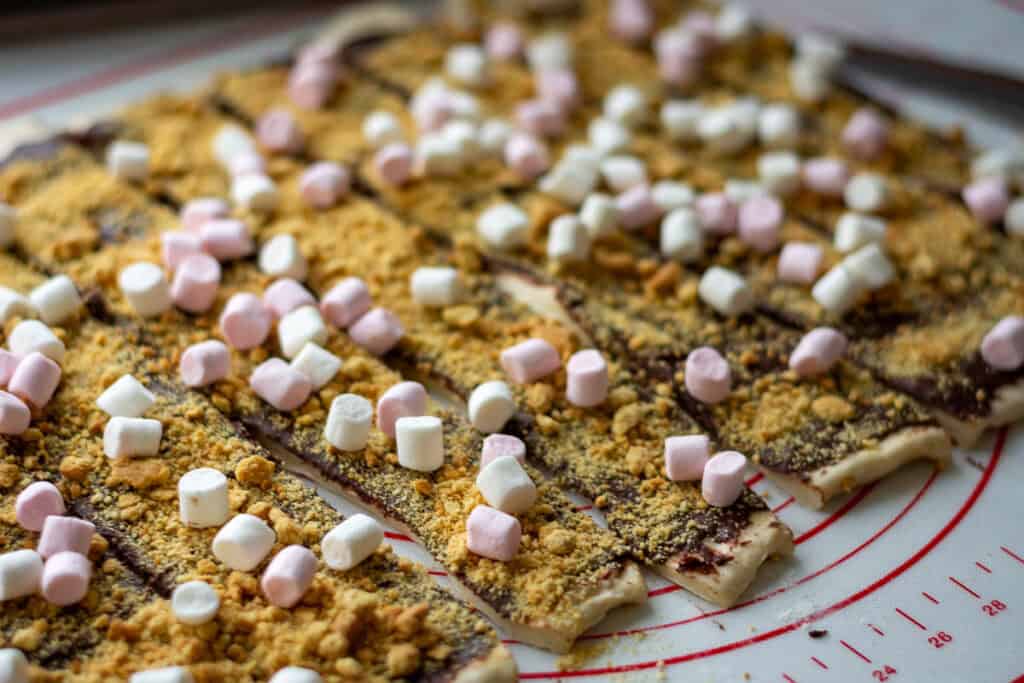
4. I like to cut the rolled-out dough into strips and then roll them up tightly, adding any marshmallows that try to escape. Alternatively, roll the dough into a tight log from the long edge and pinch the seam shut first.
5. Cut into nine even rolls and arrange cut-side up in a 9x9 pan. My Sourdough Lemon Rolls post covers the same pan and cutting technique in more detail.
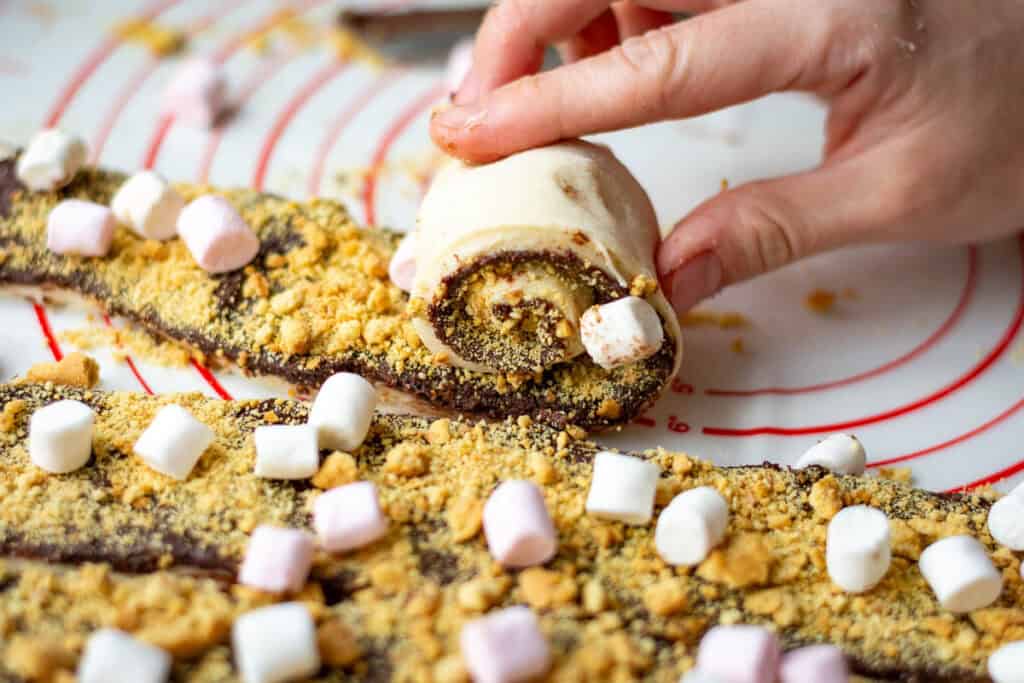
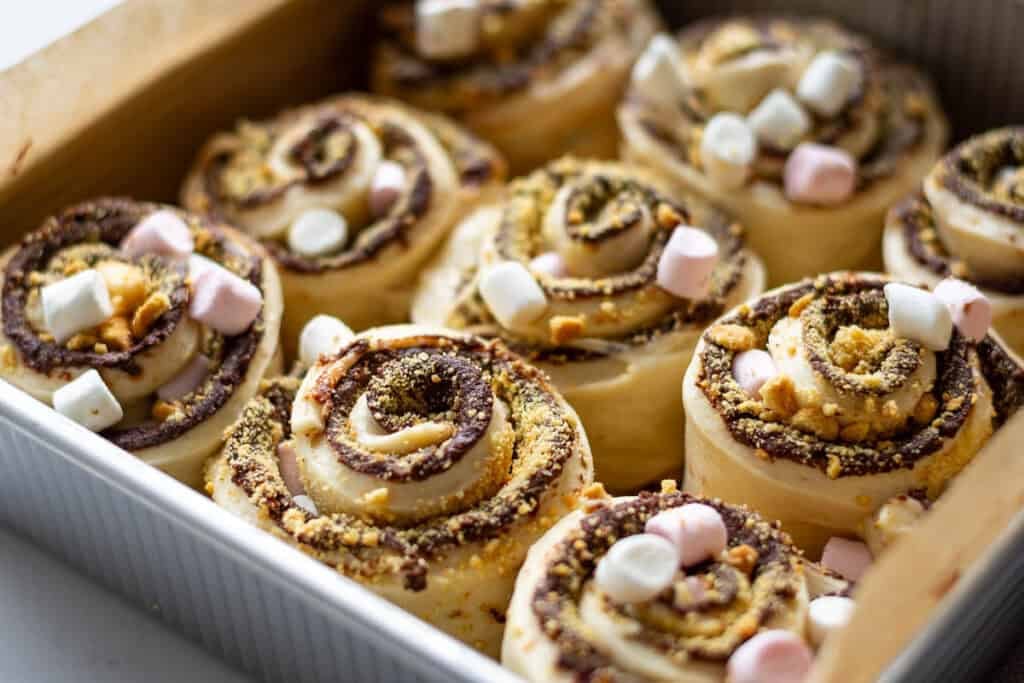
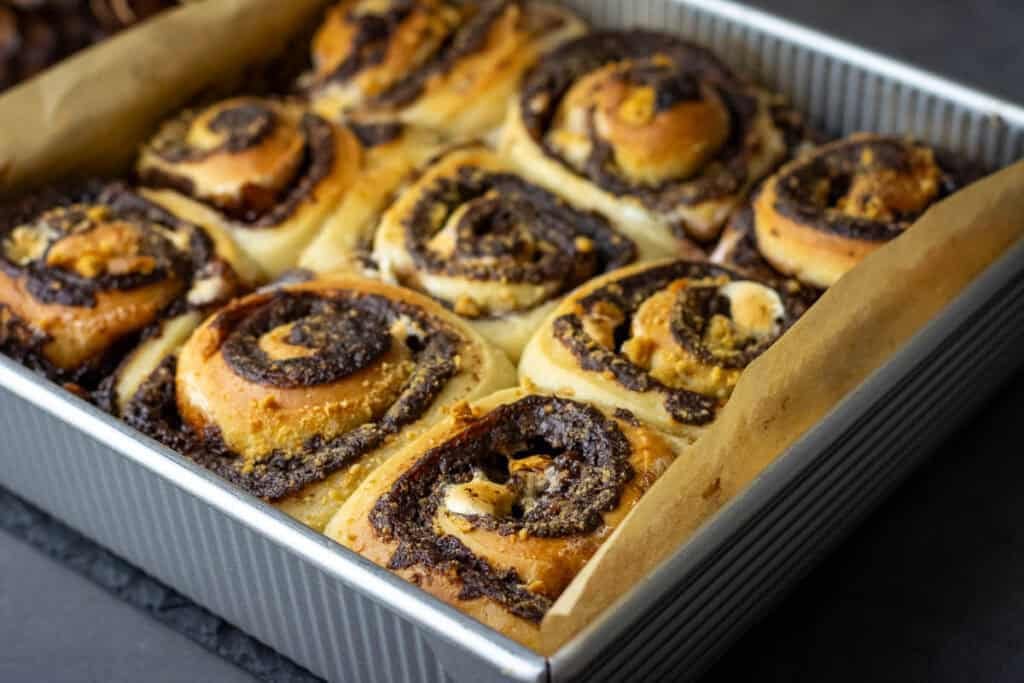
6. Proof until puffy, visibly expanded and touching, then bake until golden, about 28-30 minutes.
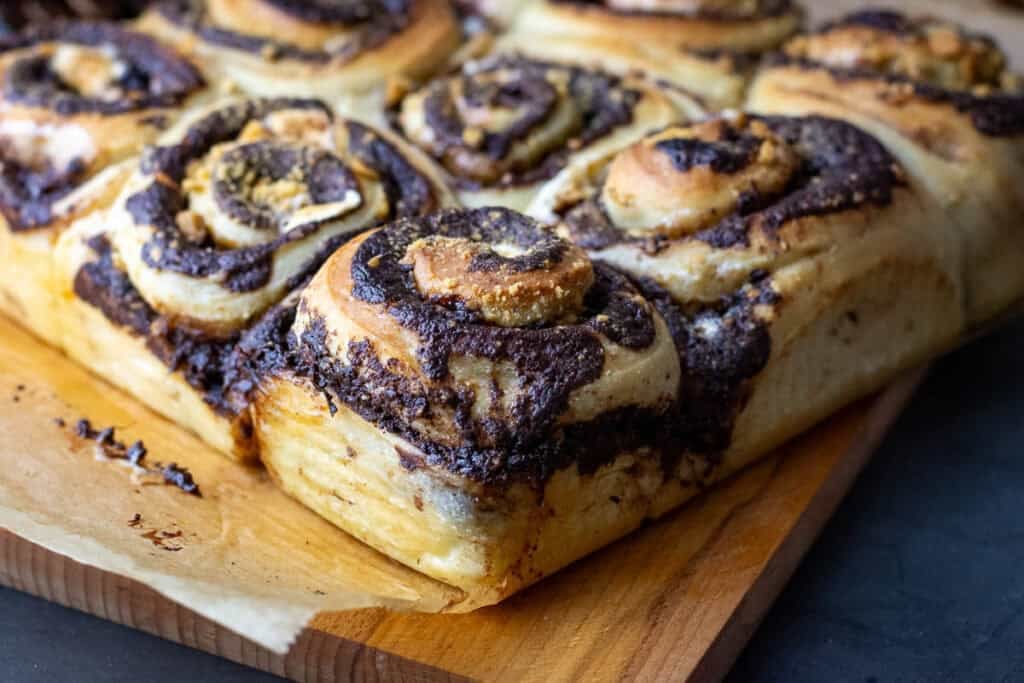
Some of the mini marshmallows in the filling will melt into gooey pockets, and some will caramelise into darker, chewier bits, usually wherever they've ended up against the edge of the pan or another roll. That's not a fault; it's just what a sugar-based filling does when it meets direct heat unevenly across a pan. Both textures are meant to be there. If the tops colour before the centre's cooked through, tent loosely with foil rather than pulling the rolls out early.
Finishing With Marshmallow Fluff
1. Cool the rolls in the pan for 20-30 minutes. Warm is fine, hot will make the fluff slide straight off.
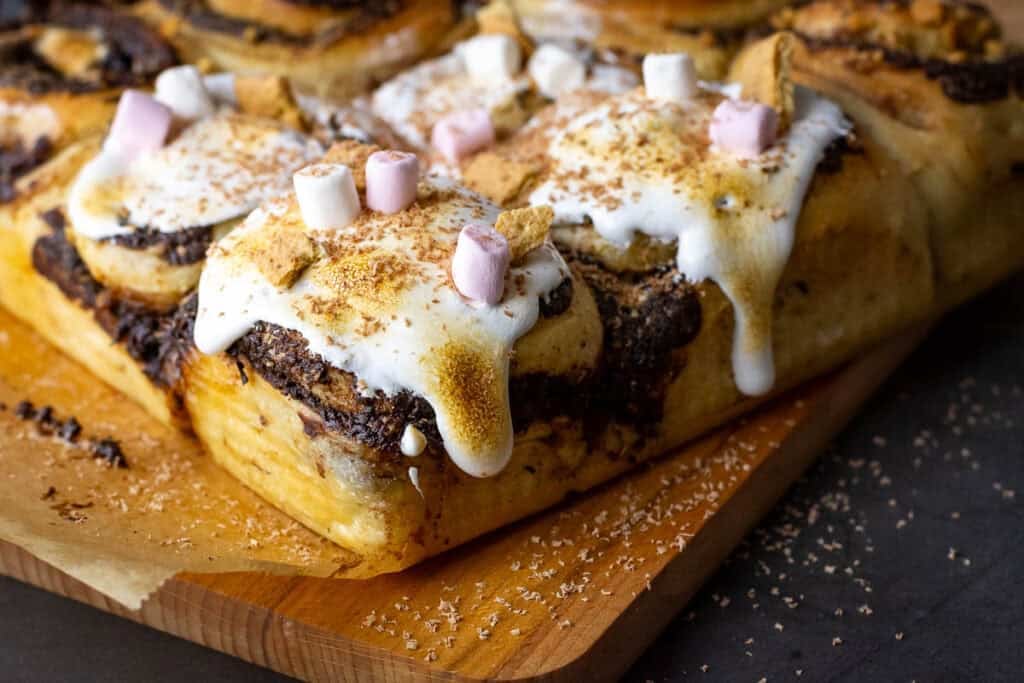
2. Spread the fluff generously over the top.
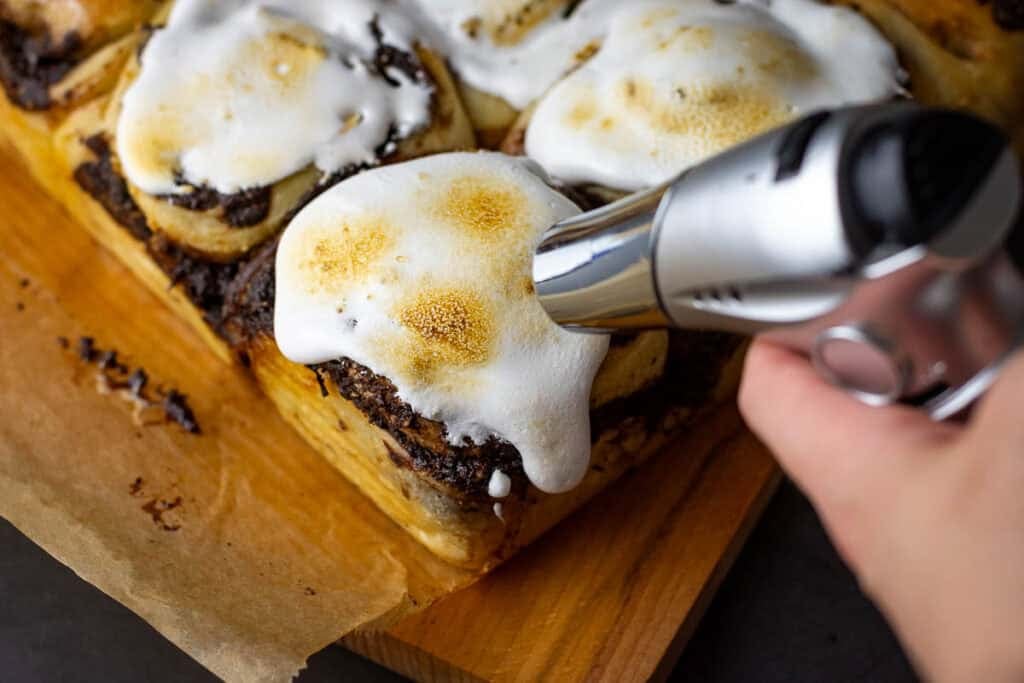
3. Toast it: a cook's blow torch held 5 to 7cm away and kept moving, or a hot grill (a broiler, if you're baking from the US) for 30 to 60 seconds. Either way, don't look away, it goes from toasted to burnt fast.
Tips for the Best Sourdough S'mores Rolls
🍳 Using a 9x13 pan instead? Scale the dough, filling and topping up by 1.5x rather than spreading this batch across the bigger pan, that's what actually keeps the rolls tall instead of flattening them out. Scaled up, you'll get around 12 rolls in a 3x4 grid instead of 9. Bake time stays close to the original, 28-30 minutes since the rolls are the same height, just check a few minutes either side of that, ovens vary.
🔥 Tent with foil the moment the tops outpace the centre. The ganache and marshmallow filling colours fast because of how much sugar is in it. If the tops look done at the 15 to 18 minute mark but the centre rolls still feel soft when gently pressed, loosely tent with foil rather than pulling the tray out early.
🧵 Cut into strips before you roll, not after, if slicing a filled log makes you nervous. Cut the filled rectangle into nine even strips first, then roll each one up individually into its own spiral and stand it cut-side up in the pan. You're never cutting through a rolled log full of marshmallow this way, so there's no risk of a knife squashing the spiral or dragging filling through the dough.
🔦 Keep the torch moving and stay 5 to 7cm back. Marshmallow fluff scorches almost instantly if the flame lingers in one spot. Small, continuous passes get you an even, patchy gold rather than a black crust in one corner.
Make-Ahead and Storage
You can shape the rolls the night before and refrigerate them, covered, instead of proofing at room temperature straight away. Let them sit out for an hour to an hour and a half to lose the chill before baking, a cold pan of dough straight into a hot oven won't proof properly in the time it takes to bake through.
Once baked and topped, these are best the day they're made, the fluff loses its just-toasted texture by the next day. Keep leftovers covered at room temperature for up to two days, or in the fridge for up to four.
To freeze, freeze the baked rolls without the fluff topping, wrapped well, for up to two months, then thaw, warm through, and add fresh fluff and a fresh toast before serving.
Recipe FAQs
No, this recipe relies solely on the strong yeast colonies in your active sourdough starter to leaven the dough. If you're using discard you will need to add commercial yeast and follow different timings.
Yes, shape the rolls, then freeze them unproofed in the pan, well wrapped, for up to a month. This is different from freezing already-baked rolls (see Storage above), here you're freezing raw shaped dough. Thaw overnight in the fridge, then let the rolls come up to room temperature and finish proofing before baking, this can take several hours longer than a fresh batch, so plan ahead.
Nothing meaningful, they're the same product under different regional names, fluff in the UK and much of Europe, creme in parts of the US. Both are a whipped, spreadable marshmallow product rather than the solid marshmallows used in the filling. Use whichever your shop stocks, the texture and result are the same.
Almost always because the ganache went on too warm. It needs to cool until it holds its shape on the back of a spoon before it goes anywhere near the dough, spread it while it's still pourable and it'll squeeze out at the ends as you roll. Rolling too loosely can also let filling escape at the seam, aim for a snug roll without stretching the dough thin.
Yes, knead by hand on a lightly floured surface. It'll take longer to reach the windowpane stage, expect 15 to 20 minutes of active kneading rather than the mixer's 10 to 15, and the dough will feel stickier for longer before it comes together, that's normal for a butter- and egg-enriched dough kneaded by hand.
Yes, this filling works well shaped into a loaf tin instead of rolled and cut into individual buns, using the same shaping method as my Sourdough Chocolate Babka. Skip the fluff topping if you go this route, it's designed to sit on individual rolls rather than a whole loaf, and a plain chocolate glaze suits a babka better anyway.
More Sourdough Roll Recipes
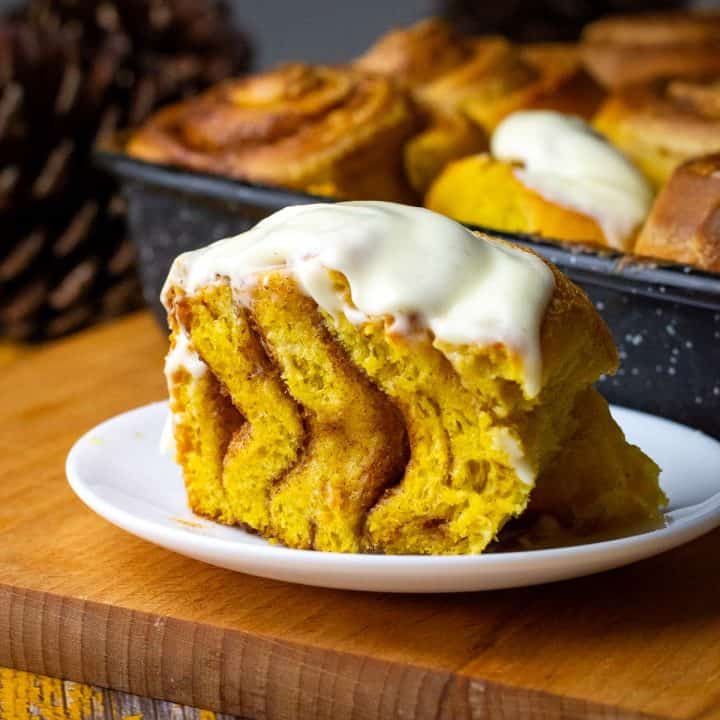
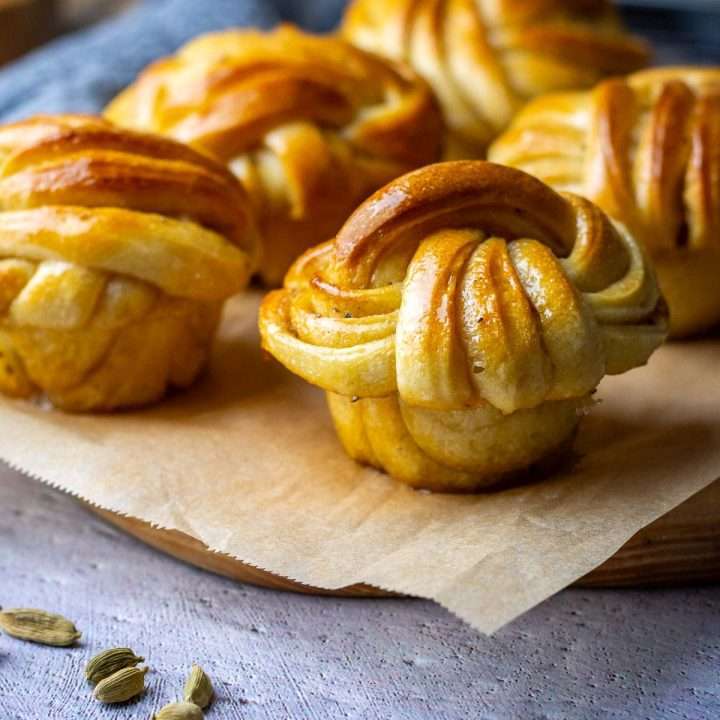
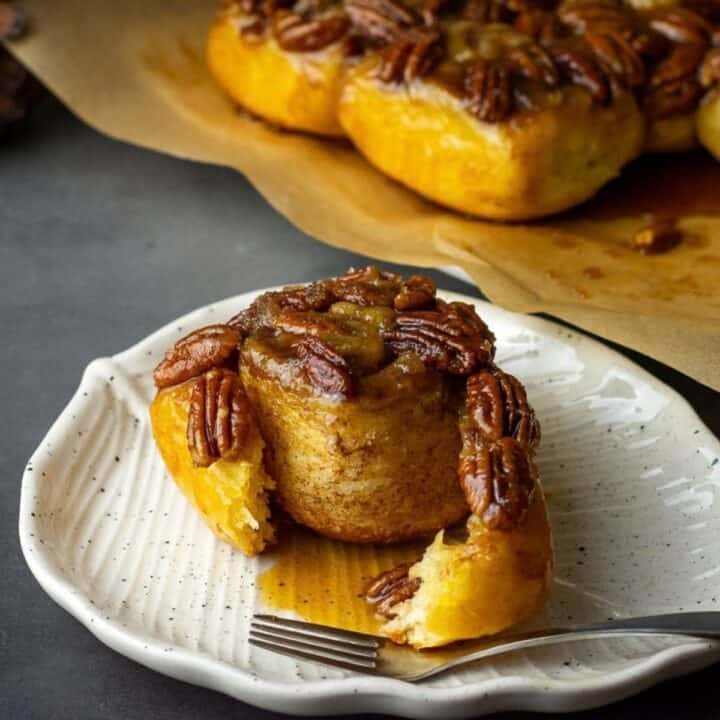
If you liked the technique behind these, it's the same one behind my Sourdough Cinnamon Babka, and the Sourdough Apple Cinnamon Rolls if you want something a little less rich. And of course, Sourdough Sticky Pecan Buns if you fancy something a little more rich 😉
The chocolate ganache method comes from my Sourdough Chocolate Babka, and the pan and cutting technique from my Sourdough Lemon Rolls and Sourdough Cinnamon Rolls, all worth a look if you want to see the individual pieces of this recipe in more depth.


LOVE BAKING SOURDOUGH WITH ME?
You can now add Somebody Feed Seb as a preferred source on Google. It only takes a tick box, and tells Google you'd like to see more of my recipes when relevant.
Sourdough S'mores Rolls
Equipment
- Stand Mixer fitted with dough hook attachment
- 23x23cm (9-inch) square baking pan, high-sided
- Cook's blow torch (optional, for toasting the marshmallow topping)
Ingredients
For the dough:
- 160 g active sourdough starter 100% hydration
- 320 g strong white bread flour
- 30 g granulated sugar
- 6 g (1 tsp) fine sea salt
- 100 g whole milk
- 2 medium eggs room temperature
- 100 g unsalted butter softened and cubed
For the s'mores filling:
- 150 g milk chocolate finely chopped
- 50 g unsalted butter cubed
- 40 g double cream or heavy cream
- 15 g cocoa powder
- pinch of fine sea salt
- 70 g graham crackers crushed into coarse crumbs (digestive biscuits work as a substitute)
- 100 g mini marshmallows
For the marshmallow fluff topping:
- 150 g marshmallow fluff marshmallow creme
For the garnish:
- 30 g milk chocolate shaved or roughly chopped (or use milk chocolate chips)
- 2 graham crackers crushed (or digestive biscuits)
- Extra mini marshmallows torched
Instructions
DAY 1:
Feed Sourdough Starter
- Feed your sourdough starter 4-6 hours before mixing, so it's active, at least doubled in size and domed on top.
Mix The Dough
- In the bowl of a stand mixer fitted with the dough hook, combine the flour, sugar and salt. Add the milk, eggs and active starter. Mix on low speed for 5-7 minutes until you have a shaggy, sticky dough.
- Cover and rest for 10-15 minutes. This hydrates the flour and makes the butter easier to incorporate.
- With the mixer running on medium speed, add the softened butter a few cubes at a time, letting each addition disappear before adding more. Keep mixing for 10-15 minutes until the dough is smooth and elastic and passes the windowpane test (stretch a small piece thin enough to see light through without it tearing).
Bulk Fermentation and Cold Proof
- Transfer to a lightly greased bowl, cover, and bulk ferment at 20-24°C (68-75°F) for 4-6 hours, undisturbed. Enriched dough won't double here, look for a gentle 20-25% rise and a slightly domed, puffy surface.
- Cover tightly and refrigerate for 8-16 hours. The cold proof firms the butter and makes the dough far easier to roll out the next day.
DAY 2:
Make The Filling
- Make the filling: warm the butter and cream in a small saucepan until the butter melts (don't let it boil). Off the heat, add the chopped milk chocolate, leave for a minute to soften, then whisk until smooth. Whisk in the cocoa powder and salt. Cool for 30-45 minutes until thick enough to hold its shape on the back of a spoon, milk chocolate sets softer than dark, so give it a proper cool before spreading.
Shaping and Second Rise
- Grease a 23x23cm (9-inch) square pan and line with parchment, leaving an overhang on two sides to lift the rolls out later.
- Turn the chilled dough onto a floured surface and roll into a rectangle roughly 40x30cm.
- Spread the cooled chocolate filling to the edges. Scatter over the crushed graham crackers and mini marshmallows.
- Cut the rolled-out dough into strips and then roll each of them up tightly, adding any marshmallows that try to escape. Alternatively, roll the dough into a tight log from the long edge and pinch the seam shut first.
- Trim the uneven ends, then cut into 9 even rolls (about 4cm thick) using a sharp knife or a length of unflavoured dental floss.
- Arrange the rolls cut-side up in the pan in a 3x3 grid, with a little gap between each, they'll expand and meet as they proof.
- Cover loosely with oiled cling film and proof at 22-25°C (72-77°F) for 4-5 hours, until visibly puffy, expanded by around 75%, and the rolls are touching.
Baking
- Near the end of proofing, preheat the oven to 180°C fan/200°C conventional (400°F).
- Bake for 28-30 minutes until golden. The marshmallow in the filling caramelises fast, so if the tops are colouring before the centre's cooked through, tent loosely with foil for the last 10 minutes.
- Cool in the pan for 25-30 minutes. You want warm, not hot, or the fluff topping will slide straight off.
Marshmallow Topping
- Spread the marshmallow fluff generously over the warm rolls.
- For a toasted finish, run a cook's blow torch lightly over the fluff, or slide the pan under a hot grill for 30-60 seconds. Watch it constantly, it goes from toasted to burnt in seconds.
- Scatter over the chocolate shavings (or chips), crushed graham crackers and extra marshmallows, and serve warm.
Video
Notes
Nutrition
Ava says
I loved how the sourdough tang balanced the gooey chocolate and toasted marshmallow pockets.
Ieva Greber says
Thanks, Ava — that tang against the gooey chocolate and toasted marshmallow is exactly the balance that makes these fun. Glad they hit the mark!