
Cosy autumn vibes meet the tangy twist of sourdough...This Pumpkin Sourdough Bread spiced just right and kissed with honey, is perfect for any topping, sweet or savoury! Let's celebrate autumn and make this delicious Sourdough Pumpkin Bread recipe!

Jump to:
As an Amazon Associate I earn from qualifying purchases, at no extra cost for you! Thank you!
Seasonal Sourdough For Autumn
Is there a better way to celebrate autumn than to add pumpkin flavour to all your bakes? I think not! So we are celebrating with a sourdough recipe that is perfect for the pumpkin season! Full of autumnal flavours, with a beautiful orange hue and extra delicious, this Pumpkin Sourdough is equally suitable for breakfast toast and your Thanksgiving table (or try our Sourdough Pumpkin Dinner Rolls, if you prefer a soft crust).
But if you fancy something with a softer crust and bigger air bubbles, try our Sourdough Pumpkin Focaccia instead! Fancy autumnal sourdough for dessert? Go for our Sweet Pumpkin Sourdough Focaccia - it has a pumpkin spice sugar layer in the middle and on top!
Got discard? Try our Sourdough Discard Pumpkin Bread With Streusel Topping!
Ingredient Notes
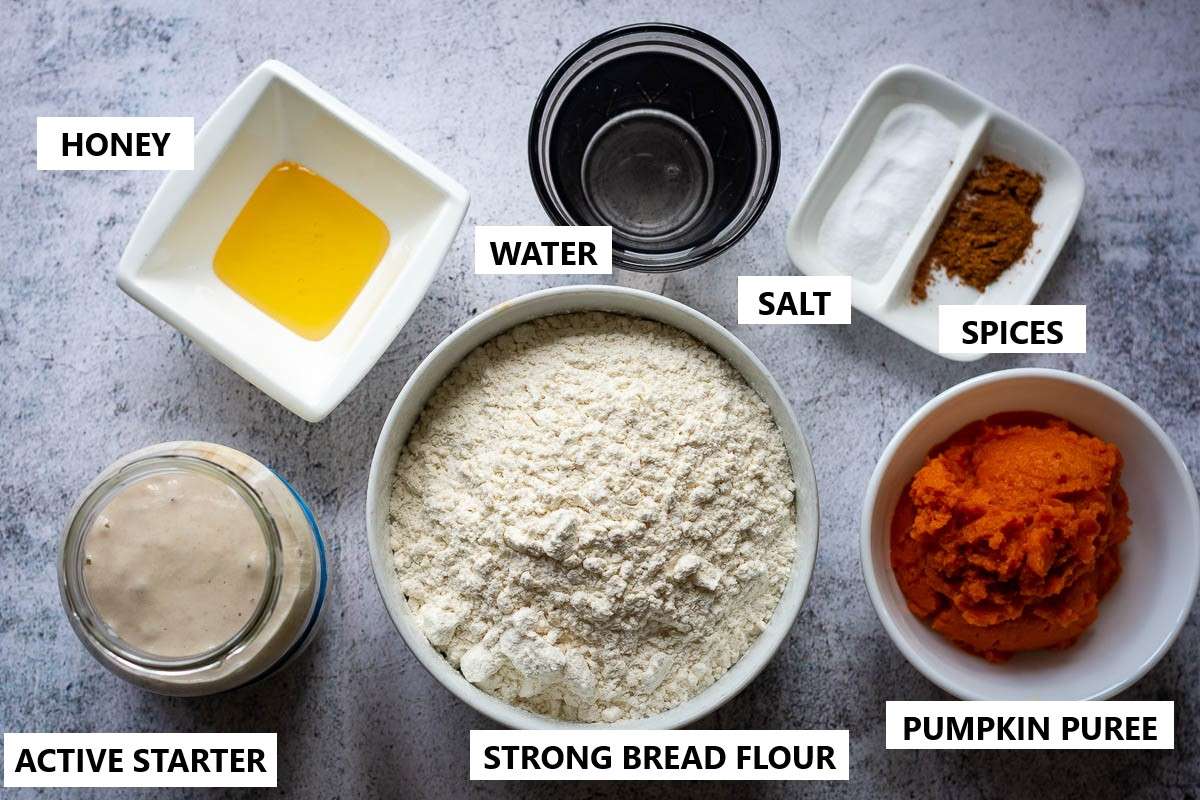
- strong white flour (a.k.a. bread flour): with at least 12% gluten content. You can replace up to 20% of the white flour with whole wheat flour but expect a denser loaf.
- salt.
- mixed spice: or pumpkin pie spice.
- pumpkin puree: not to be confused with pumpkin pie filling. You may use homemade pumpkin puree, just make sure it's not thinner than a typical shop-bought one.
- active sourdough starter: 100% hydration.
- water: using lukewarm water will give your dough a head start.
- clear honey: may be replaced with maple syrup.
Find the ingredient quantities, detailed instructions and nutritional values in the recipe card at the bottom of the post.
Extras: fold some pumpkin seeds, raisins or chocolate chips into the dough halfway through the bulk fermentation (during the 3rd fold).
How Does Pumpkin Purée Affect Sourdough?
There are two main ways that pumpkin puree affects sourdough: the hydration of the sourdough and the bulk fermentation process.
1. Hydration: pumpkin puree adds moisture to the dough, so will have a slightly wetter dough to work with.
2. Bulk Fermentation: whilst the pumpkin itself may not affect the bulk fermentation process in a significant way, we use honey in this particular recipe, which will speed up the fermentation process.
Another thing to note is the effects of cinnamon in the pumpkin pie or mixed spice. Cinnamon is known to hinder the fermentation process, so use the spices in moderation.

Flavoured Sourdough: How, When and What Mix-Ins To Add To Your Sourdough?
Discover a variety of mix-ins and learn how they affect hydration and bulk fermentation, master the art of substituting water with coffee and tea, and explore a plethora of creative mix-in ideas. Plus, get 2 exclusive bonuses!
For more sourdough + pumpkin puree creations, head to our full collection of Pumpkin Sourdough Recipes (From Bread To Sweet Treats).
Step-By-Step Method
Before You Begin: Sourdough Starter
As with typical sourdough recipes, this Sourdough Pumpkin bread relies on the wild yeast for its rise. Make sure your sourodugh starter is not overly acidic and is fed regularly. Once you feed it one last time, leave it in a warm spot to at least double (if not triple) in volume for 4 hours, and make sure to use it before it starts deflating.
Step 1: Mixing The Dough
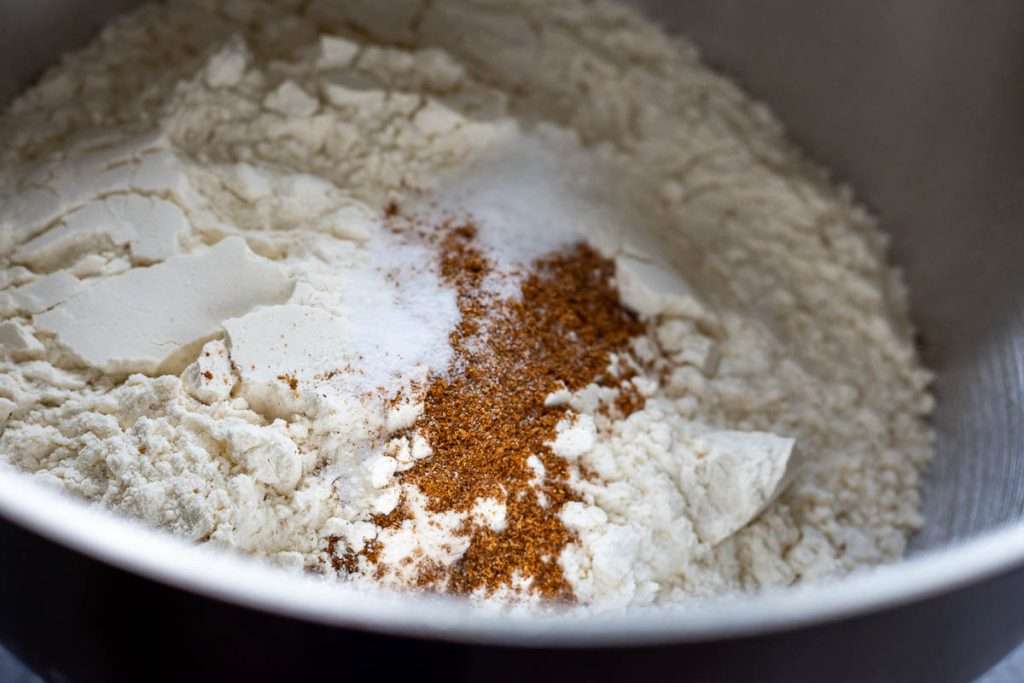
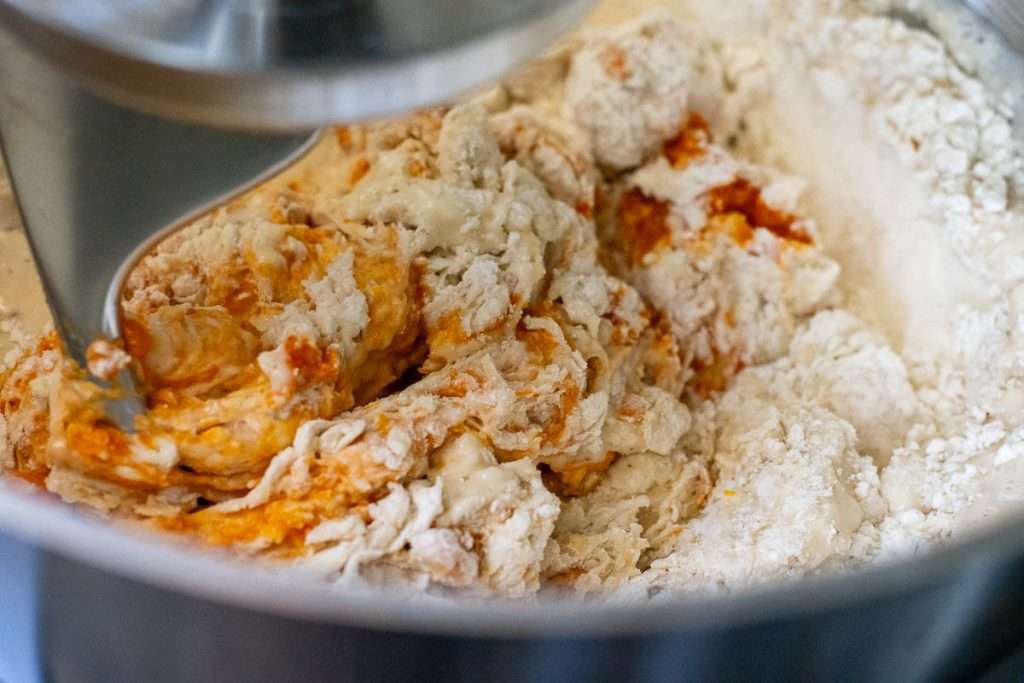
When your sourdough starter is active and bubbly, in a bowl of your stand mixer, mix the dry ingredients: flour, spices and salt.
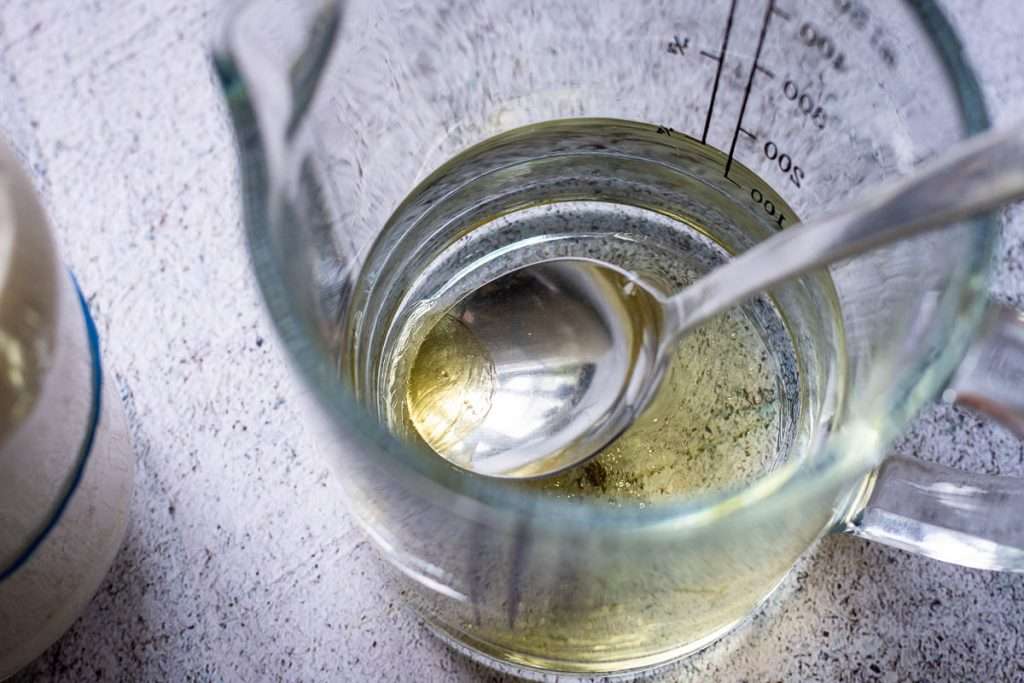
In a jug, mix the water and honey together until the honey dissolves. Add the active starter and mix to combine.
Pour the sourdough mixture into the flour. Add the pumpkin puree.
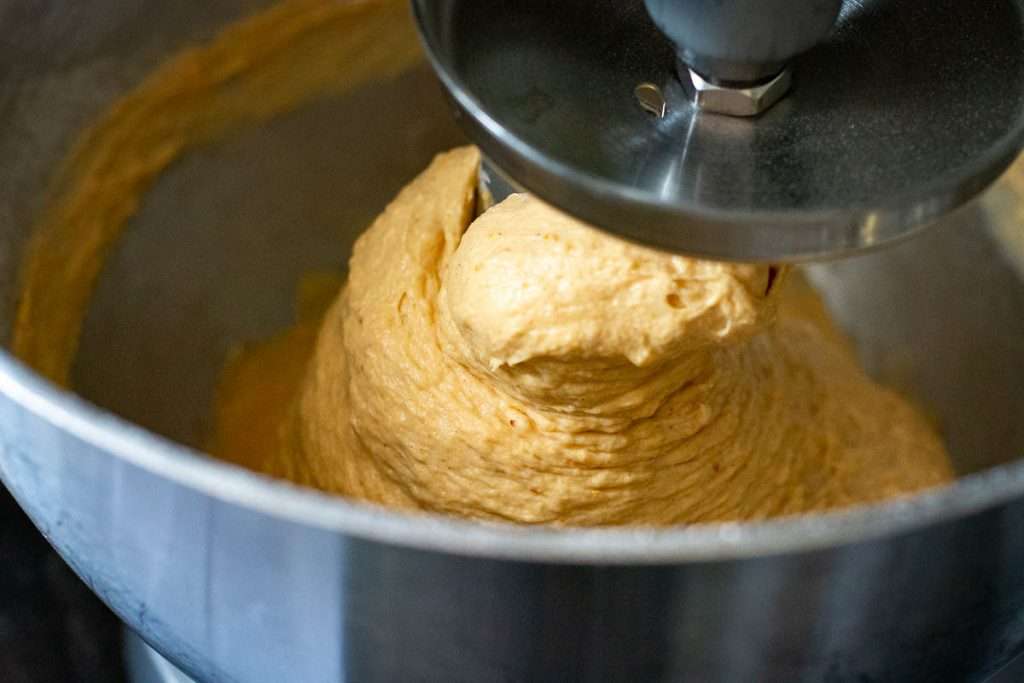
Run the mixer for approximately 10 minutes on medium speed, until the bread dough looks elastic and slightly shiny.
Step 2: Bulk Fermentation and Coil Folds
Scoop the dough into a large clean bowl. Cover with a damp te towel or cling film (plastic wrap) and let the dough rest for 30 minutes.
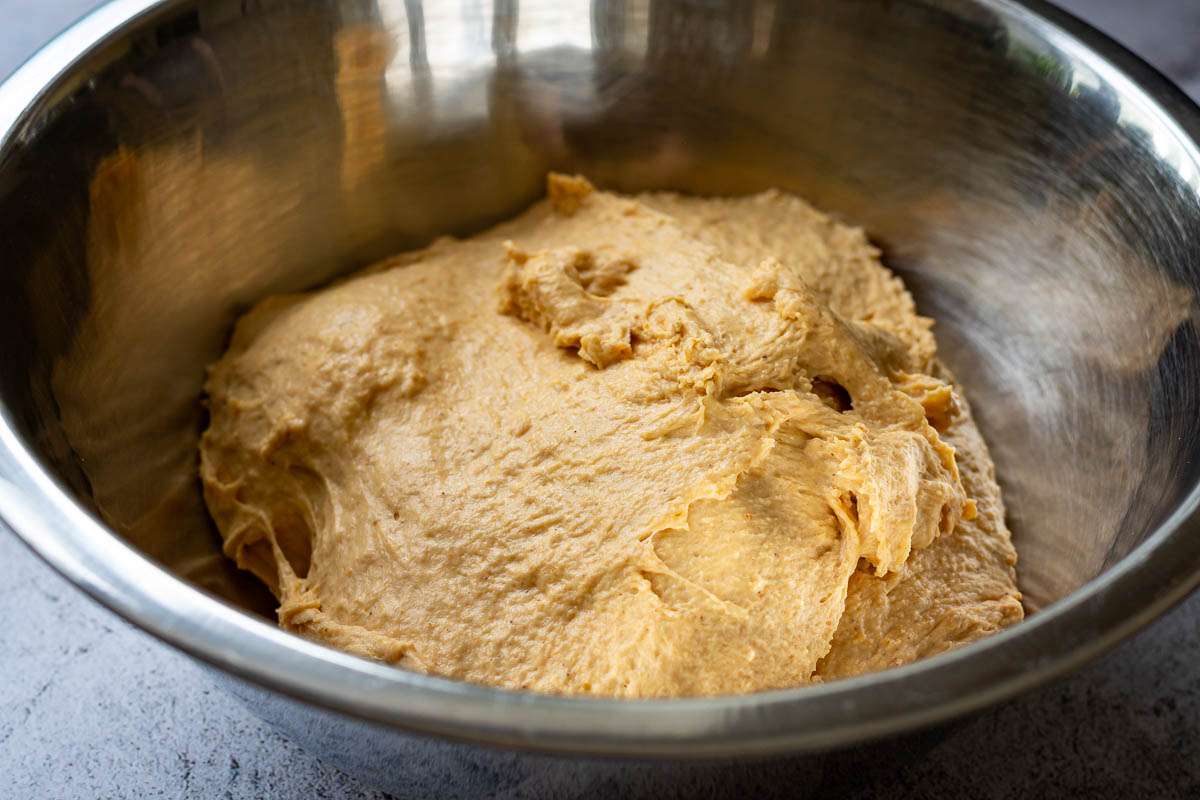
For the next 2 hours, at 30-minute internals, coil fold your dough (see video below), or you can perform sets of stretch and folds if that's what you're used to.
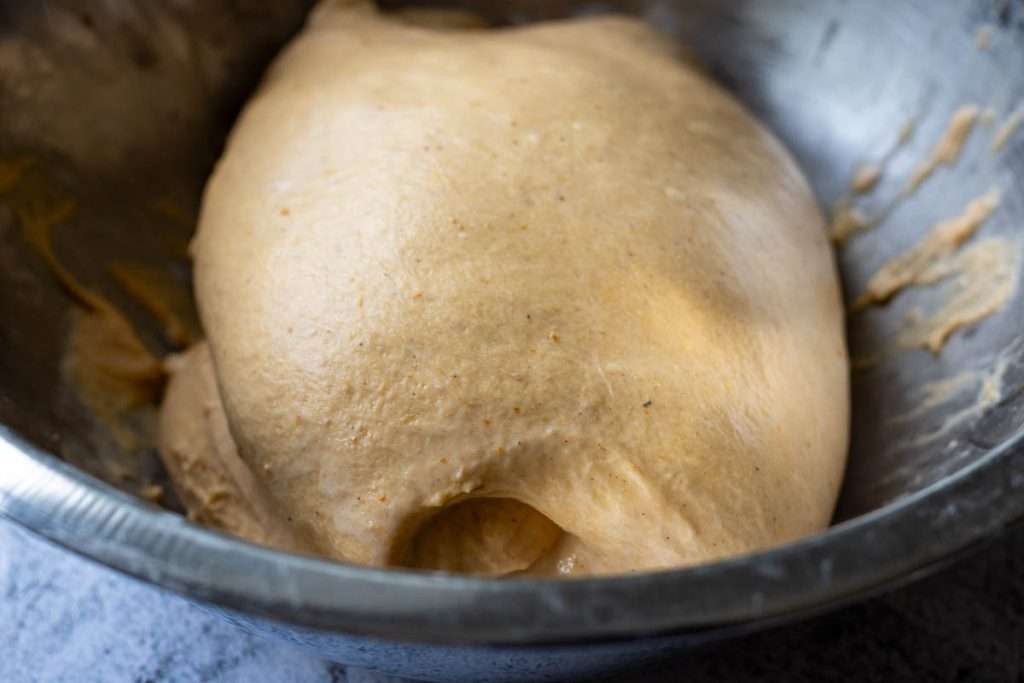
After 4 sets of folds, leave the pumpkin sourdough undisturbed in a warm spot for 2-3 hours, until almost doubled in size.
Step 3: Shaping & Final Overnight Proof
At the end of bulk fermentation, using a dough scraper, scoop the dough onto a lightly floured surface. Try and make sure that the smooth top of the dough (the side that is not intact with the bowl) is placed on the floured work surface. Then swiftly fold the four corners of the dough into the centre and flip the dough over.
With your bench scraper held at a shallow angle to the work surface, push the dough while using your hand to tuck it under itself, creating tension. This fluid circular motion involves pushing and gently rounding with the bench knife, while your free hand continues the rounding motion, tucking the dough slightly under itself. It takes some practice, but you should aim for a tight round shape of the dough that holds its shape and doesn't spread much (we prefer a round loaf, but you can easily shape it into a batard too).
Place the dough ball into a well-floured banneton basket. The smooth side of the sourdough ball should be at the bottom, with the seam at the top.
Pinch the seam together with your fingers, if the dough starts spreading in the bowl to make sure the dough is tight. Sprinkle with some flour, and cover the dough with a clean fabric napkin or small clean tea towel.
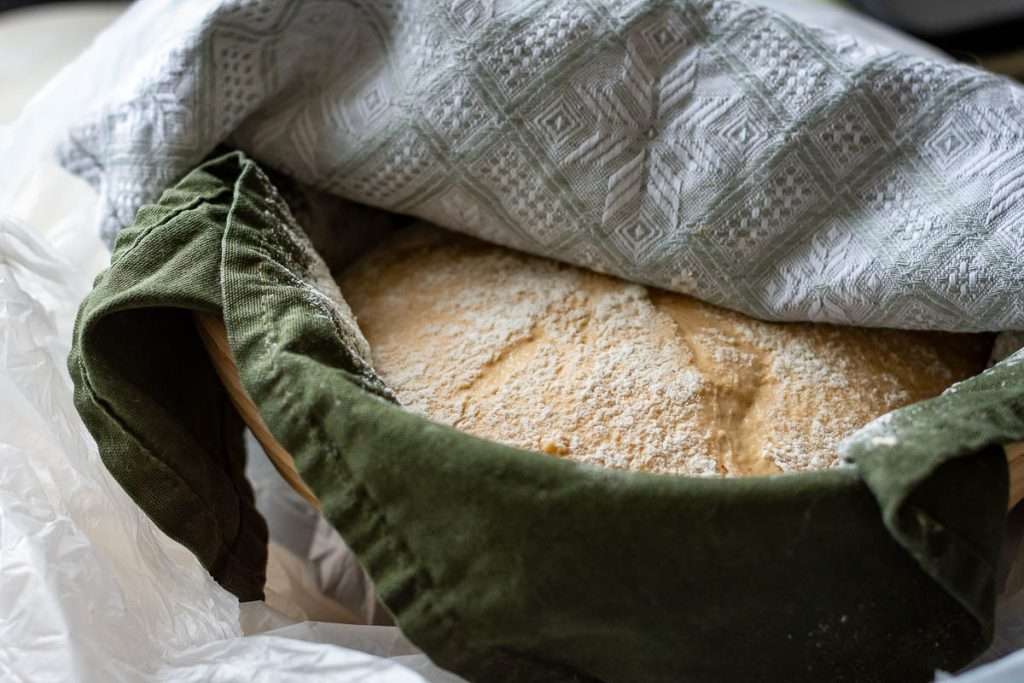
Place the proofing basket in a large plastic bag - it will protect the dough from drying out. Then place the whole thing in the fridge for its final rise (a.k.a. second rise) in the fridge for 12-36 hours.
Step 4: Scoring
The next day, place the Dutch Oven in the oven, and preheat it to 240°C (typically, it is the highest temperature home ovens will go to) with the Dutch oven in it. It needs to be piping hot!
Once the oven is hot, take the dough out of the fridge and out of the bag.
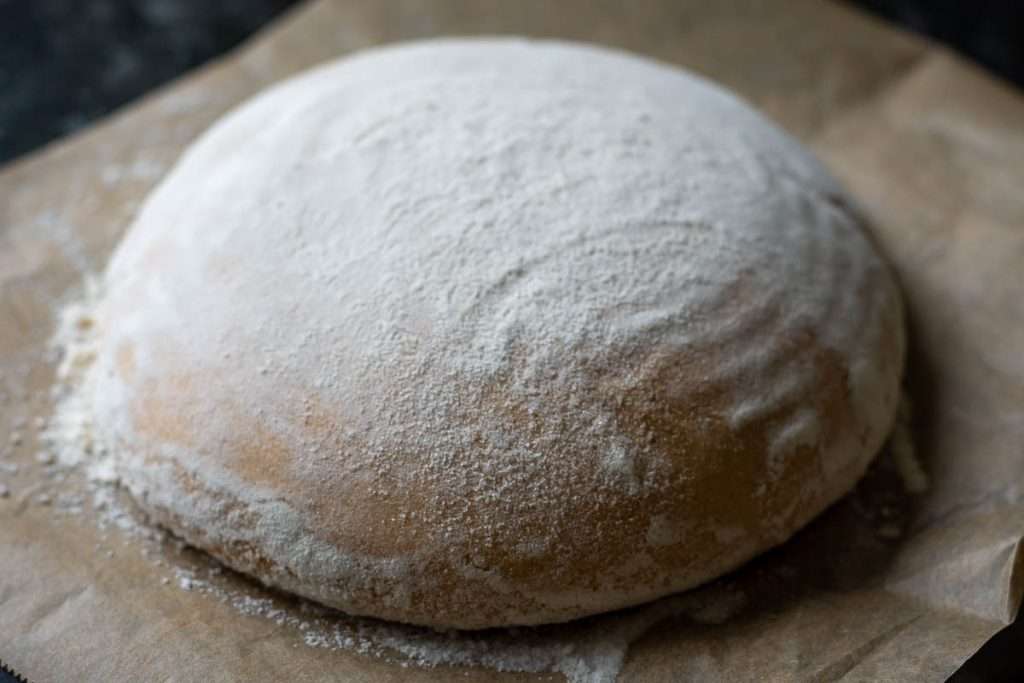
Invert the dough gently onto a large piece of parchment paper. If your dough was properly bulk fermented and shaped correctly, it should not spread once inverted.
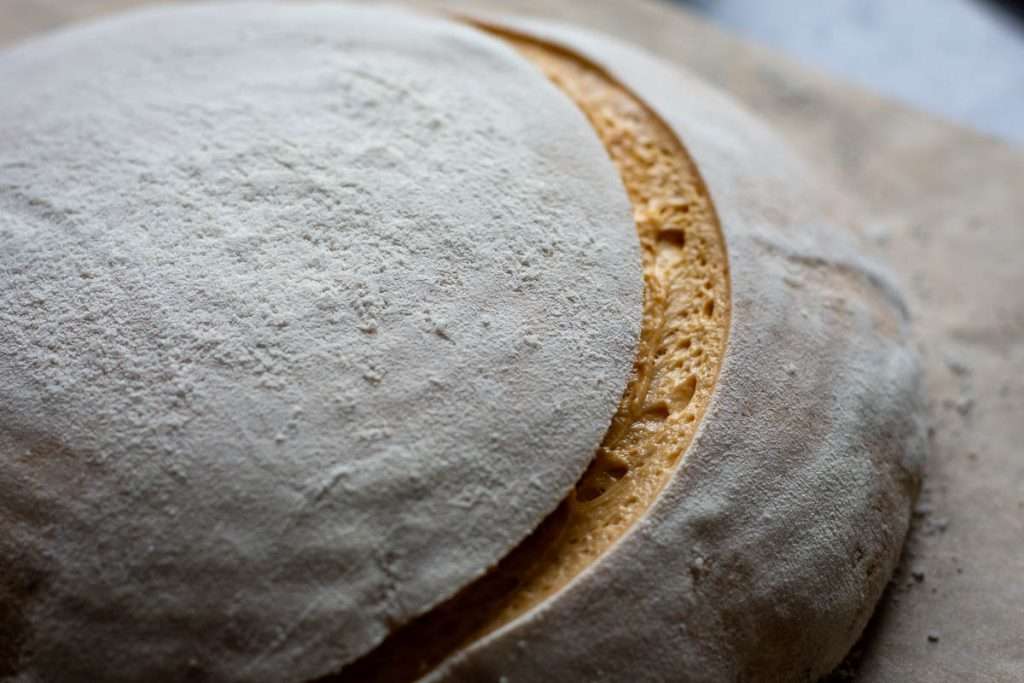
Dust the surface of the dough with a little flour. Using a bread lame or a razor blade, score the dough deeply (approximately 1cm deep) at a 30- 45º angle.
Step 5: Baking
Take the hot Dutch Oven out of the oven, take the lid off, and lift the sourdough into it, holding the edges of the parchment paper.
Place the lid back on the Dutch Oven and place the bread into the hot oven for 25 minutes.
After 25 minutes, take the lid off, and return the sourdough to the oven for another 25 minutes. If you don't want your loaf of bread to be too dark in colour, you can reduce the oven temperature to 200°C.
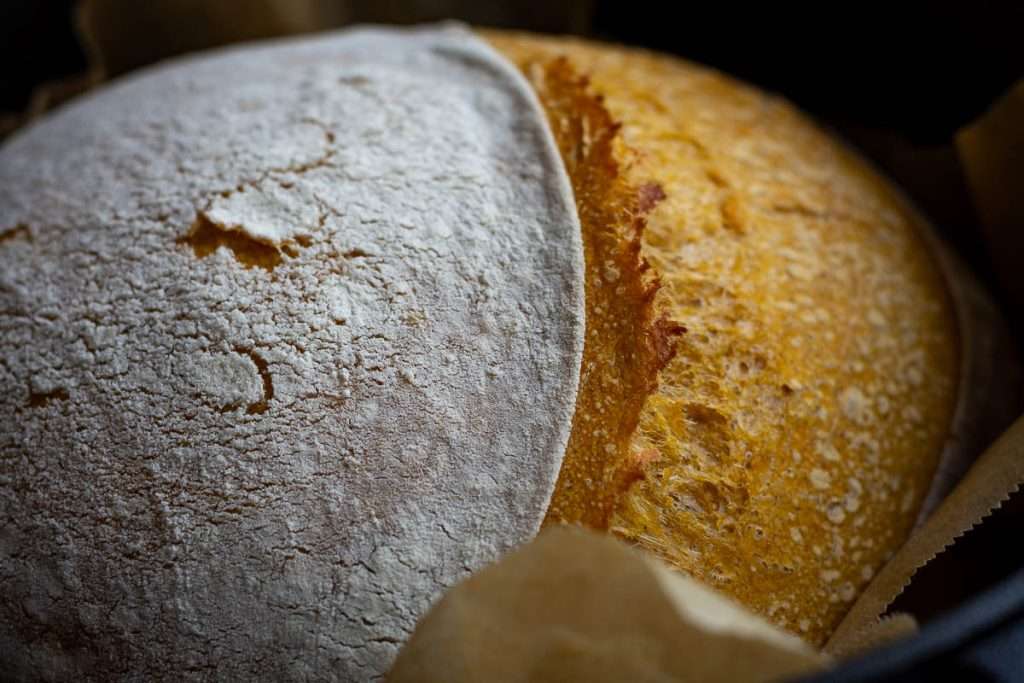
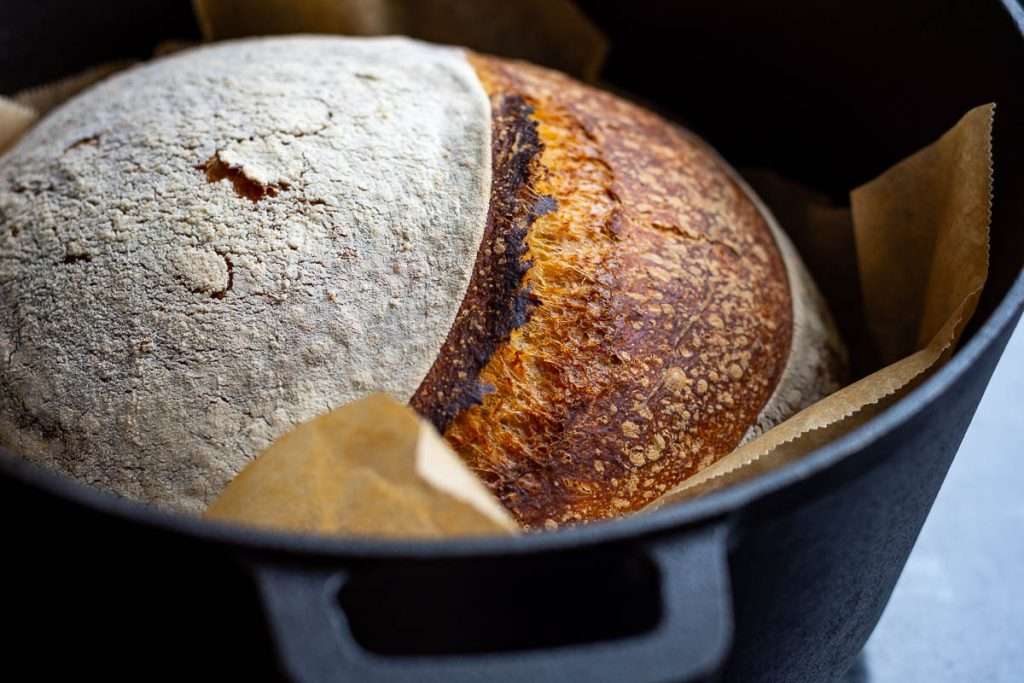
Once baked, take the Dutch Oven out of the oven. The top of the sourdough should be golden brown and it should sound hollow when tapped on the base. Lift the bread out by holding the corners of the parchment paper. Place the bread onto the wire rack, and slide the parchment paper from underneath the loaf.
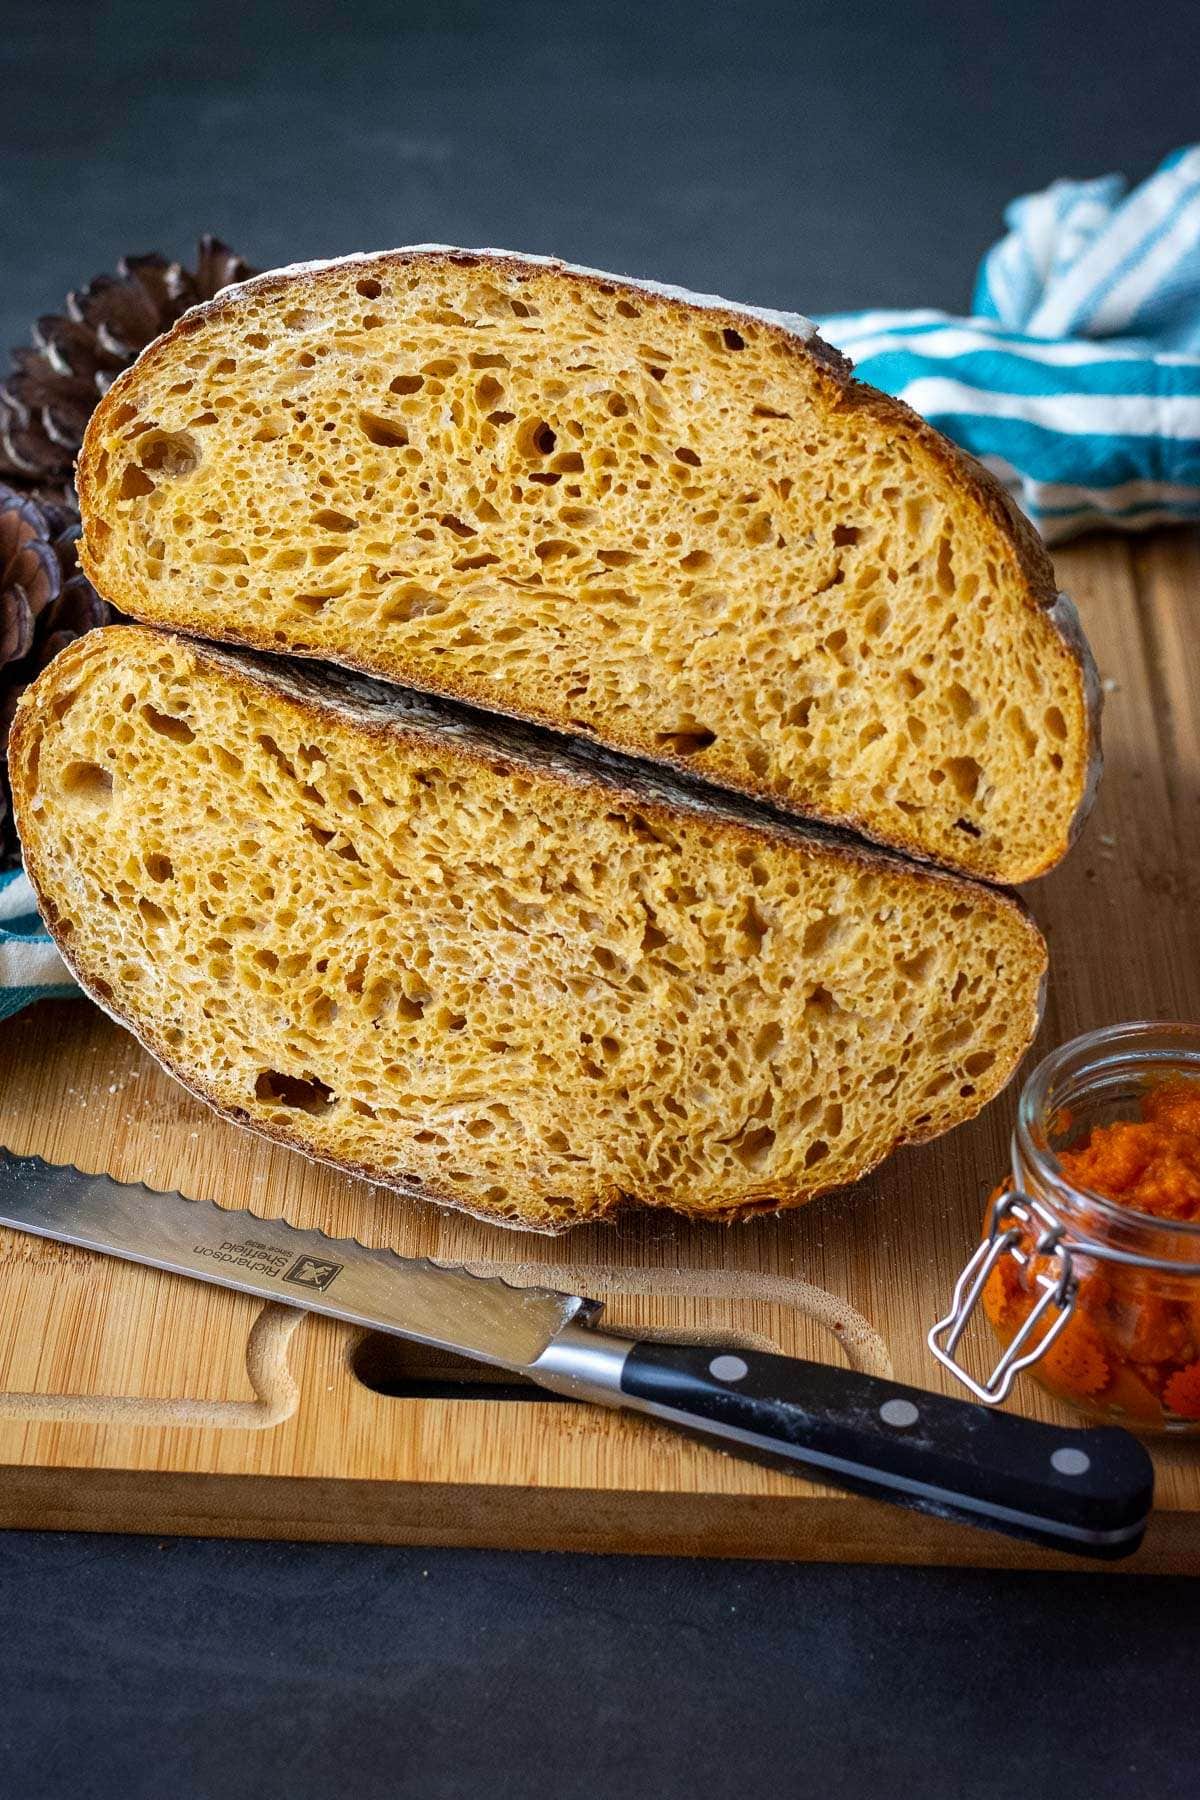
Leave the sourdough loaf to cool down to room temperature before slicing with a sharp knife.
Serving Suggestions
Pumpin Sourdough is a versatile loaf of bread. It is not an overly sweet bread and can be used as an accompaniment for savoury dishes like stews and soups. We particularly like it with Roasted Butternut Squash and Pepper Soup and Carrot and Leek Soup.
Having said that, a great way to enjoy it is slathered with salted butter or cream cheese and served alongside pumpkin spice lattes!
A loaf of pumpkin bread is also great for fall holidays, especially for your festive Thanksgiving table! And don't hesitate to explore more fall sourdough recipes.
Storage and Leftovers
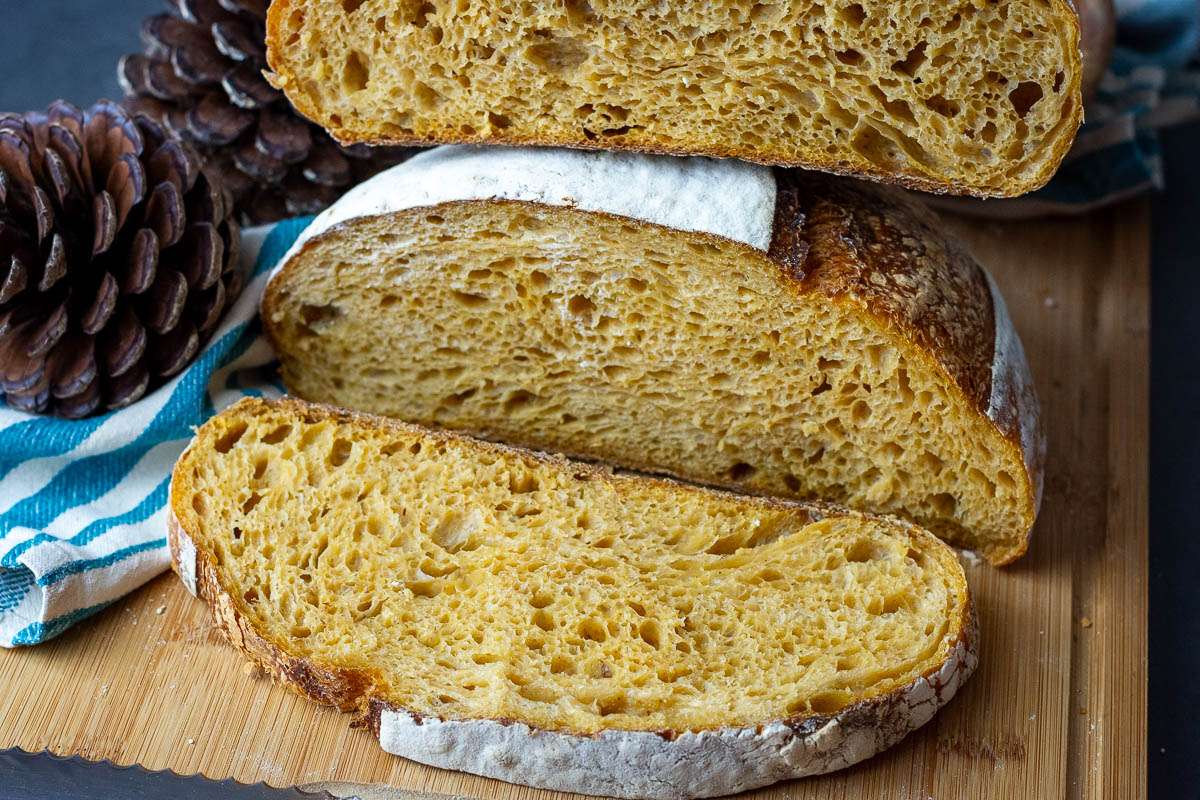
Pumpkin Sourdough bread is no different to other sourdough loaves and can be stored at room temperature for a couple of days, or frozen for longer storage. You can freeze an entire loaf, or slice it into individual pieces before freezing. Head to the articles below to learn more about sourdough storage:
Recipe FAQs
Whilst your pumpkin sourdough will still taste delicious, the dough may be more flimsy and difficult to handle and it won't have as much oven spring. This is due to lower gluten content compared to strong bread flour. For best results, we always recommend flour with no less than 12% gluten.
If you are using homemade puree, place it in a fine sieve and push the puree down with the back of the spoon to reduce the moisture in it. You may need to adjust the water amount in the recipe based on the consistency of your puree.
More Sourdough Recipes To Try
What's your favourite sourdough bread recipe for autumn? We love the recipes below when the weather is starting to get cold:



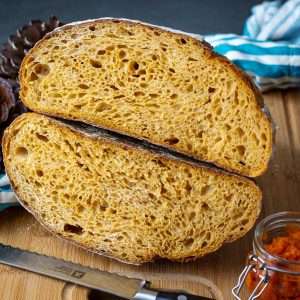
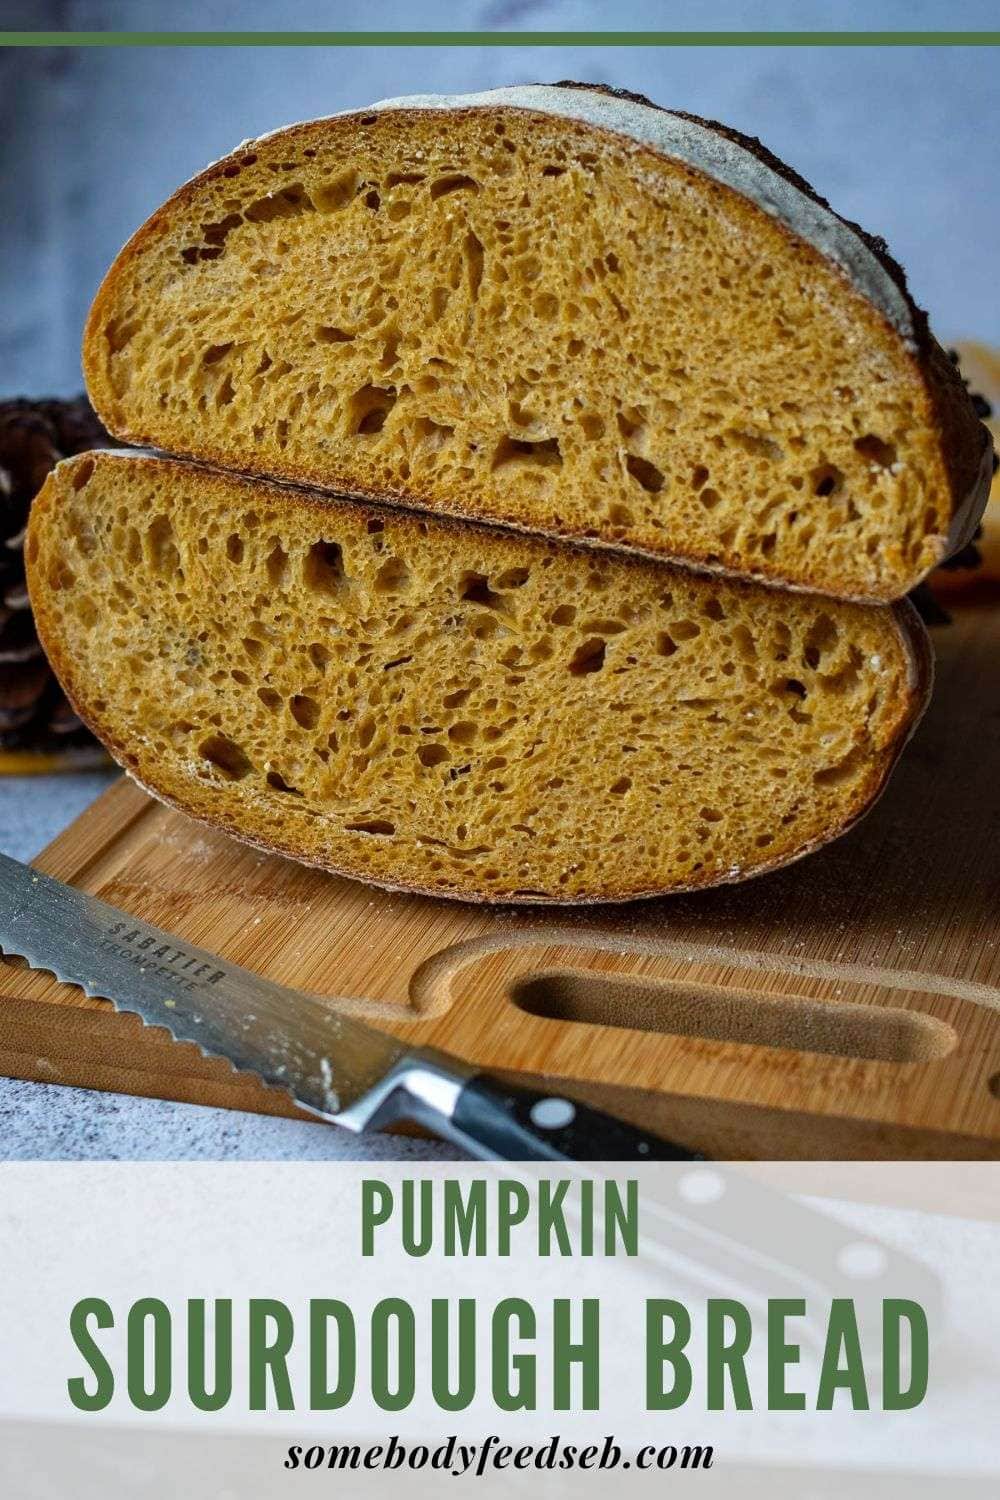
Pumpkin Sourdough Bread
Equipment
- Bench Scraper
- Razor Blade or Bread Lame
Ingredients
- 400 g strong white flour
- 8 g salt
- 1 teaspoon mixed spice or pumpkin pie spice
- 160 g pumpkin puree
- 160 g active sourdough starter 100% hydration
- 150 ml water
- 15 g clear honey
Instructions
DAY 1:
- When your sourdough starter is active and bubbly, in a bowl of your stand mixer, add the flour, spices and salt and mix everything together.
- In a jug, mix the water and honey together until honey dissolves. Add the sourdough starter and mix to combine.
- Pour the sourdough mixture into the flour. Add the pumpkin puree.
- Run the mixer for approximately 10 minutes on medium speed, until the dough looks elastic and slightly shiny.
- Scoop the dough into large clen bowl. Cover with a damp te towel or cling film and let the dough rest for 30 minutes.
- For the next 2 hours, at 30-minute internals, perform sets of coil folds (see video below).
- After 4 sets of folds, leave the pumpkin sourdough undisturbed in a warm spot for 2-3 hours, until almost doubled in size.
- At the end of bulk fermentation, using a dough scraper, scoop the dough onto a lightly floured surface. Try and make sure that the smooth top of the dough (the side that is not intact with the bowl) is placed on the floured work surface. Then swiftly fold the four corners of the dough into the centre and flip the dough over.
- With your bench scraper held at a shallow angle to the work surface, push the dough while using your hand to tuck it under itself, creating tension. This fluid circular motion involves pushing and gently rounding with the bench knife, while your free hand continues the rounding motion, tucking the dough slightly under itself. It takes some practice, but you should aim for a tight round ball of dough that holds its shape and doesn't spread much.
- Place the dough ball into a well-floured banneton basket. The smooth side of the sourdough ball should be at the bottom, with the seam at the top.
- Pinch the seam together with your fingers, if the dough starts spreading in the bowl to make sure the dough is tight. Sprinkle with some flour, and cover the dough with a clean fabric napkin or small lightweight tea towel.
- Place the proofing basket in a large plastic bag - it will protect the dough from drying out. Then place the whole thing in the fridge for its final rise (a.k.a. second rise) in the fridge for 12-36 hours.
DAY 2:
- The next day, place the Dutch Oven in the oven, and preheat it to 240°C (typically, it is the highest temperature home ovens will go to) with the Dutch oven in it. It needs to be piping hot!
- Once the oven is hot, take the dough out of the fridge and out of the bag.
- Invert the dough gently onto a large piece of parchment paper. If your dough was properly bulk fermented and shaped correctly, it should not spread once inverted.
- Dust the surface of the dough with flour. Using a bread lame or a razor blade, score the dough deeply (approximately 1cm deep) at a 30- 45º angle.
- Take the hot Dutch Oven out of the oven, take the lid off, and lift the sourdough into it, holding the edges of the parchment paper.
- Place the lid back on the Dutch Oven and place the bread into the hot oven for 25 minutes.
- After 25 minutes, take the lid off, and return the sourdough to the oven for another 25 minutes. If you don't want your loaf of bread too dark in colour, you can reduce the oven temperature to 200°C.
- Once baked, take the Dutch Oven out of the oven. Lift the bread out by holding the corners of the parchment paper. Place the bread onto the wire rack, and slide the parchment paper from underneath the loaf.
- Leave the sourdough to cool down to room temperature before slicing.
Video
Nutrition



Swathi says
Pumpkin sourdough bread is one of my favorite one , your version is so good.
Ieva Greber says
Thank you so much, means a lot!
Matt says
I love its soft texture and pumpkin spice with the tangy sourdough flavor. Perfect for autumn mornings.
Liz says
Such a beautiful, tasty sourdough recipe! I love slices smeared with cool creamy butter!!!
Ieva Greber says
Agreed. Good sourdough doesn't need much - butter is enough 🙂
Lora says
A really nice pumpkin sourdough bread that is fun to make on the weekend. Perfect for fall!
Ieva Greber says
I can honestly say, it's our favourite Sourdough boule for the season. So glad you liked it 🙂
Sonja says
This is such a perfect fall bread! I love the colour of it, but the flavor is even better. Gently warm spiced and a little sweet, it was perfect with some homemade apple butter!
Ieva Greber says
Mmmm, apple butter - must make some soon! Thank you for the lovely feedback, and I'm so glad you liked it 🙂