
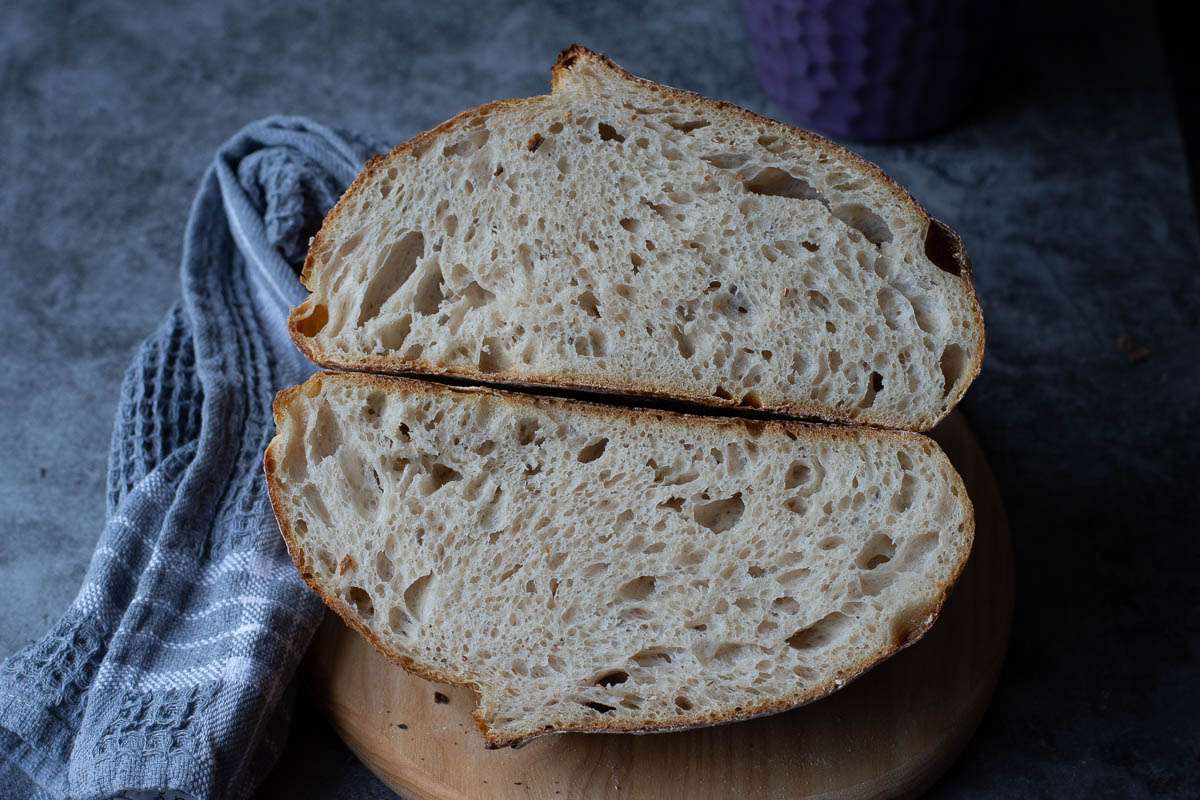
There is nothing quite like homemade sourdough bread... Dark golden brown chewy crust, airy moist crumb, and the irresistible smell of freshly baked bread in the kitchen! If you are just starting out on your sourdough baking journey, we recommend you start with this simple step-by-step recipe. This everyday sourdough bread is nothing short of delicious, but is beginner-friendly since it doesn't push sourdough hydration boundaries or use any fancy flours! In short, it's artisan sourdough made simple...

Jump to:
As an Amazon Associate I earn from qualifying purchases, at no extra cost for you! Thank you!
The Benefits and Versatility of a Simple Sourdough Loaf
Sourdough bread offers several potential benefits, including improved digestibility and enhanced nutrient availability due to the long fermentation process. Additionally, homemade bread is free from the additives and processing found in commercial products, making it a healthier option with fewer ultra-processed ingredients.
There are endless uses for a simple sourdough loaf to be used with your everyday recipes! Serve it for breakfast with some Breakfast Guacamole and a Poached Egg! Make a Welsh Rarebit or serve it along with your favourite soup recipe for lunch!

Sourdough bread also makes a delicious accompaniment to stews and salads or as something to scoop up that delicious Beetroot Dip or Lebanese Hummus! Do you know what else? We love dipping it in Baked Camembert or Cheese Fondue too!


Ingredient Notes
My easy everyday sourdough bread is made with no mix-ins of fancy flour. In fact, you will only need 4 ingredients to make this sourdough bread recipe (and that's including water and salt). So if you are a beginner, this sourdough recipe is a good place to start!
We also use this exact mix of ingredients for baking sourdough in a loaf tin.
- White Bread Flour: also known as strong flour. Ideally, you will need flour with at least 12% gluten content in it. I would not recommend using all-purpose flour, as it lacks gluten and your shaped loaf of bread won't hold its shape well. Once in a while, we replace 15-25% of white flour with whole wheat flour or rye flour, but these types of flour are thirstier, so you will need to adjust the amount of water in the recipe. Alternatively, try our Spelt Sourdough Bread.
- Salt: We tend to use sea salt in our sourdough recipes, but you may use rock salt.
- Water: We simply use tap water, but if you like in an area with highly-chlorinated tap water, use filtered (but never distilled) water. Using luke warm water can also speed up the bulk fermentation process. Or you may try our Sourdough Beer Bread by substituting water with beer!
- Active Sourdough Starter: mature starter at 100% hydration, ideally low in acidity and with strong and active wild yeast colonies.
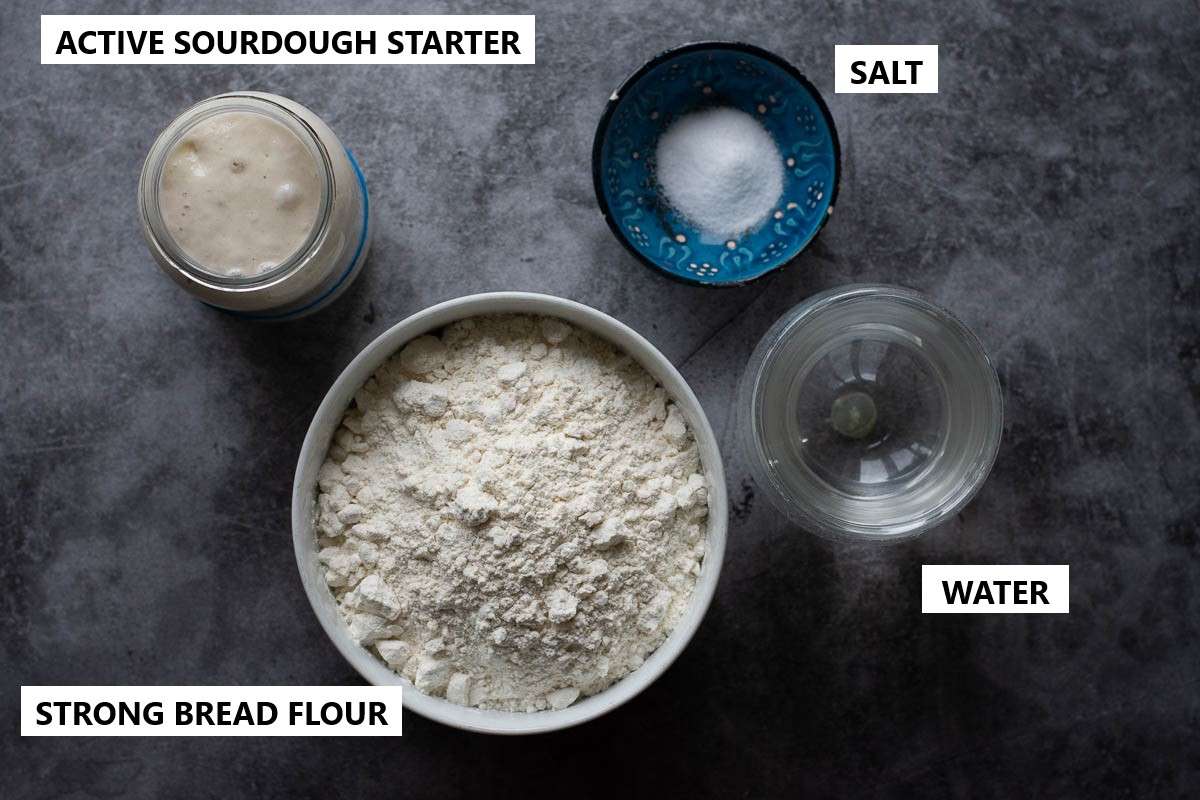
You can find quantities, instructions and nutritional information in the recipe card at the bottom of the post.
Step-By-Step Method
My everyday sourdough bread is made over two days: we mix, bulk ferment and fold the dough on day 1, then leave it to cold-proof overnight in the fridge. On day 2, we score, bake and eat!
If you are in a hurry, try our Same Day Sourdough Bread recipe.
Day 1
Mixing The Dough
1. First thing in the morning, feed sourdough starter. I typically feed 70g of my starter in a ratio of 1 part starter:1 part water:1 part flour. This simply means that I mix 70g of starter with 70g water and 70g flour. Scoop the mixture into a clean jar, and leave it in a warm spot (ideally, (21-27°C)), semi-covered for 4 hours. Your starter should at least double in volume during this time. If it doesn't, it may need a couple of good feeds before it's fit for purpose.
2. Once the sourdough starter is active and bubbly (and at least doubled in volume), mix the dough. I use a stand mixer for this. Simply mix the flour and salt in the bowl of a stand mixer. Then add the water and sourdough starter.
Run the mixer, fitted with a dough hook attachment for 10 minutes, until your dough is smooth and elastic. It does not need to pass the windowpane test just yet (the gluten will continue developing when we fold the dough during the bulk fermentation period).


The windowpane test is a technique used in bread baking to check if the dough has been kneaded enough to develop proper gluten structure. To perform the test, a small piece of dough is stretched thinly between fingers; if it stretches into a translucent "window" without tearing, the gluten is well-developed and the dough is ready for fermentation.

But Wait, What About Autolyse? When I make my everyday sourdough bread, I don't always autolyse. But if you have time, you absolutely should. Autolyse has lots of benefits, which you can read about in our dedicated article about the sourdough autolyse process.
To autolyse, in a bowl of your stand mixer, you should mix the flour and water into a shaggy dough (it will be dry) - simply run the mixer for 1-2 minutes. Cover the bowl with a kitchen towel and leave the flour to hydrate for 30-60 minutes before adding the salt and sourdough starter. Note, that you will need to start the autolyse process before your sourdough starter reaches its peak.
Coil Folds And Bulk Fermentation
1. Scoop the dough into a large bowl, cover with a damp kitchen towel or plastic wrap and leave it in a warm place (21-27°C) for 30 minutes. Warm temperature is paramount to a good rise.
2. After 30 minutes, with cold wet hands, perform the first set of coil folds. Simply lift the bread dough with both hands from the sides and tuck it under to form a coil. Rotate the bowl a quarter turn and coil again. Cover the bowl again, and let the dough rest for 30 minutes again (see video below).
3. You should repeat the process every 30 minutes until you have done 4-6 sets of coil folds. Your dough will spread less with every set of folds, and by the end of it, you will have a much less sticky, very soft and elastic dough that has blisters on top of the dough.
For more information on how to coil fold and when to know when you've done enough folding, head to our dedicated article about Sourdough Coil Folds.
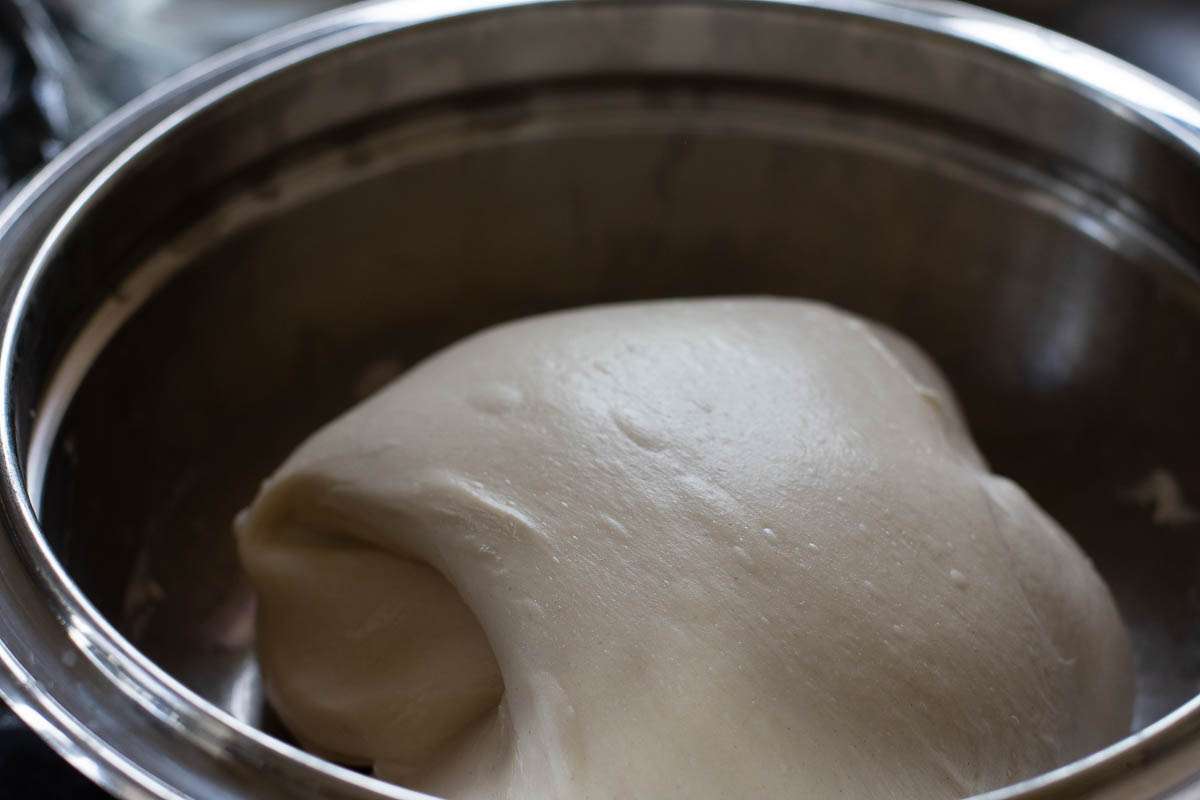
4. Once all the folds have been completed, cover the dough and let the dough rise at warm room temperature for 2-3 hours to finish bulk fermentation (also known as first rise).
Your dough should just about double its original size. If you are using a see-through glass bowl for bulk fermenting, you should see a lot of activity and bubbles forming at the base and sides of the bowl.
Shaping and Final Proof
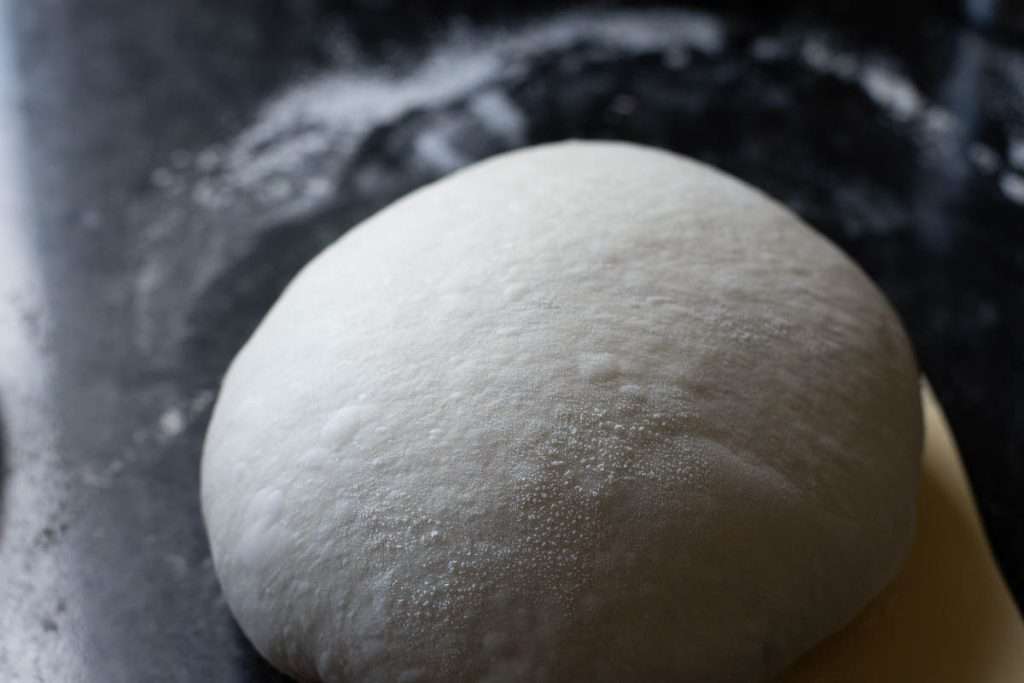
1. At the end of bulk fermentation, using a bowl scraper scoop the dough onto a lightly floured surface. Try and make sure that the smooth top of the dough (the side that is not intact with the bowl) is placed on the floured work surface. Then swiftly fold the four corners of the dough into the centre and flip the dough over.

2. With your bench scraper held at a shallow angle to the work surface, push the dough while using your hand to tuck it under itself, creating tension. This fluid circular motion involves pushing and gently rounding with the bench knife, while your free hand continues the rounding motion, tucking the dough slightly under itself.
It takes some practice, but you should aim for a tight round ball of dough that holds its shape and doesn't spread much.
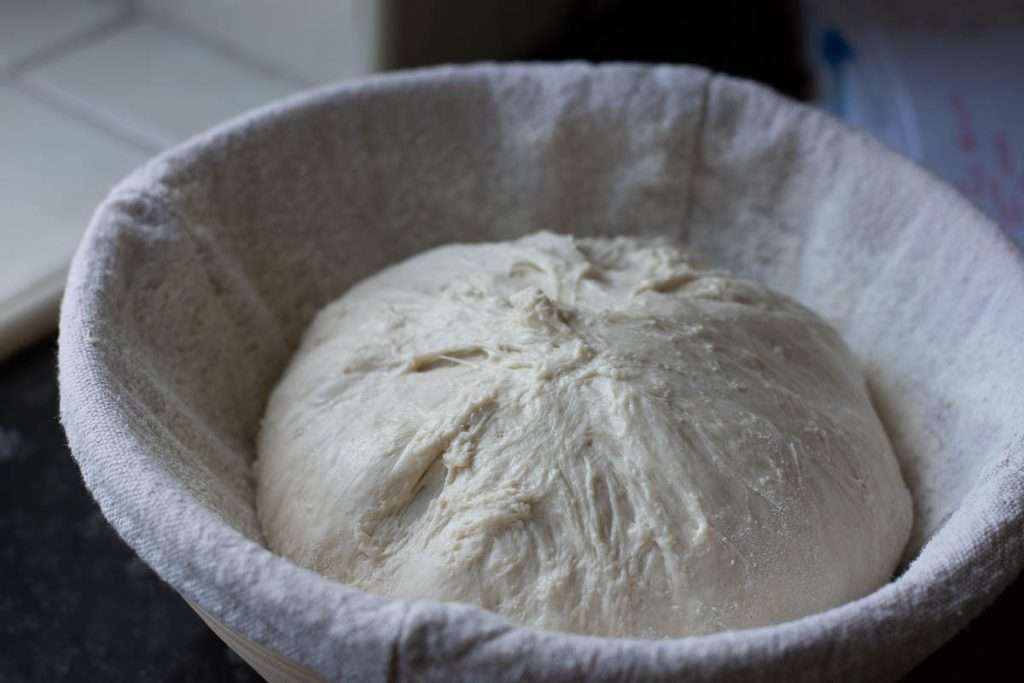
3. Place the dough ball into a well-floured banneton basket (or any proofing basket alternatives). We recommend using rice flour for dusting your proofing baskets. The smooth side of the sourdough ball should be at the bottom, with the seam at the top.
4. Pinch the seam together with your fingers, if the dough starts spreading in the bowl, to make sure the dough ball is tight. Sprinkle with some flour, and cover the dough with a clean fabric napkin or small lightweight tea towel.
5. Place the proofing basket in a large plastic bag - it will protect the dough from drying out. Then place the whole thing in the fridge for its final rise (a.k.a. second rise) in the fridge for 12-36 hours.

If you wish, you can bake sourdough in a loaf pan! Head to our article about baking sourdough in a loaf pan to learn more!
Day 2
I typically bake my everyday sourdough the next morning or around lunchtime.
Preheating The Oven
1. The next day, place the Dutch Oven in the oven, and preheat it to 240°C (typically, it is the highest temperature home ovens will go to) with the Dutch oven in it. It needs to be piping hot!
Scoring The Dough
1. Once the oven is hot, take the dough out of the fridge and out of the bag.
2. Invert the dough gently onto a large piece of parchment paper. If your dough was properly bulk fermented and shaped correctly, it should not spread once inverted.
3. Dust the surface of the dough with flour. Using a bread lame or a razor blade, score the dough deeply (approximately 1cm deep) at a 30- 45º angle.


One single deep slash is all that's needed for that sought-after sourdough "ear".
Baking
4. Take the hot Dutch Oven out of the oven, take the lid off, and lift the sourdough into it, holding the edges of the parchment paper. Be mindful of how you lift the paper. Sometimes, the scored slash can begin to close up during this process. To prevent this, lift the parchment from the sides that won't push the two edges of the scored dough back together.
Or try baking sourdough in an inverted Dutch Oven.

5. Place the lid back on the Dutch Oven and place the bread into the hot oven for 25 minutes.
6. After 25 minutes, take the lid off, and return the sourdough to the oven for another 25 minutes. If you don't want your loaf of bread too dark in colour, you can reduce the oven temperature to 200°C.


Cooling
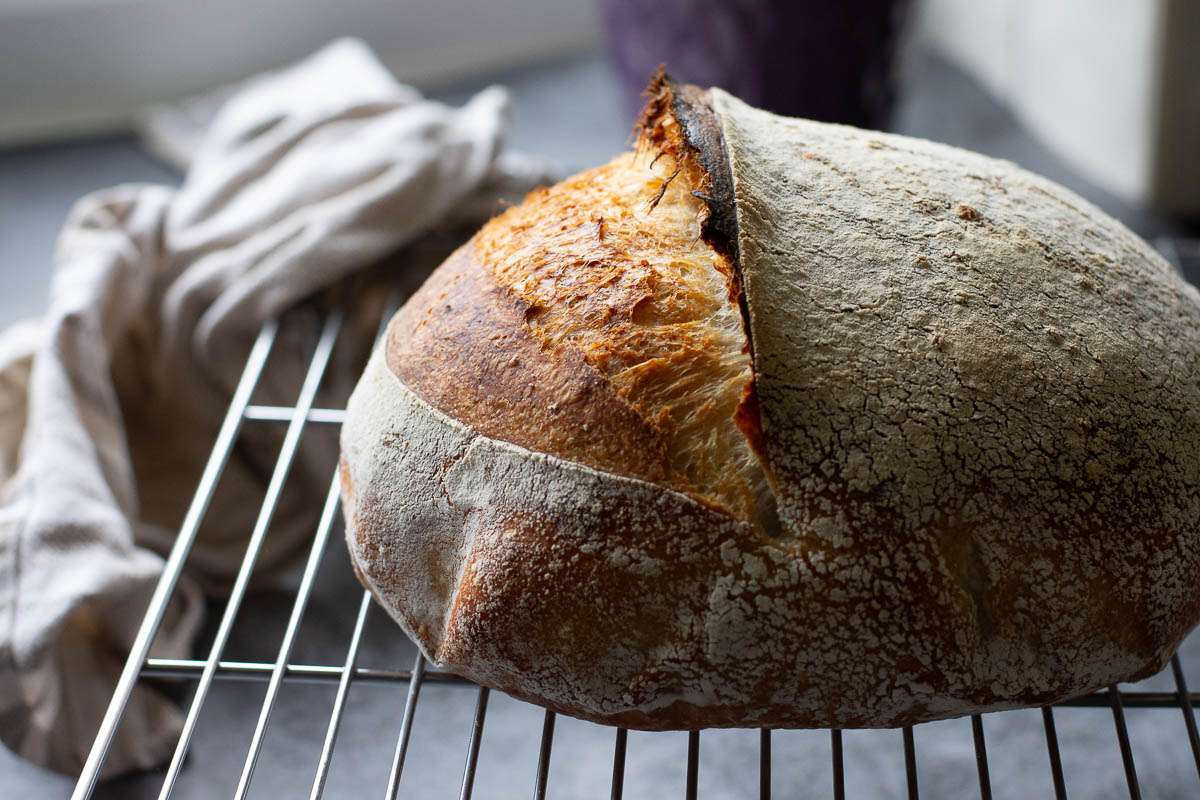
1. Once baked, take the Dutch Oven out of the oven. Lift the bread out by holding the corners of the parchment paper. Place the bread onto the wire rack, and slide the parchment paper from underneath the loaf.
2. Leave the sourdough to cool down to room temperature before slicing.
Storage and Leftovers
You can store homemade sourdough bread at room temperature in an airtight container, a ziplock bag, a bread box or wrapped in a tea towel for up to 3 days.
The best way to store it long-term is to freeze it though! It freezes beautifully! Go ahead and learn more about storing sourdough bread in the articles below:

Recipe FAQs
Here are some key issues that you may face (trust me, I've been there...)
Sticky dough can result from insufficient gluten development, sourdough hydration levels being too high or bulk fermenting for too long. Ensure you use flour with high gluten content, mix the dough thoroughly and coil fold until it doesn't spread much. We always recommend using a kitchen scale (not cups and spoons) to ensure the right hydration levels. Overfermenting the dough may also be an issue, as the gluten network starts to break down resulting in a sticky mess.
A deflated loaf with wrinkled skin usually indicates overproofing or poor shaping technique. To prevent this, monitor the bulk fermentation closely, don't let your dough more than double in volume, and make sure to shape a very tight ball of dough before proofing it in the fridge overnight.
This is most likely due to insufficient fermentation which can happen if your starter is not active enough, the temperature is too low for bulk fermentation and you have not left the dough to ferment for long enough.
If you have any questions, don't hesitate to leave a comment below or email me - I am happy to help!
Sourdough Bread With Mix-Ins
Many sourdough bakers I know love nothing better than experimenting with different mix-ins. So if you mastered your simple sourdough loaf, why not try some of the flavoured sourdough next time? Start with a simple Parmesan Sourdough Bread or Honey Oat Sourdough. Here are some more of our favourite recipes:


Flavoured Sourdough: How, When and What Mix-Ins To Add To Your Sourdough?
Discover a variety of mix-ins and learn how they affect hydration and bulk fermentation, master the art of substituting water with coffee and tea, and explore a plethora of creative mix-in ideas. Plus, get 2 exclusive bonuses that will inspire you to create the most flavoursome and unique sourdough!


My Everyday Sourdough Bread
Equipment
- Bench Scraper
- Razor Blade or Bread Lame
Ingredients
- 400 g strong bread flour with at least 12% protein content
- 8 g salt
- 230-240 ml water
- 160 g active sourdough starter 100% hydration
Instructions
DAY 1:
Mixing The Dough
- First thing in the morning, feed your sourdough starter. I typically feed 70g of my starter in a ratio of 1 part starter:1 part water:1 part flour. This simply means that I mix 70g of starter with 70g water and 70g flour. Scoop the mixture into a clean jar, and leave it in a warm spot (ideally, (21-27°C)), semi-covered for 4 hours. Your starter should at least double in volume in this time. If it doesn't, it may need a couple of good feeds before it's fit for purpose.I use 160g of active starter for baking and feed the remaining 50g before storing it for the future.
- Once the sourdough starter is active and bubbly (and at least doubled in volume), mix the dough. I use a stand mixer for this. Simply mix the flour and salt in the bowl of a stand mixer. Then add the water and sourdough starter. Run the mixer, fitted with a dough hook attachment for 10 minutes, until your dough is smooth and elastic. It does not need to pass the windowpane test just yet (the gluten will continue developing when we fold the dough during the bulk fermentation period).
Coil Folds And Bulk Fermentation
- Scoop the dough into a large bowl, cover with a damp kitchen towel or plastic wrap and leave it in a warm place (21-27°C) for 30 minutes.
- After 30 minutes, with cold wet hands, perform the first set of coil folds. Simply lift the bread dough with both hands from the sides and tuck it under to form a coil (video below). Rotate the bowl a quarter turn and coil again. Cover the bowl again, and let the dough rest for 30 minutes again.
- You should repeat the process every 30 minutes until you have done 4-6 sets of coil folds. Your dough will spread less with every set of folds, and by the end of it, you will have a much less sticky, very soft and elastic dough that has blisters on top of the dough. For more information on how to coil fold and when to know when you've done enough folding, head to our dedicated article about Sourdough Coil Folds.
- Once all the folds have been completed, cover the dough and let the dough rise at warm room temperature for 2-3 hours to finish bulk fermentation. Your dough should just about double its original size. If you are using a see-through glass bowl for bulk fermenting, you should see a lot of activity and bubbles forming at the base and sides of the bowl.
Shaping and Final Proof
- At the end of bulk fermentation, using a bowl scraper, scoop the dough onto a lightly floured surface. Try and make sure that the smooth top of the dough (the side that is not intact with the bowl) is placed on the floured work surface. Then swiftly fold the four corners of the dough into the centre and flip the dough over.
- With your bench scraper held at a shallow angle to the work surface, push the dough while using your hand to tuck it under itself, creating tension. This fluid circular motion involves pushing and gently rounding with the bench knife, while your free hand continues the rounding motion, tucking the dough slightly under itself. It takes some practice, but you should aim for a tight round ball of dough that holds its shape and doesn't spread much.
- Place the dough ball into a well-floured banneton basket (or any proofing basket alternatives). We recommend using rice flour for dusting your proofing baskets. The smooth side of the sourdough ball should be at the bottom, with the seam at the top.
- Pinch the seam together with your fingers, if the dough starts spreading in the bowl to make sure the dough is tight. Sprinkle with some flour, and cover the dough with a clean fabric napkin or small lightweight tea towel.
- Place the proofing basket in a large plastic bag - it will protect the dough from drying out. Then place the whole thing in the fridge for its final rise (a.k.a. second rise) in the fridge for 12-36 hours.
DAY 2
- The next day, place the Dutch Oven in the oven, and preheat it to 240°C (typically, it is the highest temperature home ovens will go to) with the Dutch oven in it. It needs to be piping hot!
Scoring The Dough
- Once the oven is hot, take the dough out of the fridge and out of the bag.
- Invert the dough gently onto a large piece of parchment paper. If your dough was properly bulk fermented and shaped correctly, it should not spread once inverted.
- Dust the surface of the dough with flour. Using a bread lame or a razor blade, score the dough deeply (approximately 1cm deep) at a 30- 45º angle. One single deep slash is all that's needed for that sought-after sourdough "ear".
Baking
- Take the hot Dutch Oven out of the oven, take the lid off, and lift the sourdough into it, holding the edges of the parchment paper. Be mindful of how you lift the paper. Sometimes, the scored slash can begin to close up during this process. To prevent this, lift the parchment from the sides that won't push the two edges of the scored dough back together.
- Place the lid back on the Dutch Oven and place the bread into the hot oven for 25 minutes.
- After 25 minutes, take the lid off, and return the sourdough to the oven for another 25 minutes. If you don't want your loaf of bread too dark in colour, you can reduce the oven temperature to 200°C.
Cooling
- Once baked, take the Dutch Oven out of the oven. Lift the bread out by holding the corners of the parchment paper. Place the bread onto the wire rack, and slide the parchment paper from underneath the loaf.
- Leave the sourdough to cool down to room temperature before slicing.
Video
Nutrition




Criss says
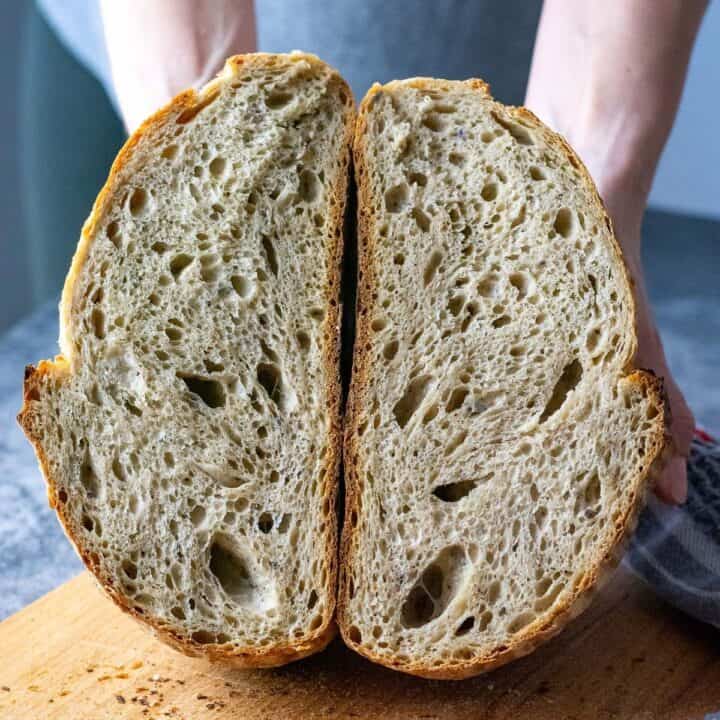
Made your everyday sourdough bread, and it turned out perfect! The crust was crispy, the inside soft, and it had just the right amount of tang. Super happy with how it turned out!
Ieva Greber says
Aw, that's brilliant! So happy to hear your sourdough turned out just the way you wanted—crispy crust and all! Enjoy every slice! 😊