
If you've ever wanted to make Sourdough Neapolitan Pizza at home and actually end up with a pizza you're proud of - puffy crust, airy rim, crisp base and all - this is the sourdough pizza dough recipe for you. I'll talk you through every stage in detail, from mixing and bulk fermentation to shaping, chilling, stretching and cooking, so you can make a truly great sourdough pizza crust without needing a wood-fired oven or any pizza-induced emotional damage.

Jump to:
As an Amazon Associate I earn from qualifying purchases, at no extra cost for you! Thank you!
When we went to Italy last year, we simply had to learn how to make pizza properly, so we booked ourselves onto a short course just outside Naples. It was equal parts flour, fire and very strong opinions about what counts as "real" pizza - exactly my kind of day out. Since then, I've spent the better part of a year tweaking and testing a sourdough version of Neapolitan-style pizza for the home oven, and this is the method I keep coming back to.
LOVE BAKING SOURDOUGH WITH ME?
You can now add Somebody Feed Seb as a preferred source on Google. It only takes a tick box, and tells Google you'd like to see more of my recipes when relevant.
Sourdough Pizza Neapolitan Style
Traditional Neapolitan pizza is all about a soft, airy dough, a very hot oven, a thin centre and a puffy, blistered crust. It's usually baked in a wood-fired oven at ferocious temperatures that most of us simply do not have in our kitchens. Rude, frankly.
So this recipe is my very favourite workaround.
Instead of a pizza stone, baking steel or outdoor pizza oven, we're using a very hot oven-proof frying pan or cast iron skillet under the grill/broiler. That gives you intense bottom heat and top heat in quick succession, which is exactly what you need for thin-crust pizzas with a puffed rim and proper colour.

And sourdough? It makes the whole thing even better. You get more complex flavors, better browning, a more digestible dough, and that subtle tang that makes a homemade pizza feel just a little bit smugger than usual.
Important Tips For Great Sourdough Pizza Crust
Before we get to the flour-dusted fun, here are the things that matter most:
- Use a high hydration dough. This dough sits at a level that gives you a light, airy open crumb and that soft, puffy Neapolitan-style rim. High hydration doughs can feel a little sticky at first, but they reward you handsomely.
- Adjust water depending on flour. Not all flours absorb the same amount of water. Some bread flour or Canadian flour can take a little more, while softer flours may need less water. If your dough feels absurdly wet rather than just soft, your flour is likely the culprit. You can learn more about water absorption capacity in flour.
- Give fermentation the time it deserves. Good pizza dough is not a rushed thing. A proper bulk fermentation followed by a cold ferment is what gives this sourdough pizza crust recipe flavour, extensibility and those lovely airy edges.
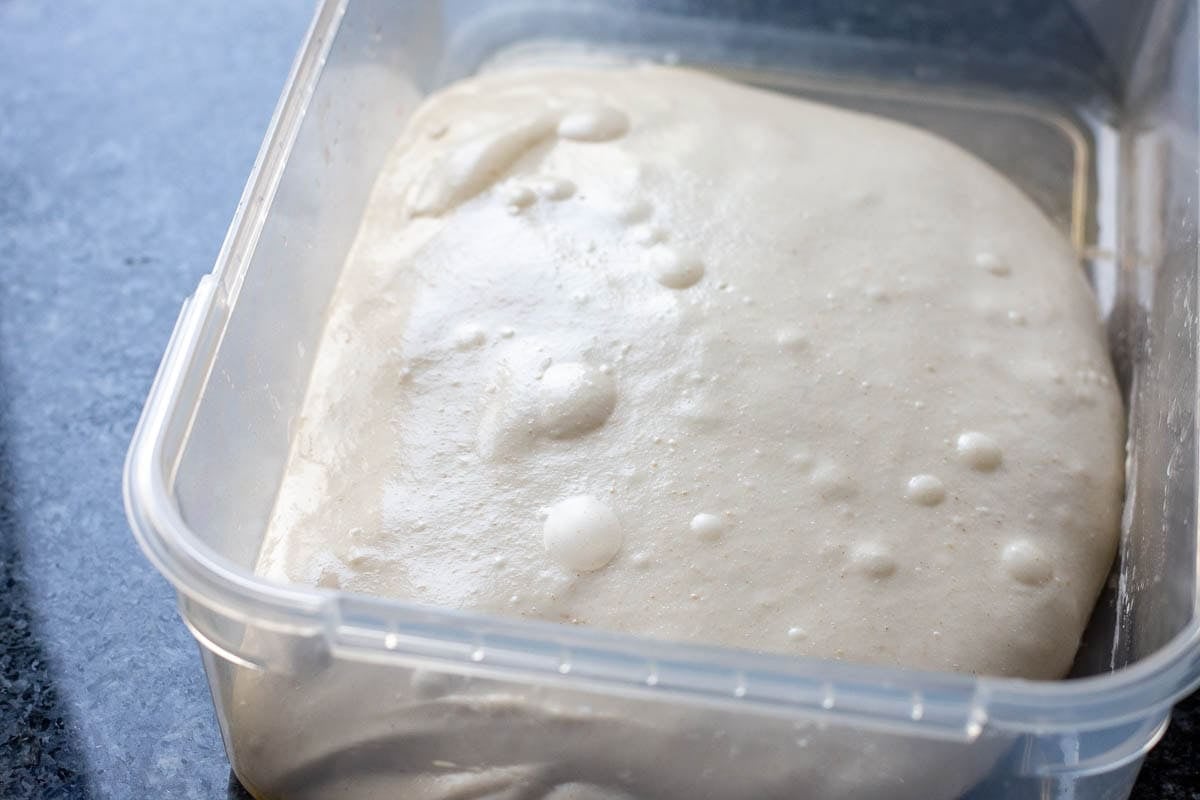
- Cold fermentation matters. Chilling the dough balls slows fermentation and improves flavour and browning. It also makes the dough easier to manage and gives you a better sourdough crust overall. Longer cold fermentation is widely used because it improves flavour.
- Do not stretch cold dough. Cold dough fights back. Let it come fully to room temperature before stretching or you'll get tearing, spring-back and muttering.
- Do not use a rolling pin. You've worked hard for that airy crust. A rolling pin will flatten all the lovely gas out of it and leave you with a sad, dense base.
- Preheat everything properly. The pan needs to be ripping hot.
Best Flour for Sourdough Pizza
The best flour for homemade sourdough pizza depends a little on the style you want and the way you're baking it.
Tipo 00 Flour
If you're aiming for a classic Neapolitan-style pizza, Tipo 00 is the traditional choice. It's very finely milled and usually produces a beautifully extensible dough with a soft, tender chew. But not all 00 flour is equal - "00" refers to grind, not necessarily protein. A good pizza 00 flour tends to work best in the 12-13% protein range. Note that it absorbs less water than strong bread flour with similar protein content.
White Bread Flour
This recipe is written with strong white bread flour, because it's reliable, widely available, and gives excellent structure for this method. It tends to absorb more water than some 00 flours and gives you a slightly chewier type of crust, which I personally love.
Canadian Flour
Canadian strong flour is often very high in protein and excellent for pizza dough, especially if you want strong gluten development and a dough that can handle a long ferment. It may need a little bit more water than softer flour.
Add a Little Whole Wheat
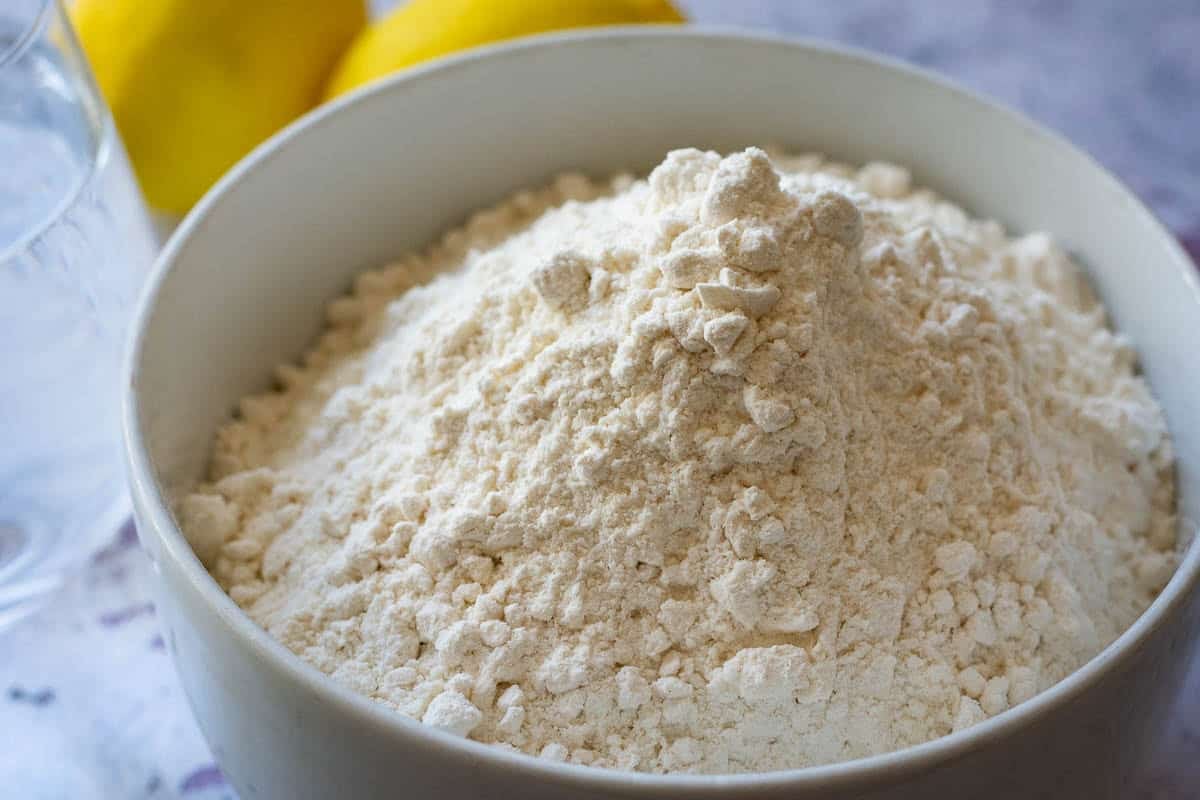
You can replace 5-10% of the white flour with whole wheat flour if you want a slightly nuttier flavour and a little more depth. Just know it tends to absorb more water and can make the dough a touch less extensible.
Plain / All-Purpose Flour
You can use purpose flour, but the dough will usually be softer, less strong and a little harder to stretch thin without tearing. If that's all you've got, you'll still make good pizza - just not the best pizza dough of your life. Make sure to reduce the amount of water in the recipe.
Step-By-Step Method
DAY 1
1. Fermentolyse
Once your bubbly sourdough starter is at peak, it's time to mix.
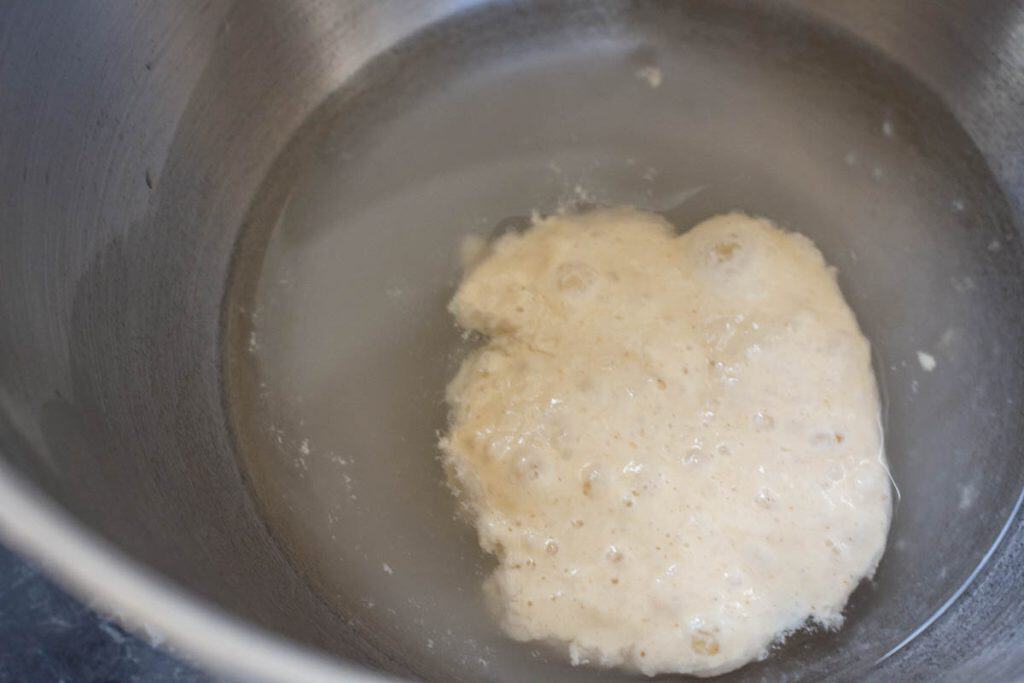
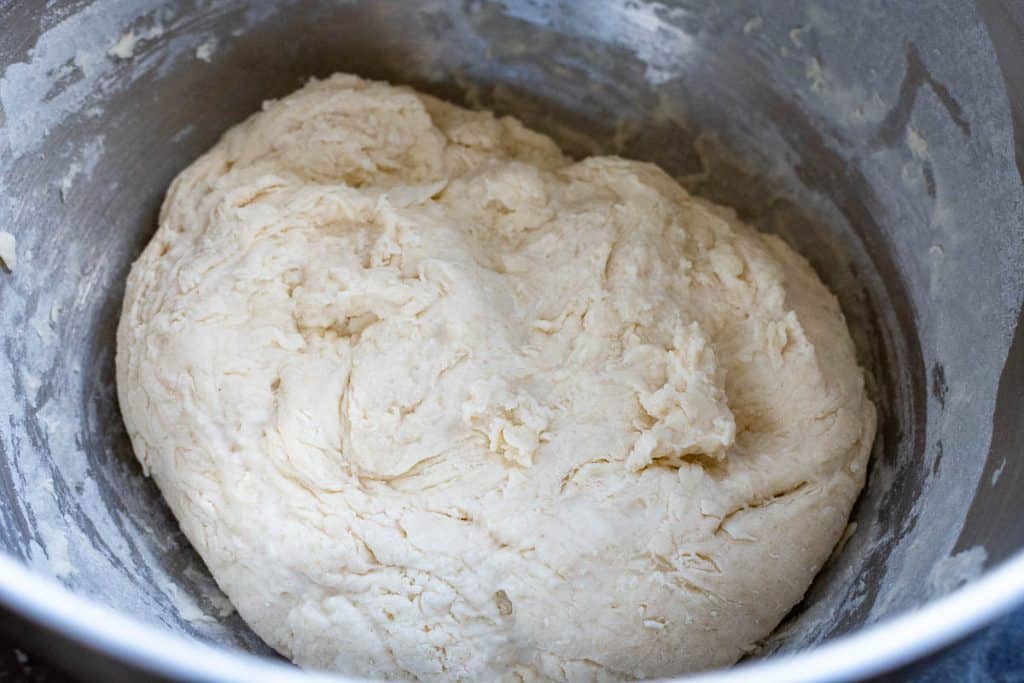
In a large mixing bowl (or the bowl of your stand mixer), combine the luke warm water and active starter, stirring to loosen it slightly. Add the flour and mix until there are no dry patches left. You're not kneading yet - just making sure everything is hydrated.
Cover and leave to fermentolyse for 30 minutes in a warm spot. This gives the flour time to absorb water and makes the dough much easier to work with later.
2. Mix Final Dough
Add the salt and extra virgin olive oil to the dough.
Knead either:
- by hand for about 10 minutes using slap and folds,
- or in a stand mixer with a dough hook attachment for 8-10 minutes.
You're looking for a smoother dough with good elasticity - not necessarily a perfect windowpane, but definitely a dough that feels more cohesive and less scruffy than it did 10 minutes ago.
Shape into a rough dough ball and place into a lightly oiled proofing vessel or large bowl. Cover it well with cling film (plastic wrap) or a tight lid.
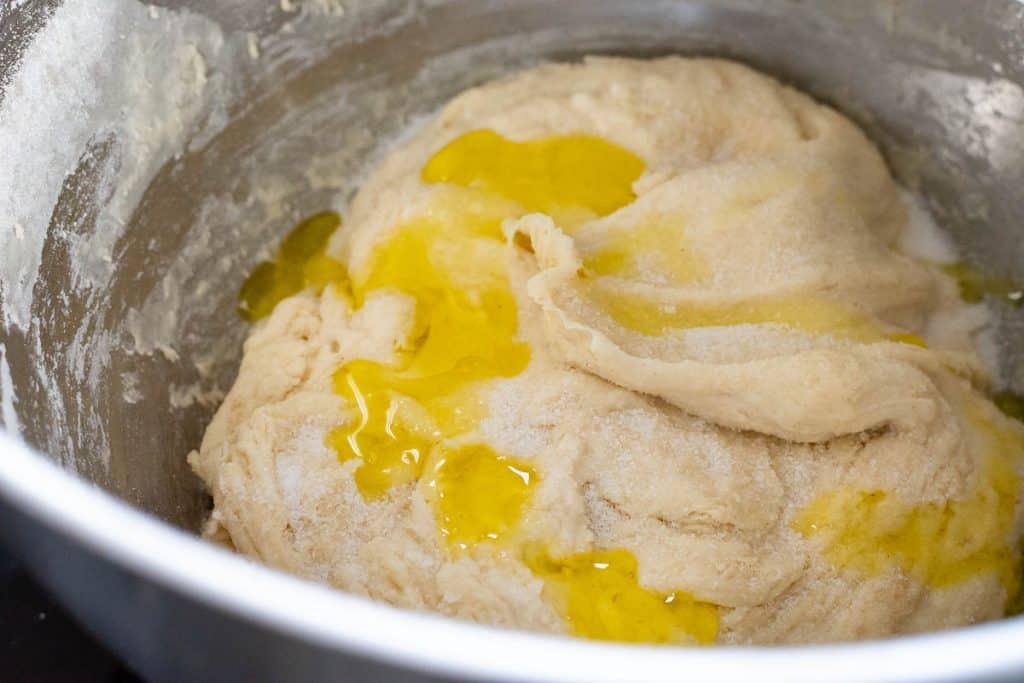
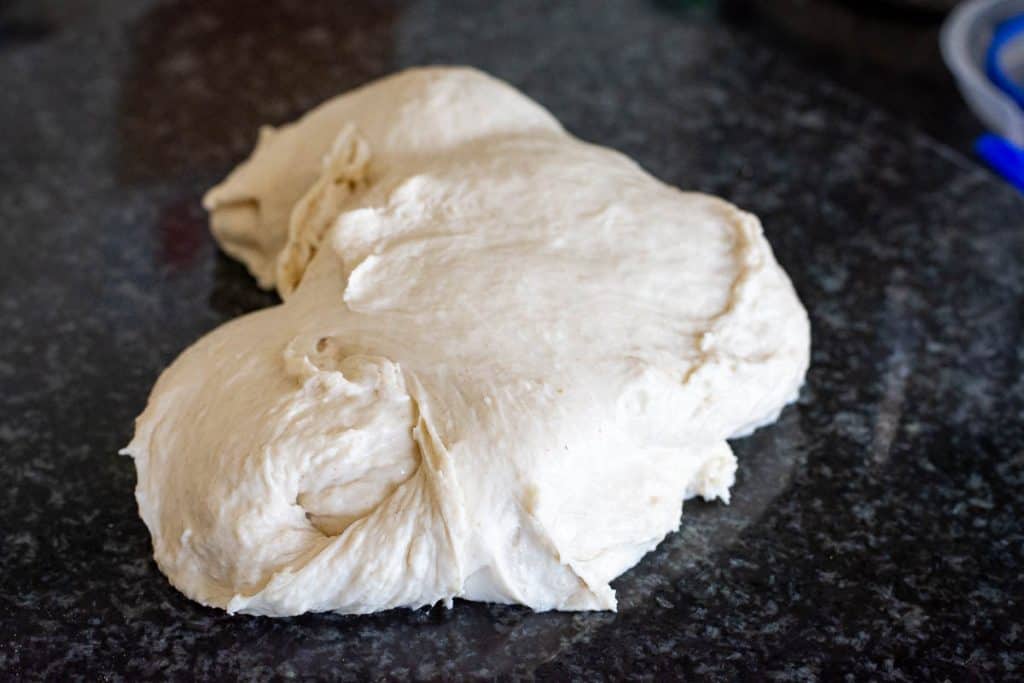
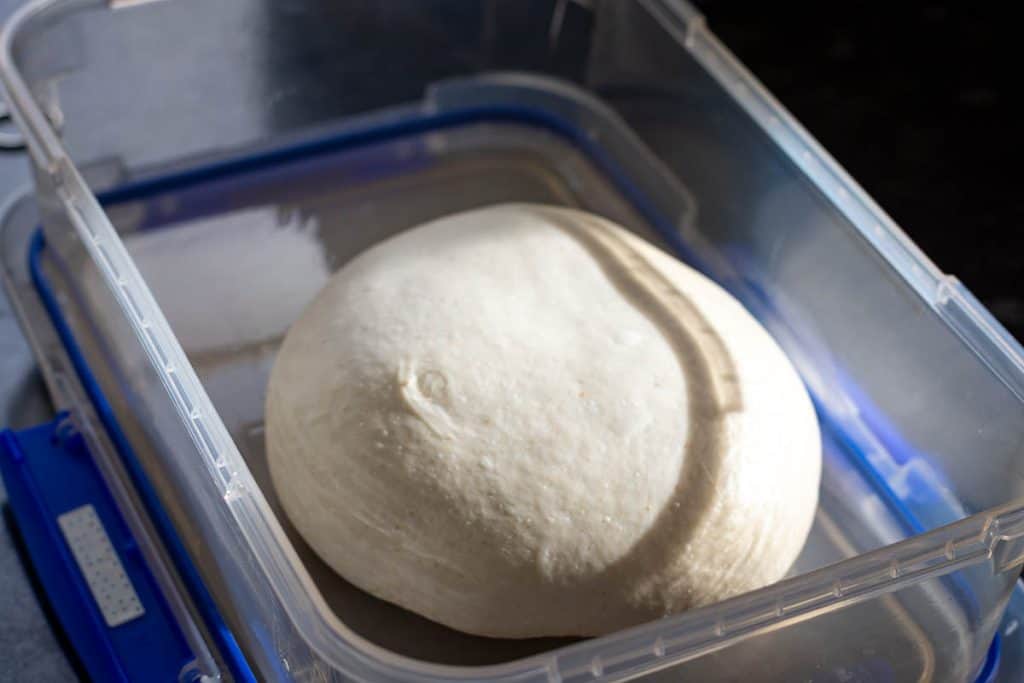
3. Folds and Bulk Fermentation
Leave the dough for 30 minutes, then do your first set of coil folds or stretch and folds.
Repeat every 30 minutes until you've done 4 sets total over 2 hours.
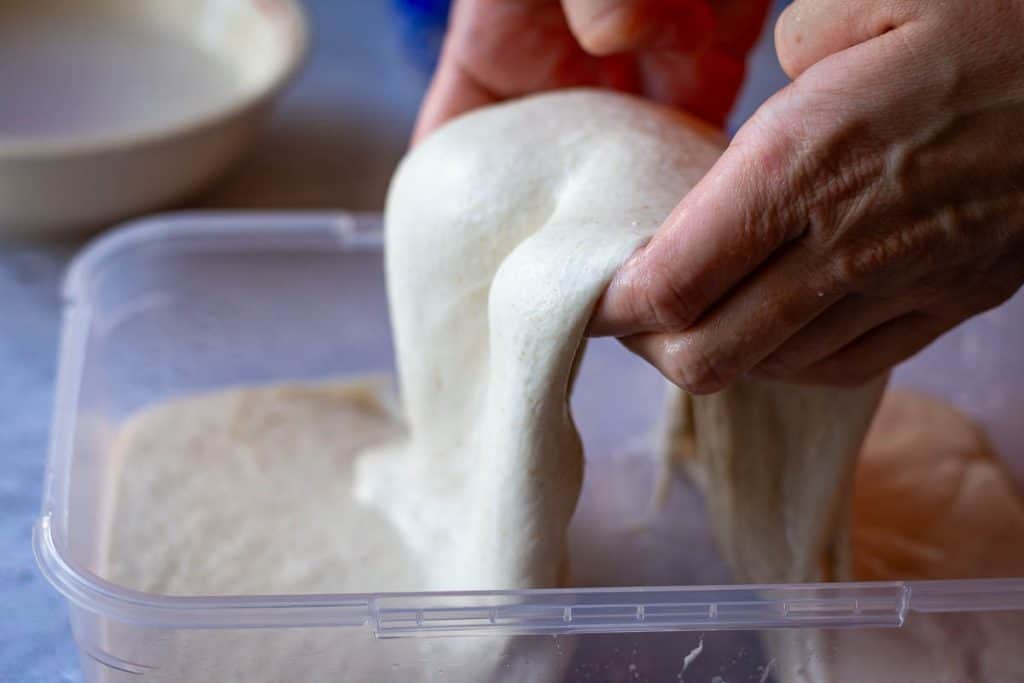
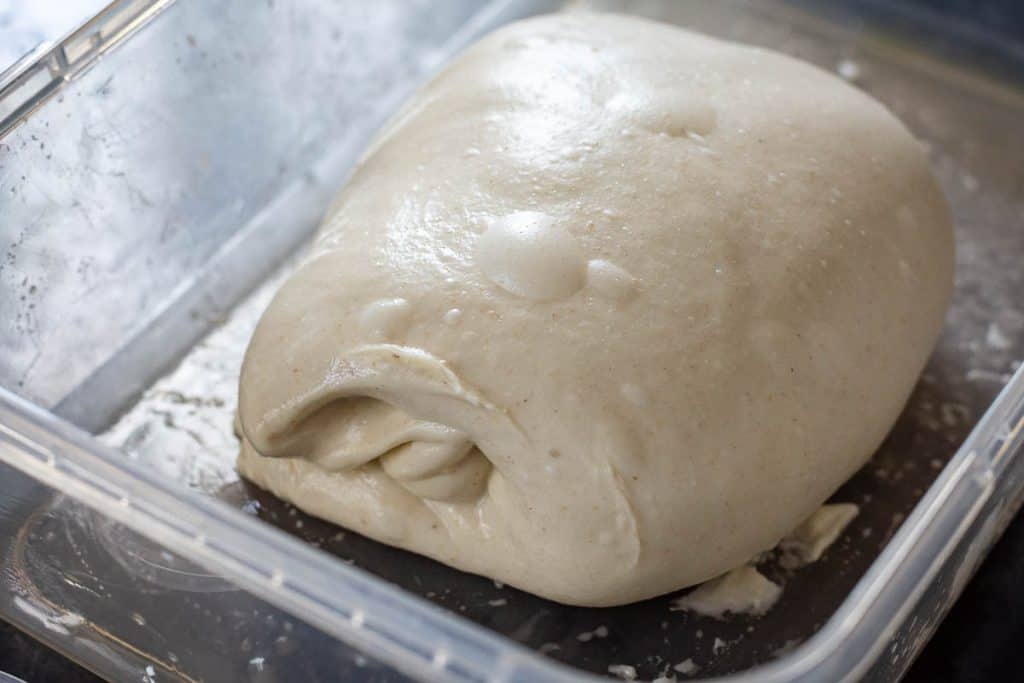
Then leave the dough undisturbed in a warm spot for another 2 hours.
At the end of bulk fermentation, your dough should feel airy and lively, with bubbles on the surface and a slight dome. It likely won't double, and that's absolutely fine.
Quick note: If your ambient temperature is cooler, it may need extra time. If your kitchen is very warm, keep an eye on it a little earlier.
4. Divide and Cold Ferment
Turn the dough out onto a lightly floured work surface and divide it into 4 equal pieces using a bench scraper.
Shape each one into a tight dough ball.
Place them into lightly floured containers or tubs, cover, and leave in a warm spot for another 4 hours.
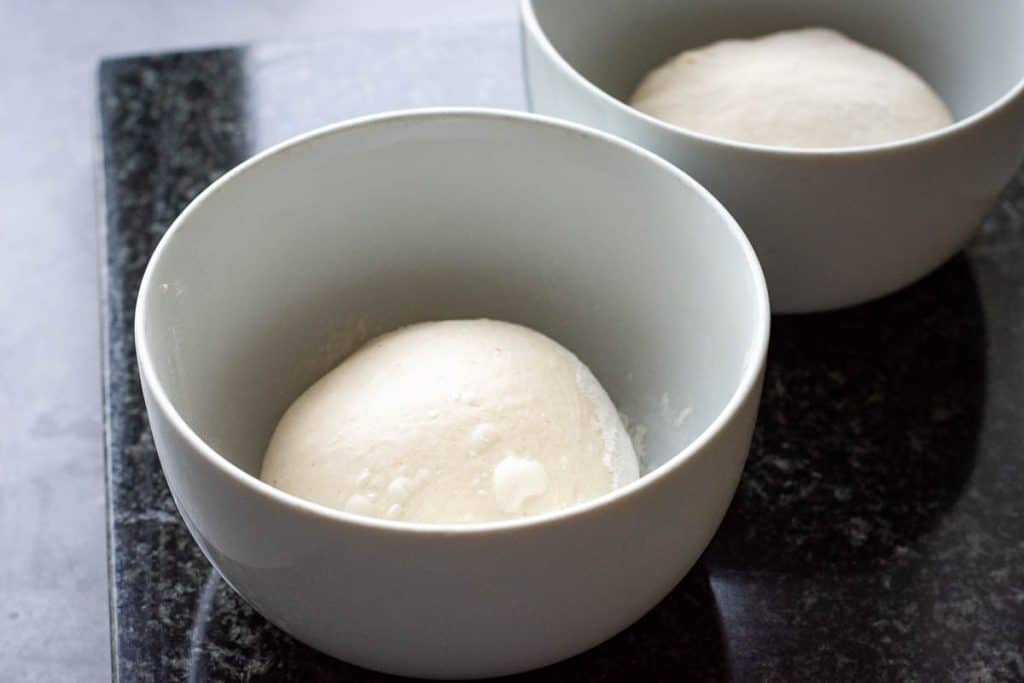
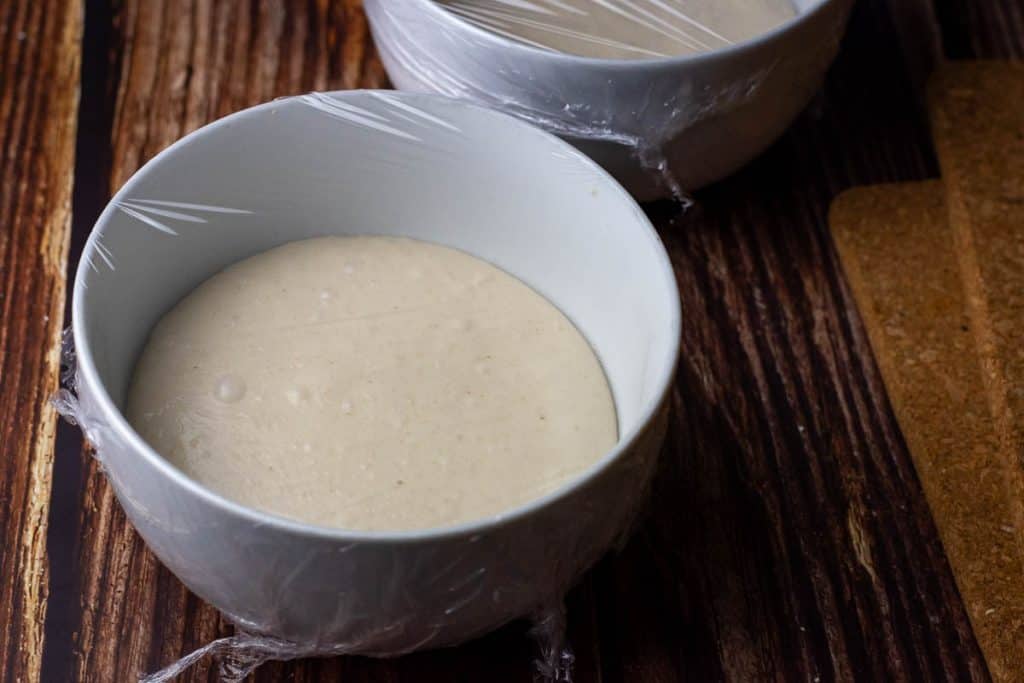
Once that final room temperature proof is done, transfer the dough balls to the fridge for 12-24 hours.
This is the stage where the magic happens. The dough becomes easier to stretch, more flavourful, and much more pizza-ish.
DAY 2
5. Bring to Room Temperature
Take the dough out of the fridge 4-5 hours before baking.
This matters. Cold dough is tighter, less extensible and harder to stretch into a nice disc shape. Warm dough is what gives you that soft, airy edge and easier shaping.
6. Shaping and Topping
Preheat your oven-proof frying pan or cast iron skillet over medium heat for 5-10 minutes.
Turn your grill/broiler on high and position a rack underneath it.
Carefully lift one dough ball from its container and place it onto a lightly floured surface.
Dust the top lightly too, then press into the centre with your fingertips, leaving the outer rim untouched. This is what preserves the crust.
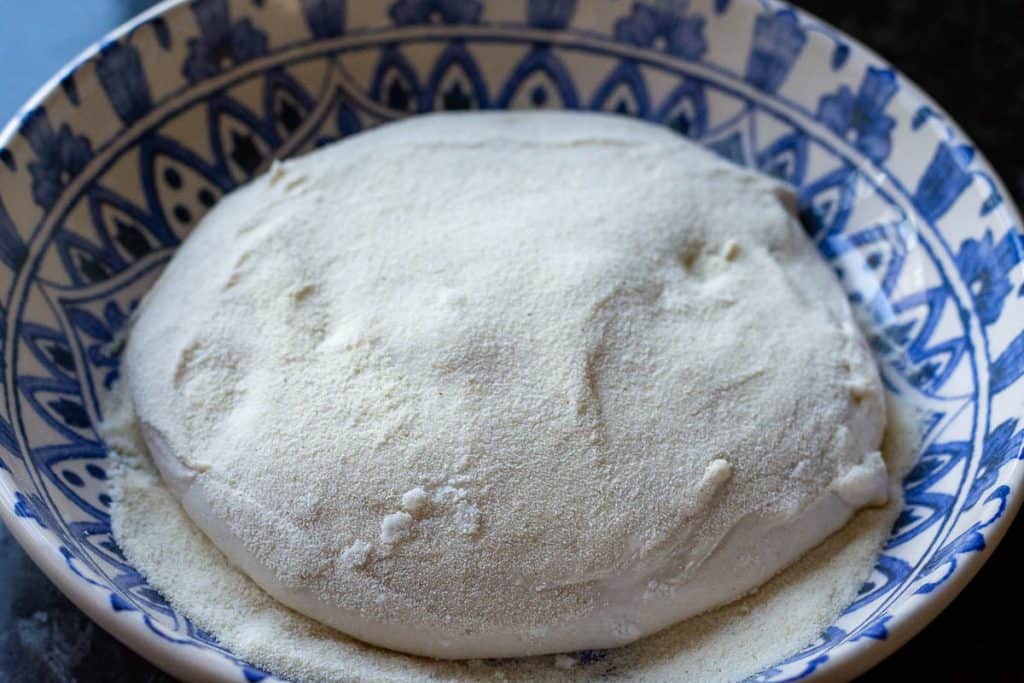
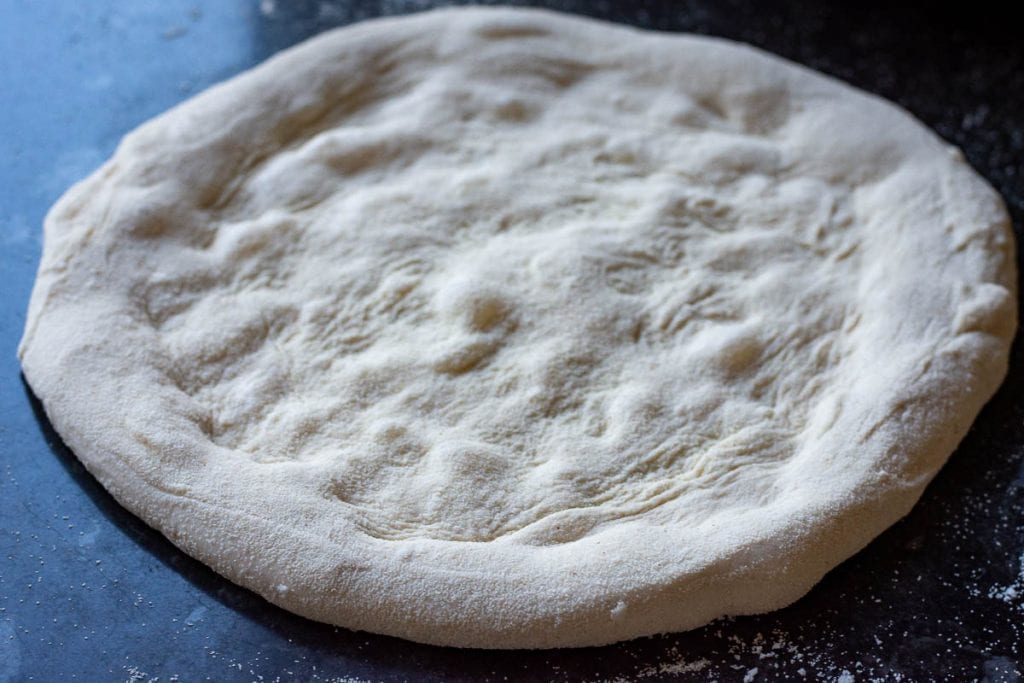
Lift the dough and stretch it over your knuckles until you have a 9-10 inch personal pizza.
Top with a thin layer of tomato sauce or (or white pizza sauce), leaving the rim clear.
7. Cooking
Transfer the dough straight into the hot pan.
Cook for about 1-2 minutes until the underside starts to colour.
Then add your cheese and toppings and place the pan under the grill until the crust is puffed, browned and cooked through - another 1-2 minutes.
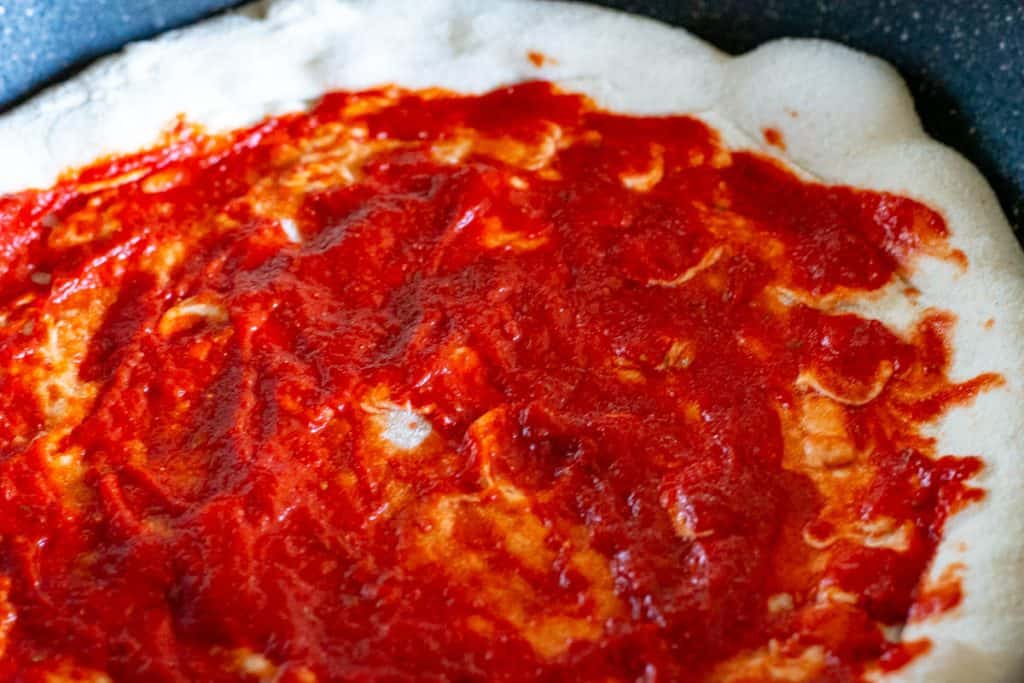
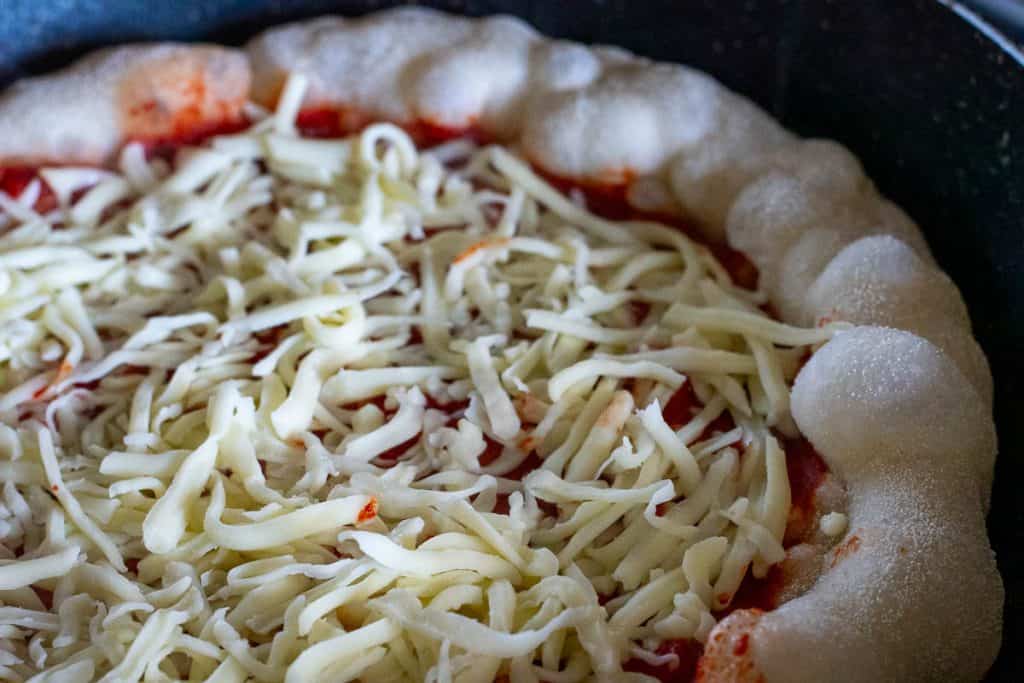

The total cook time is wonderfully short, which is exactly what we want.
You won't get the exact leopard spotting of a wood-fired oven, but you will get a very good pizza with crispy edges, an airy crust and proper flavour.

Storage and Freezing
Fridge
Once balled, the dough can stay in the fridge for 12-24 hours for best results. It can go a little longer, but after that it may become trickier to handle.
Freezing
Pizza dough freezes very well.
Freeze it after shaping into balls and completing the final room temperature proof. Place each one into a lightly oiled container or freezer bag and freeze for up to 2 weeks.
To use:
- Defrost in the fridge for 12-24 hours
- Then bring to room temperature for 4-5 hours
- Stretch and cook as usual
This is a great way to make a double batch and save yourself a future pizza night.
Topping Ideas
Here are a few topping combinations we love:
Classic Margherita-Style Pizza. Tomato sauce, torn mozzarella cheese, fresh basil, olive oil. The gold standard.

Prosciutto and Fig Pizza. Mozzarella, a few blobs of fig jam, prosciutto added after baking, rocket and a little parmesan. Sweet, salty, smug.
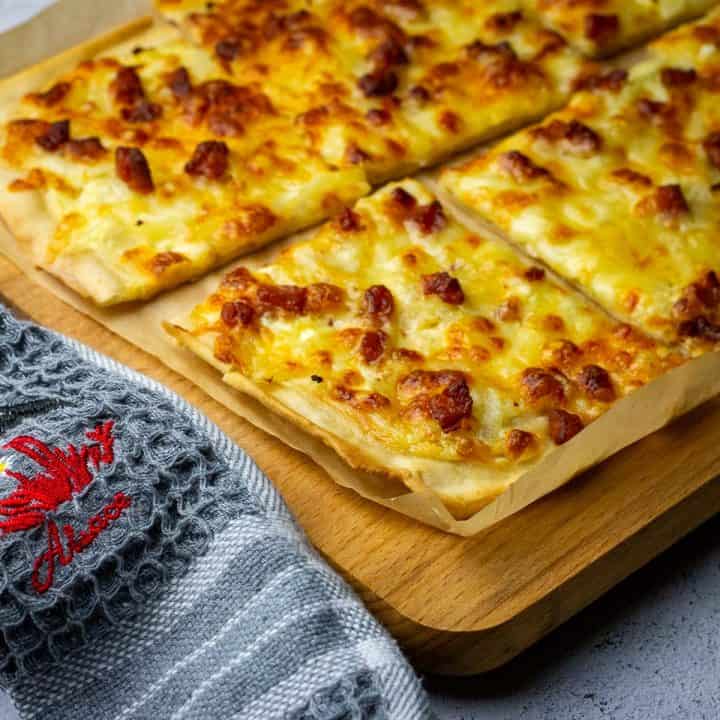
Tarte Flambée Inspired Pizza. Crème fraîche, caramelised onions, bacon lardons and black pepper. Absolutely not Italian. Absolutely delicious.
Chicken Fajita Pizza. Spiced chicken, peppers, red onion, mozzarella and a little drizzle of sour cream after baking. Slightly chaotic, very good.
Mushroom, Taleggio and Thyme. A white pizza with earthy mushrooms and melty cheese. Elite behaviour.



Recipe FAQs
Usually one of three things:
- it hasn't fermented enough
- it's too cold
- the gluten hasn't developed properly
Let it warm up fully and handle it gently.
Yes. Preheat a pizza stone or baking steel in your home oven at its highest setting for at least 45-60 minutes, then bake the topped pizza directly on it until puffed and browned. You can also bake on a preheated baking sheet if that's what you've got - less glamorous, still effective.
You can, but then it's no longer a sourdough pizza recipe. If you want a shortcut dough, use a yeasted recipe instead of trying to awkwardly force one into the other.
Pizza dough (especially, high-hydration) doesn't always dramatically puff during the first rise or cold ferment. Look for bubbles, softness and fermentation activity rather than chasing a dramatic dome.
More Sourdough Ideas To Try
If you've enjoyed this sourdough pizza dough recipe, there's a whole world of sourdough recipes beyond standard sourdough bread - from sourdough focaccia to flatbreads and all sorts of delicious excuses to keep your starter busy.



Sourdough Pizza Dough (Neapolitan Style Crust Recipe)
Equipment
- Large mixing bowl
- Dough scraper / bench scraper
- Digital Kitchen Scales
- Plastic containers / Tubs
- Oven-proof Frying pan / skillet
- Grill / broiler
- Spatula
Ingredients
- 500 g strong white bread flour at least 12.5% protein
- 15 g salt
- 320 ml lukewarm water
- 100 g active sourdough starter 100% hydration
- 10 ml extra virgin olive oil
Instructions
DAY 1:
Fermentolyse
- Once your sourdough starter is at peak, mix the dough.
- Pour the lukewarm water into a large bowl and add the active sourdough starter. Stir briefly to loosen the starter.
- Add the flour and mix until you have a shaggy dough with no dry patches of flour.
- Cover the bowl and leave it to fermentolyse (a type of sourdough autolyse) in a warm spot for 30 minutes.
Mix Final Dough
- After the rest, add the salt and olive oil to the dough.
- Knead until the dough becomes smoother and more elastic. You can do this by hand for about 10 minutes (using slap and fold method), or in a stand mixer for 8-10 minutes on medium speed.
- Shape the dough into a ball and place it into a lightly oiled bowl.
- Cover and leave in a warm spot (ideally around 26-27°C) for 30 minutes.
Folds and Bulk Fermentation
- After 30 minutes, perform your first set of stretch and folds or coil folds.
- Cover and leave for another 30 minutes, then repeat coil folds 3 more times (4 sets of folds total over 2 hours)
- Cover again and leave the dough in a warm spot for another 2 hours.
- By this point, you should notice signs of fermentation, a slight dome on top, visible bubbles across the surface, a dough that feels airy and alive, but do not expect the dough to double in volume.
Divide and Cold Ferment
- Turn the dough out onto a work surface and divide it into 4 equal pieces.
- Shape each piece into a tight ball.
- Place the dough balls into their individual containers.
- If using the next day: place them into a lightly floured container or tray with high sides
- If freezing: place each ball into a lightly oiled individual plastic tub
- Cover and leave in a warm spot for another 4 hours.
- Once the dough balls have finished their room temperature proof, transfer to the fridge for 12-24 hours. You can also freeze the dough at this point (see notes).
DAY 2
Bring to Room Temperature
- Remove the dough from the fridge about 4-5 hours before baking, allowing it to fully come to room temperature.
Shaping and Topping
- Prep all your toppings before stretching the dough.
- Place a heavy-based frying pan over medium heat and preheat it for 5-10 minutes, until very hot.
- Turn your grill/ broiler on high and position a rack underneath it, leaving enough room for the frying pan.
- Carefully remove one dough ball from its container and place it onto a lightly floured surface. Dust the top lightly too.
- Press your fingers into the centre of the dough, leaving the outer edge untouched to preserve the crust.
- Stretch the dough gently using your hands or knuckles until it reaches about 9-10 inches (abour 23 cm).
- Do not use a rolling pin - it will knock all the air out of the dough.
Cooking
- Transfer the stretched dough straight into the hot pan.
- Immediately spoon over your tomato sauce, spreading it over the base but leaving the rim clear.
- Cook until the underside has browned nicely (about 1-2 minutes)
- Then quickly add your cheese and toppings, and place the frying pan under the gril until the cheese has melted and the crust is puffed, browned and cooked through (again, about 1-2 minutes).
- Slide the pizza our of the pan and serve immediately.
Video
Notes
After shaping the dough into balls and completing the second room-temperature proof, place each dough ball into a lightly oiled individual container and freeze for up to 2 weeks. To use: Transfer the frozen dough to the fridge 12–24 hours before needed. Then bring it to room temperature for 4–5 hours. Stretch and bake as usual.
Nutrition



Jill says
The airy crust is out of this world. Better than anything we've ever ordered from a pizza shop.
Ieva Greber says
Thanks so much, Jill! I’m so pleased you loved it. That airy crust is what makes it for me too, and being better than takeaway pizza is very high praise indeed!
Sam says
This sourdough pizza is so delicious! A perfect dinner recipe.
Ieva Greber says
Glad you liked this dough! 🙂
Hana says
I made this sourdough pizza dough recipe, I have to say the dough was perfect, so smooth and elastic. I baked it on the highest temp in a preheated conventional oven on a pizza stone. It turned out good but not to my satisfaction. I’m sure that this pizza would have been perfect in a pizza oven.