
Barley Sourdough Bread brings a lesser-used, but beautiful grain to your loaf, adding a subtle sweetness and a hint of nuttiness that makes it seriously moreish. The step-by-step recipe will take you through the making of sourdough, with insights into how barley flour affects sourdough every step of the way. From mixing to baking, every detail is covered to help you master the perfect loaf with confidence.

Jump to:
As an Amazon Associate I earn from qualifying purchases, at no extra cost for you! Thank you!
How Does Barley Flour Affect Sourdough?
Using barley flour in sourdough changes the way the dough behaves, bakes, and tastes. If it's your first time working with it, understanding these differences will help you get the best results.
- Gluten Content. Barley flour has much less gluten than wheat flour, which means the dough won't be as strong or stretchy. For the best results, it's always mixed with high-protein bread flour to maintain structure. We don't recommend using more than 30% of barley flour in your sourdough for the best texture.
- Hydration. Barley flour absorbs more water than wheat, so we increase the sourdough hydration to 70%, instead of our usual 65%.
- Dough Handling & Extensibility. The dough will be more delicate and slack due to the lower gluten, but coil folds help develop strength. Expect a softer texture that spreads a little more before baking.
- Bulk Fermentation. Fermentation can be slightly faster, as barley flour contains natural enzymes that speed things up.
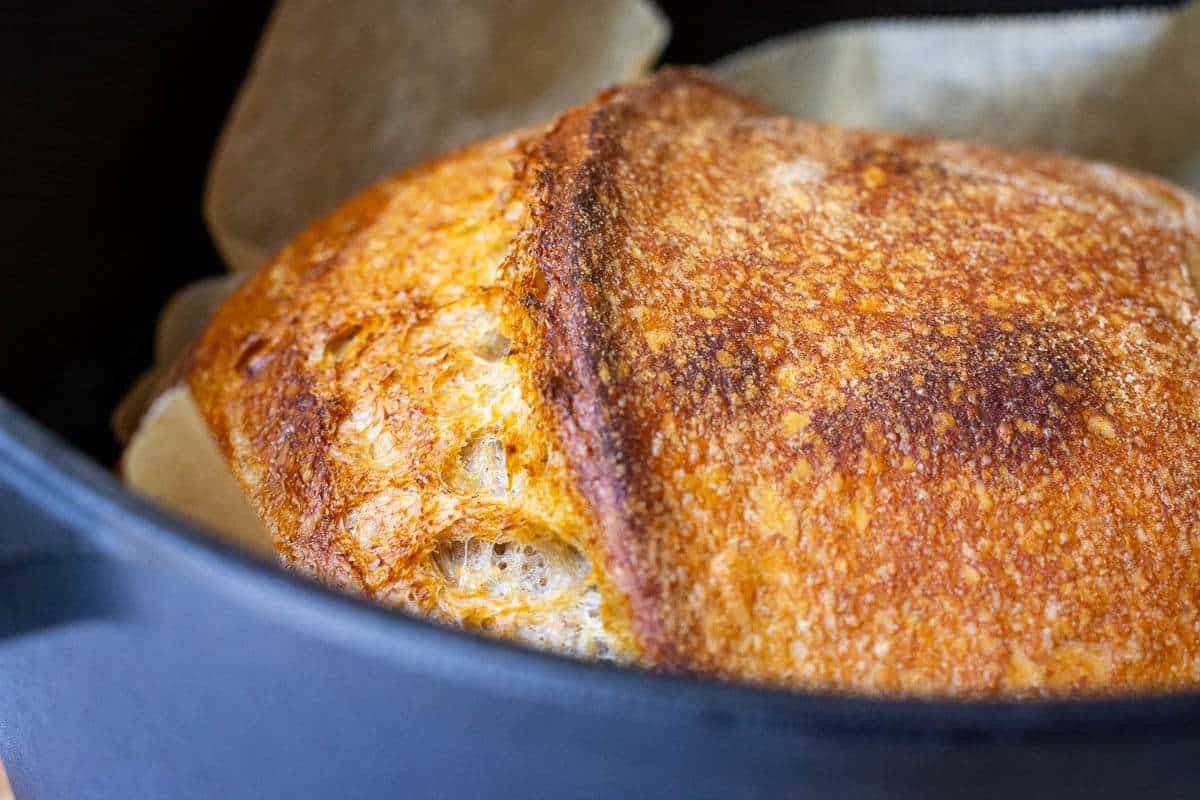
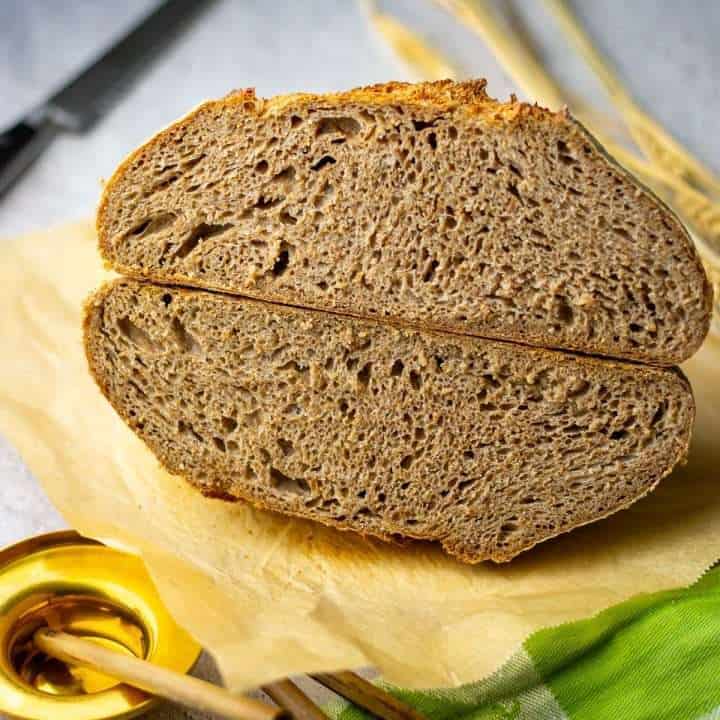
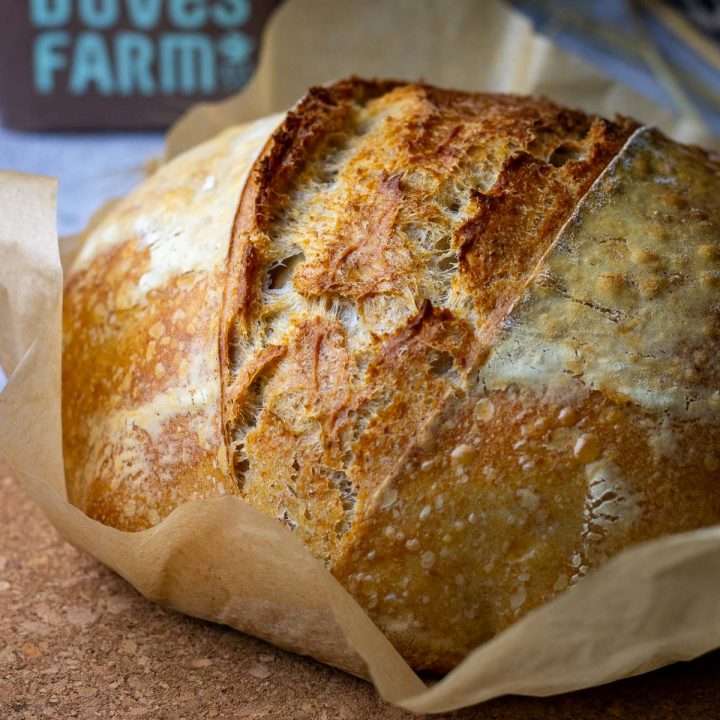
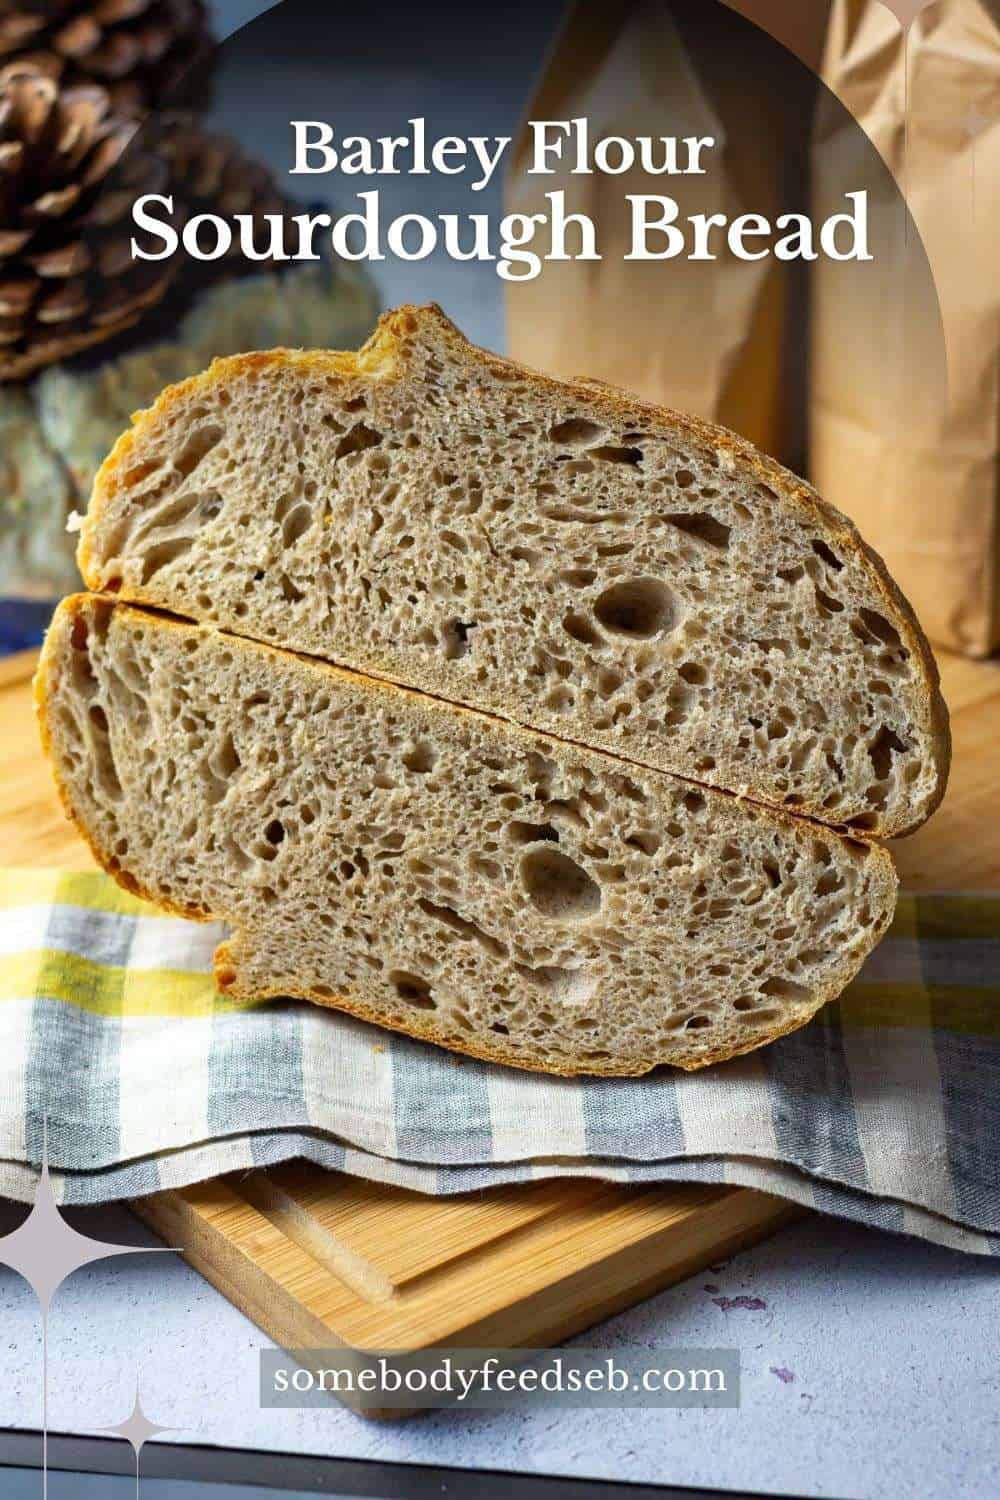
- Crust & Crumb. The crumb tends to be more tender and moist, with a slight chew, while the crust can turn out beautifully crisp with a deep, toasty aroma.
- Colour. Thanks to the natural pigments in barley, the bread takes on a warm, golden hue.
Ingredients and Substitutes
Here's what you'll need to make Barley Sourdough Bread:
- strong bread flour: with at least 12% protein content. Barley is lower in gluten, so you will need all the gluten strength from the strong flour.
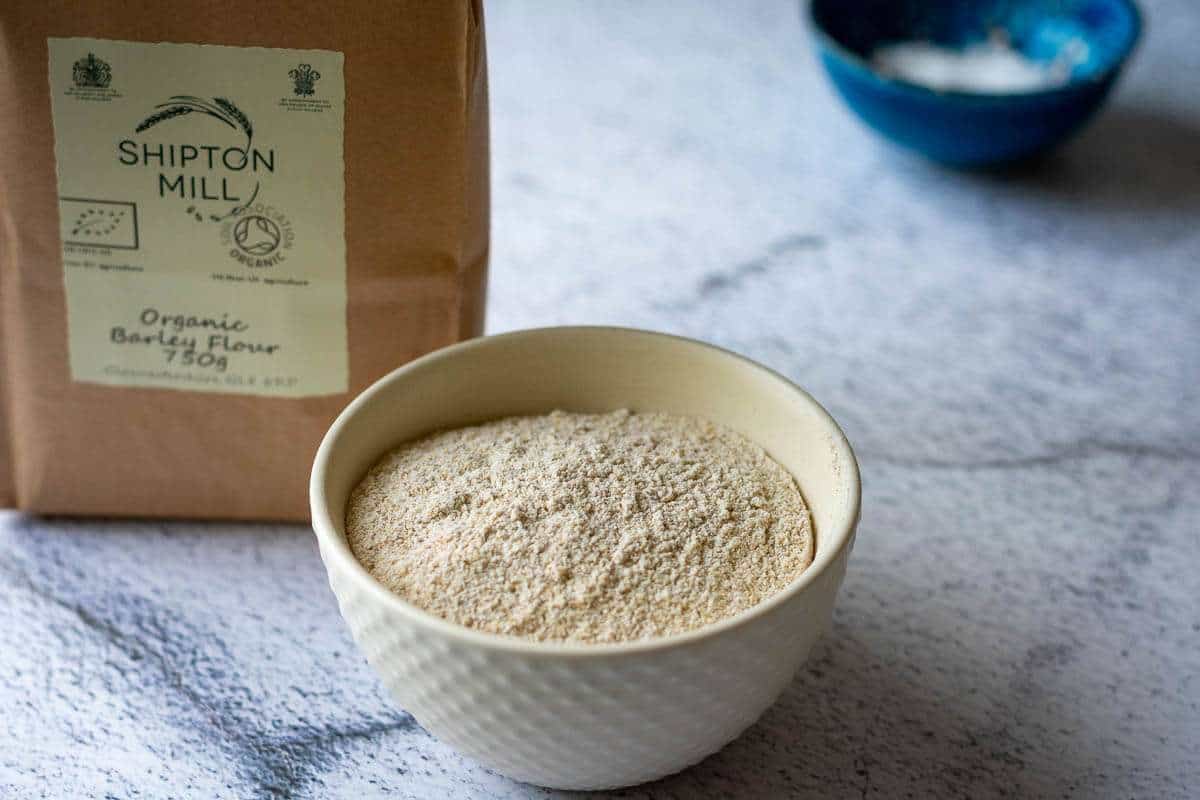
- barley flour: we used Organic Barley Flour from Shipton Mill.
- salt.
- active sourdough starter: 100% hydration.
- water.
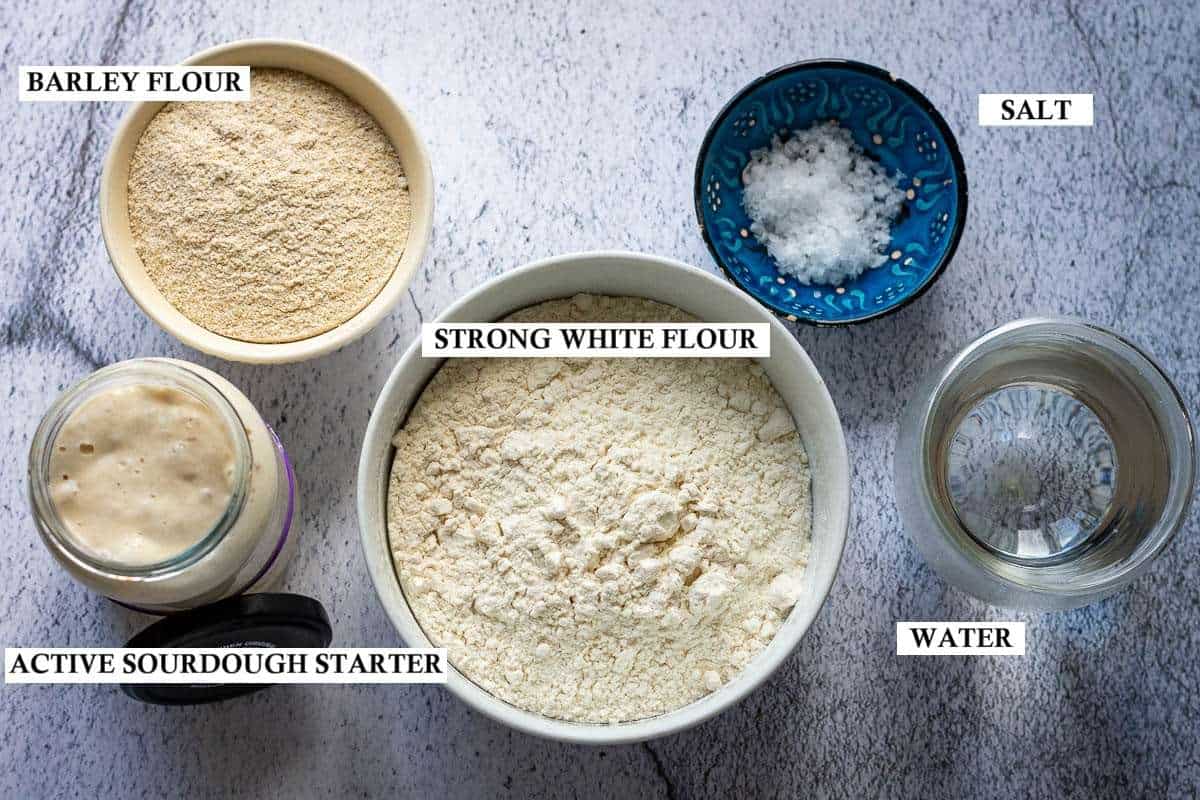
Find the ingredient quantities, detailed instructions and nutritional information in the recipe card at the bottom of the post.
EXTRAS: Add some whole grains to your barley sourdough. Simply cook 50g of hulled or pearl barley until very tender. Once cooled down, add it to the dough on the second or third set of folds.
A Little About Barley Flour
Barley flour has been a staple in baking for thousands of years, dating back to ancient Egypt and Mesopotamia, where it was used to make some of the earliest forms of bread. Milled from barley groats or hulled or pearled barley, this flour retains a slightly coarse texture and a nutty, subtly sweet flavour that enhances rustic bakes.
While it lacks the gluten strength of wheat flour, it adds depth, moisture, and a beautiful golden hue to bread. Traditionally used in flatbreads, porridge and brewing, barley flour is now making a comeback in artisan sourdough for its unique taste and nutritional benefits.
Step-By-Step Method
DAY 1
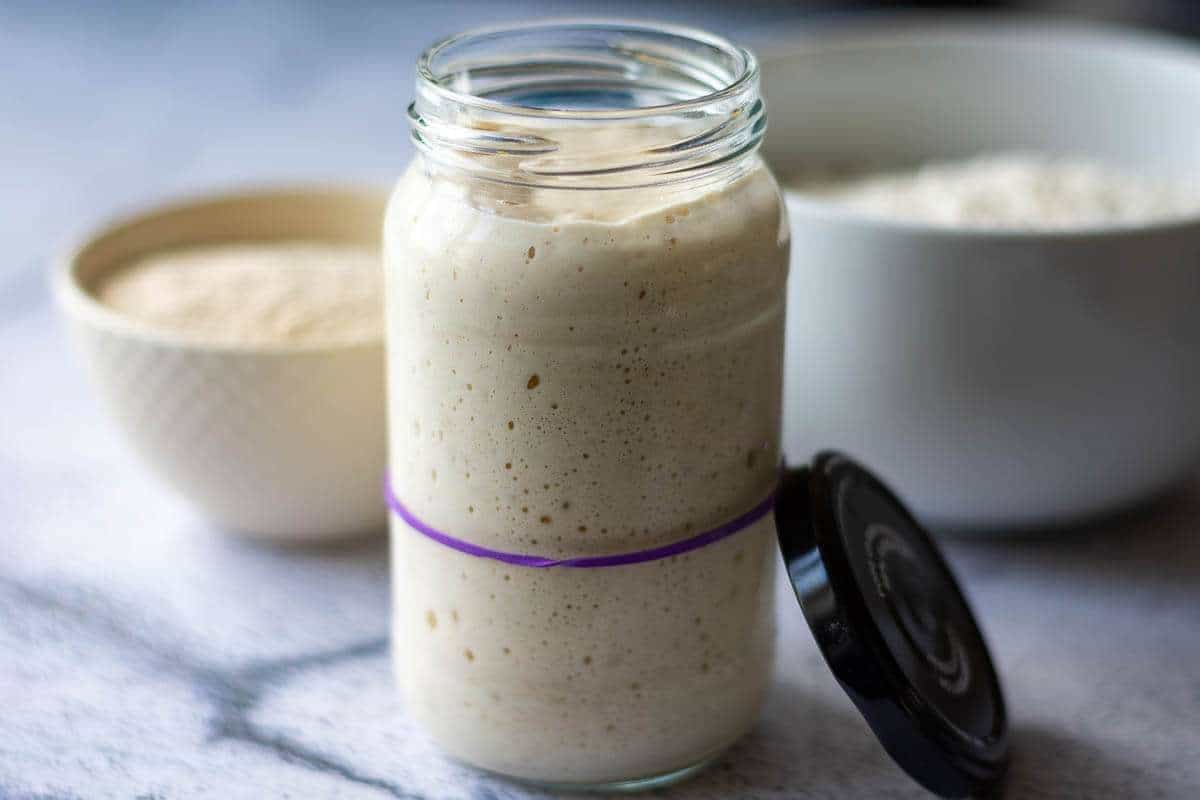
First thing in the morning, feed your sourdough starter and leave it in a warm spot (ideally, 21-27°C), semi-covered for 4 hours. Your starter should at least double in volume in this time. If it doesn't, it may need a couple of good feeds before it's fit for purpose.
We use 160g of 100% hydration active sourdough starter in this recipe, so I tend to feed 70g of my starter with 70g of water and 70g of flour. After it doubles, I use 160g of this mixture in the barley sourdough bread recipe, and feed the remaining 50g for next time or label some of it "discard" and feed the rest.
Mixing The Dough
1. Once the sourdough starter is active and bubbly (and at least doubled in volume), mix the dough. Mix strong white flour, barley flour and salt in the bowl of a stand mixer.
2. Add sourdough starter and water.
3. Run the mixer, fitted with a dough hook attachment, for 10 minutes, until your dough is smooth and elastic. It does not need to pass the windowpane test just yet (the gluten development will continue when we fold the dough).
Coil Folds And Bulk Fermentation
1. Scoop the dough into a large bowl, cover with a damp kitchen towel or plastic wrap and leave it in a warm place (21-27°C) for 30 minutes.
2. After 30 minutes, with cold wet hands, perform the first set of coil folds (you can do sets of stretch and folds, if that's what you're used to). Simply lift the bread dough with both hands from the sides and tuck it under to form a coil (video below). Rotate the bowl a quarter turn and coil again. Cover the bowl again, and let the dough rest for 30 minutes again.
3. You should repeat the process every 30 minutes until you have done 4-6 sets of coil folds. Your dough will spread less with every set of folds, and by the end of it, you will have a much less sticky, very soft and elastic dough that has blisters on top of the dough. For more information on how to coil fold and when to know when you've done enough folding, head to our dedicated article about Sourdough Coil Folds.
4. Once all the folds have been completed, cover the dough and let the dough rise at warm room temperature for 2-3 hours to finish the bulk fermentation process. Your dough should just about double its original size. If you are using a see-through glass bowl for bulk fermenting, you should see a lot of activity and bubbles forming at the base and sides of the bowl.
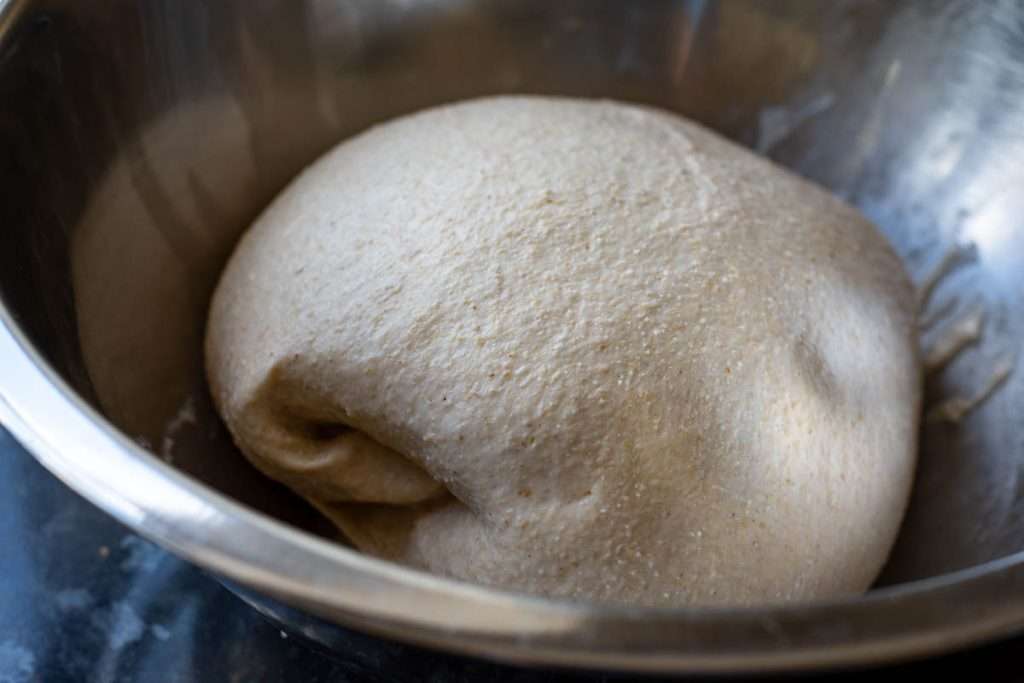
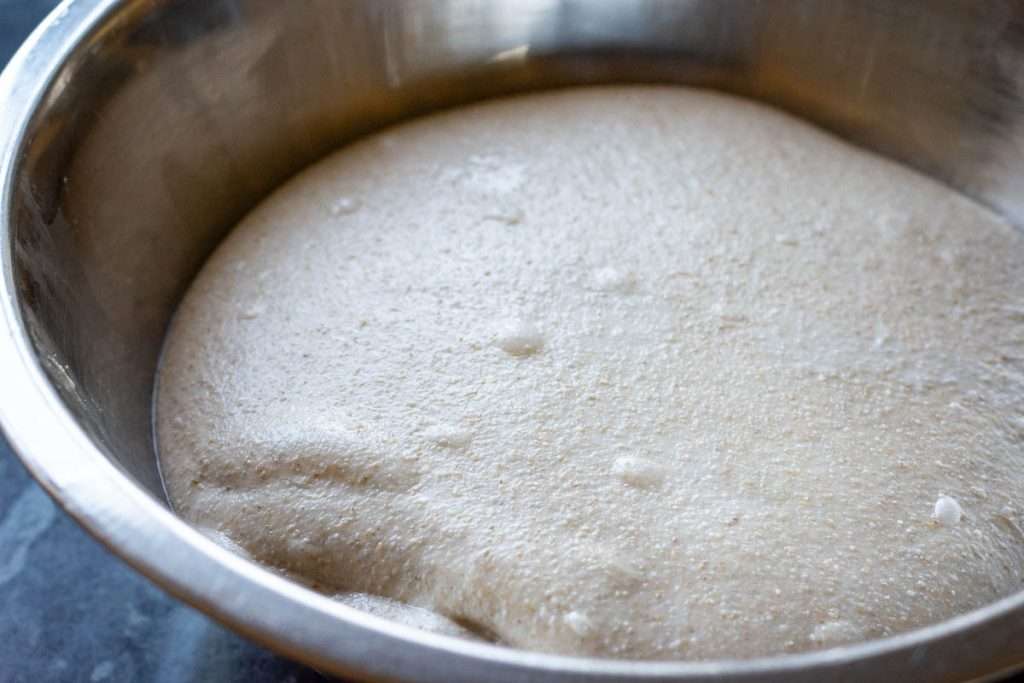
NOTE: Barley flour ferments quicker than white flour, so keep a close eye to avoid overfermentation, especially if you're working in warmer temperatures.
Shaping and Cold Proof
1. At the end of bulk fermentation, using a bowl scraper, scoop the dough onto a lightly floured surface. Try and make sure that the smooth top of the dough (the side that is not intact with the bowl) is placed on the floured work surface. Then swiftly fold the four corners of the dough into the centre and flip the dough over.
2. Cupping the ball of dough with your hands, drag it against the work bench to create surface tension - you should see some blisters coming to the surface of the dough. You should aim for a tight round ball of dough that holds its shape and doesn't spread much. Alternatively, shape it into an oval batard if you're using oval bannetons.
3. Place the dough ball into a well-floured banneton basket (or any proofing basket alternatives). We recommend using rice flour for dusting your proofing baskets. The smooth side of the sourdough ball should be at the bottom, with the seam at the top.
4. Pinch the seam together with your fingers, if the dough starts spreading in the basket, to make sure the dough is tight. Sprinkle with some flour, and cover the dough with a clean fabric napkin or small lightweight tea towel.
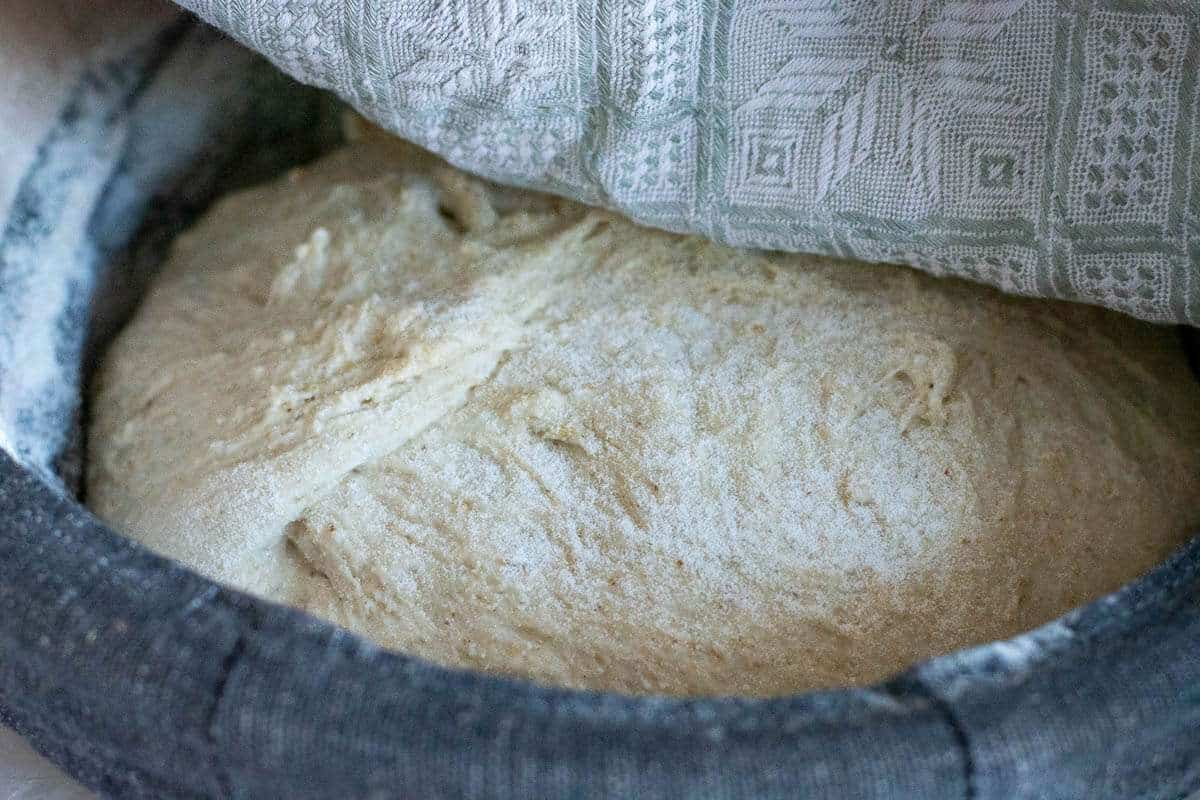
5. Then place the whole thing in the fridge for its final rise (a.k.a. second rise) in the fridge for 12-18 hours. Barley flour ferments quickly, so I would avoid leaving it in the fridge for much longer, as you will lose some oven spring.
DAY 2
The next day, place the Dutch Oven in the oven, and preheat it to 240°C (typically, it is the highest temperature home ovens will go to) with the Dutch oven in it. It needs to be piping hot!
Scoring The Dough
1. Once the oven is hot, take the dough out of the fridge.
2. Invert the dough gently onto a large piece of parchment paper. If your dough was properly bulk fermented and shaped correctly, it should not spread once inverted.
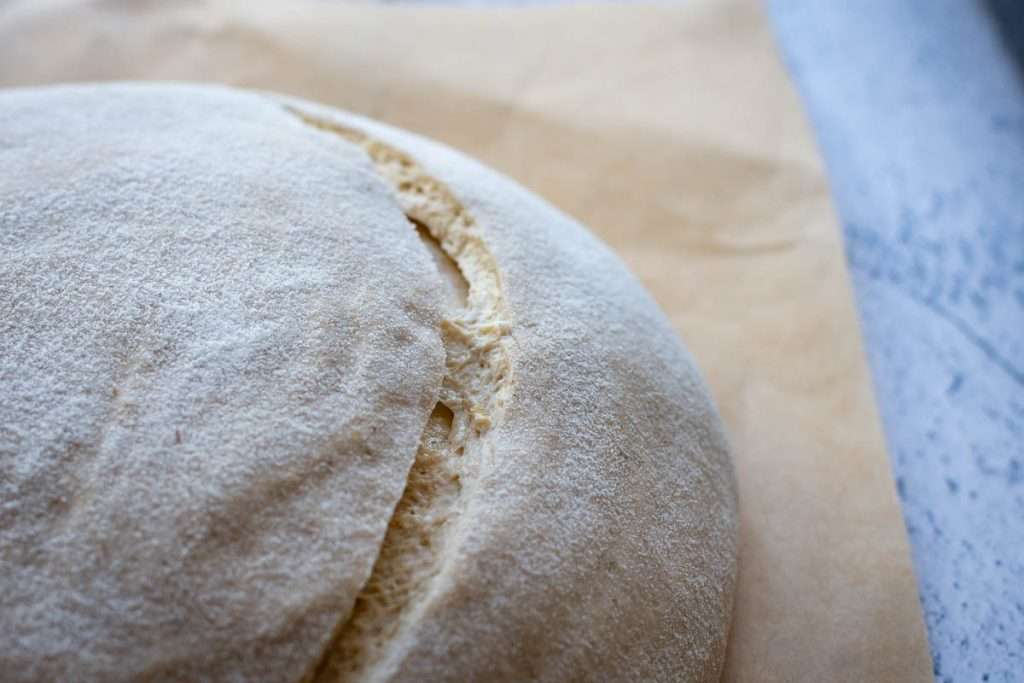
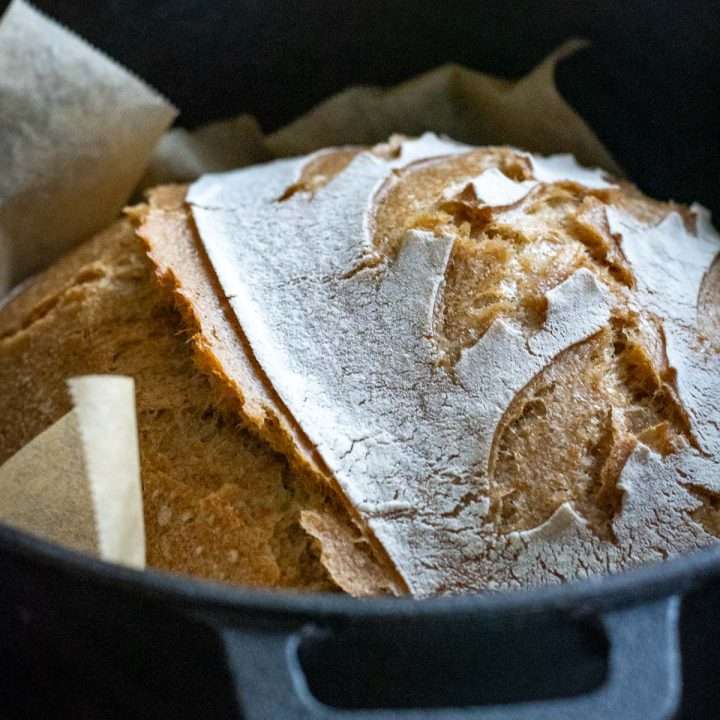
3. Dust the surface of the dough with a little bit of flour. Using a bread lame or a razor blade, score the dough deeply (approximately 1cm deep) at a 30- 45º angle. One single deep slash is all that's needed for that sought-after sourdough "ear".
Baking
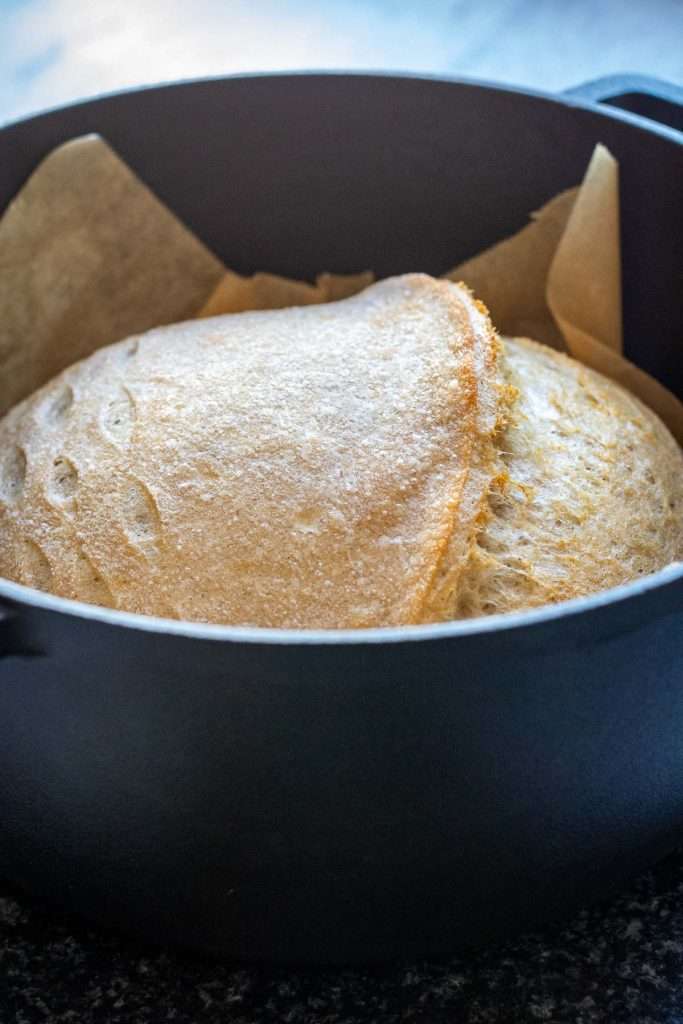
1. Take the hot Dutch Oven out of the oven, take the lid off, and lift the sourdough into it, holding the edges of the parchment paper. Be mindful of how you lift the paper. Sometimes, the scored slash can begin to close up during this process. To prevent this, lift the parchment from the sides that won't push the two edges of the scored dough back together.
2. Place the lid back on the Dutch Oven and place the bread into the hot oven for 35 minutes.
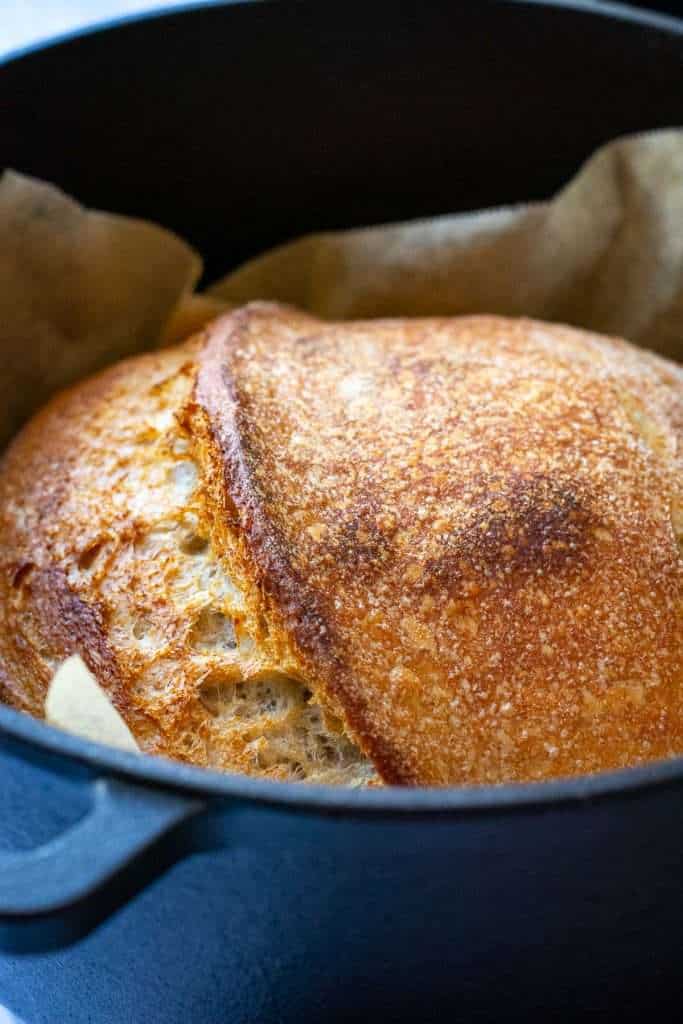
3. After 35 minutes, take the lid off and return the sourdough to the oven for another 15-20 minutes. If you don't want your loaf of bread too dark in colour, you can reduce the oven temperature to 200°C.
Cooling
1. Once baked, take the Dutch Oven out of the oven. Lift the bread out by holding the corners of the parchment paper. Place the bread onto the wire rack, and slide the parchment paper from underneath the loaf.
2. Leave the barley sourdough bread to cool down to room temperature before slicing.

Pairing Suggestions
A thick slice with salted butter is always a winner, but we simply cannot get enough of it with nut butter and a drizzle of honey!
Smoked salmon and mackerel pate are also great pairings.
Dunking it into a rich mushroom soup might just be our favourite, though-hearty, comforting, and absolutely worth baking this loaf for.
More Sourdough Recipes With Different Types Of Flour

Barley Sourdough Bread
Equipment
- Bench Scraper
- Proofing Basket
- Razor Blade or Bread Lame
Ingredients
- 300 g strong bread flour with at least 12% protein content
- 100 g barley flour
- 7 g salt
- 160 g active sourdough starter 100% hydration
- 250-260 ml water
Instructions
DAY 1:
Feeding Sourdough Starter
- First thing in the morning, feed your sourdough starter and leave it in a warm spot (ideally, 21-27°C), semi-covered for 4 hours. Your starter should at least double in volume in this time. If it doesn't, it may need a couple of good feeds before it's fit for purpose.
Mixing The Dough
- Once the sourdough starter is active and bubbly (and at least doubled in volume), mix the dough. Mix strong white flour, barley flour and salt in the bowl of a stand mixer.
- Add sourdough starter and water.
- Run the mixer, fitted with a dough hook attachment for 10 minutes, until your dough is smooth and elastic. It does not need to pass the windowpane test just yet (the gluten will continue developing when we fold the dough).
Coil Folds And Bulk Fermentation
- Scoop the dough into a large bowl, cover with a damp kitchen towel or plastic wrap and leave it in a warm place (21-27°C) for 30 minutes.
- After 30 minutes, with cold wet hands, perform the first set of coil folds. Simply lift the bread dough with both hands from the sides and tuck it under to form a coil (video below). Rotate the bowl a quarter turn and coil again. Cover the bowl again, and let the dough rest for 30 minutes again.
- You should repeat the process every 30 minutes until you have done 4-6 sets of coil folds. Your dough will spread less with every set of folds, and by the end of it, you will have a much less sticky, very soft and elastic dough that has blisters on top of the dough. For more information on how to coil fold and when to know when you've done enough folding, head to our dedicated article about Sourdough Coil Folds.
- Once all the folds have been completed, cover the dough and let the dough rise at warm room temperature for 2-3 hours to finish bulk fermentation. Your dough should just about double its original size. If you are using a see-through glass bowl for bulk fermenting, you should see a lot of activity and bubbles forming at the base and sides of the bowl.
Shaping and Final Proof
- At the end of bulk fermentation, using a bowl scraper, scoop the dough onto a lightly floured surface. Try and make sure that the smooth top of the dough (the side that is not intact with the bowl) is placed on the floured work surface. Then swiftly fold the four corners of the dough into the centre and flip the dough over.
- Cupping the ball of dough with your hands, drag it against the work bench to create surface tension - you should see some blisters coming to the surface of the dough. You should aim for a tight round ball of dough that holds its shape and doesn't spread much.
- Place the dough ball into a well-floured banneton basket (or any proofing basket alternatives). We recommend using rice flour for dusting your proofing baskets. The smooth side of the sourdough ball should be at the bottom, with the seam at the top.
- Pinch the seam together with your fingers, if the dough starts spreading in the bowl to make sure the dough is tight. Sprinkle with some flour, and cover the dough with a clean fabric napkin or small lightweight tea towel.
- Then place the whole thing in the fridge for its final rise (a.k.a. second rise) in the fridge for 12-36 hours.
DAY 2:
- The next day, place the Dutch Oven in the oven, and preheat it to 240°C (typically, it is the highest temperature home ovens will go to) with the Dutch oven in it. It needs to be piping hot!
Scoring The Dough
- Once the oven is hot, take the dough out of the fridge.
- Invert the dough gently onto a large piece of parchment paper. If your dough was properly bulk fermented and shaped correctly, it should not spread once inverted.
- Dust the surface of the dough with flour. Using a bread lame or a razor blade, score the dough deeply (approximately 1cm deep) at a 30- 45º angle. One single deep slash is all that's needed for that sought-after sourdough "ear".
Baking
- Take the hot Dutch Oven out of the oven, take the lid off, and lift the sourdough into it, holding the edges of the parchment paper. Be mindful of how you lift the paper. Sometimes, the scored slash can begin to close up during this process. To prevent this, lift the parchment from the sides that won't push the two edges of the scored dough back together.
- Place the lid back on the Dutch Oven and place the bread into the hot oven for 35 minutes.
- After 35 minutes, take the lid off, and return the sourdough to the oven for another 15-20 minutes. If you don't want your loaf of bread too dark in colour, you can reduce the oven temperature to 200°C.
Cooling
- Once baked, take the Dutch Oven out of the oven. Lift the bread out by holding the corners of the parchment paper. Place the bread onto the wire rack, and slide the parchment paper from underneath the loaf.
- Leave the barley sourdough to cool down to room temperature before slicing.
Video
Nutrition




Sonja says
This is fabulous! I was looking for a bread recipe with barley for a while now, as I just adore the flavor. I already use diastatic barley malt and barley syrup in most of my breads, so this mix fits right in. So flavorful!
Ieva Greber says
Thank you! I am still to experiment with diastatic malt in my sourdough - can't wait! 🙂
Lora says
I really enjoyed this barley sourdough. I will be making it again! It's got a lovely crumb!
Liz says
I loved the flavor and texture of this sourdough! It was perfect for toast and sandwiches.
Ieva Greber says
So glad you liked it 🙂
Claudia says
Just made this barley sourdough bread and it turned out amazing! Love the nutty texture—definitely making it again.
Ieva Greber says
Yes! The amount of flavour barley gives to sourdough is incredible! Glad you liked it 🙂
Lathiya says
I never imagined to bake bread with barley flour. This sourdough bread was amazing. Thanks for sharing.
Ieva Greber says
You are most welcome! Barley flour is not always readily available, but I was in love the first time I used it 🙂
Swathi says
Barley sourdough bread is delicious, perfect treat , I made with my sourdough starter. so good.
Jason R says
Could you increase the barley flour and decrease the bread flour by compensating with vital wheat gluten?
Ieva Greber says
I’ve never used vital wheat gluten myself, so I’m probably not the best person to advise with confidence. My best guess is that you could increase the barley percentage and add a little vital wheat gluten to help support the structure — but I imagine the dough will ferment even faster, so watch it closely 🙂
I’d love to hear how it goes if you try it! 🙂
Dima says
I baked it today and it was amazing! Thank you so much.☺️
Ieva Greber says
You are most welcome - glad you enjoyed the recipe and thank you for taking the time to leave a comment 🙂