
Baking a 100% Whole Wheat Sourdough Bread recipe is all about embracing the heartiness of whole grains while still achieving a beautifully balanced crumb. Sure, wholemeal bread tends to be a dense bread, but with the right technique, you'll get a wholesome loaf that's full of deep, nutty flavour and just the right amount of chew. If you love the rich taste of whole grains and the magic of sourdough fermentation, this recipe is for you!

Jump to:
Confession time! This recipe isn't exactly 100% whole wheat. I do not keep a whole wheat sourdough starter, therefore, I used my white bread flour starter in this recipe, meaning there's about 80g of white flour in the bread.
Characteristics of 100% Wholemeal Sourdough
- Flour. Whole wheat flour is made by milling the entire wheat kernel, meaning it retains all the whole grains, including the bran and germ (meaning higher ash content in flour). Unlike strong white flour, which is more refined, whole wheat flour gives whole wheat bread its signature deep, nutty flavor and denser texture.
- Sourdough Hydration. Whole wheat flour absorbs more water than white flour due to its high fiber content, which means a whole wheat dough needs a higher hydration level to prevent it from feeling too stiff or dry. A well-hydrated whole wheat sourdough recipe results in a softer, more open crumb.
- Gluten Content. While whole wheat flour contains plenty of gluten, the sharp bran particles can cut through the gluten strands, making the dough slightly less elastic than one made with white flour. Choose strong wholemeal flour, with at least 13% protein (13g of protein per 100g of flour) if you can.
- Bulk Fermentation. Whole wheat dough ferments faster than white flour dough because the extra nutrients in the bran feed the wild yeast more readily. Keeping a close eye on the dough during bulk fermentation helps prevent over-proofing, which can lead to a dense loaf.
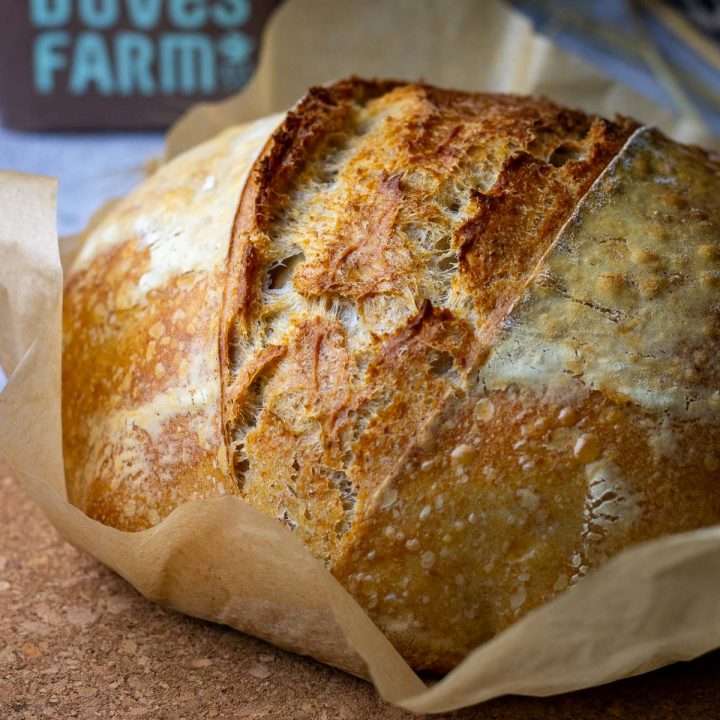
- Oven Spring. Compared to white flour loaves, whole wheat sourdough recipe typically has less oven spring due to the bran weakening the gluten network. However, a well-proofed dough and a hot baking environment can still produce a beautifully risen loaf.
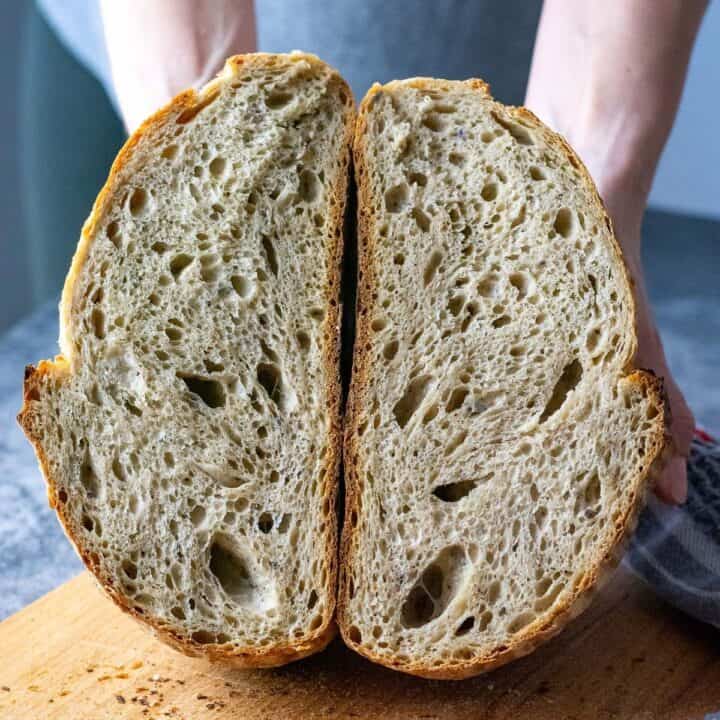
- Texture of The Crumb. Whole wheat bread tends to have a tighter, slightly more compact crumb with a soft chew and rich, nutty flavor. A high-hydration dough, proper fermentation, and steam in the oven can all help create a lighter, airier structure.

Ingredient Notes
Here are all the simple ingredients for this whole wheat loaf:
- strong wholemeal flour: a.k.a. whole wheat flour, with at least 13% protein.
- salt.
- active sourdough starter: 100% hydration, active and bubbly. We used our white flour sourdough starter on this occasion, but please do use whole wheat sourdough starter if you keep one.
- water: whole wheat (also known as wholemeal) flours vary in their bran and gluten content, which affects the amount of water they absorb. Since all whole wheat flours are quite absorbent, start with 300 ml of water and adjust as needed-if the dough feels stiff, gradually add more. A higher hydration level in this recipe will result in a lighter, less dense loaf.

Find the ingredient quantities, detailed instructions and nutritional information in the recipe card at the bottom of the post.
Step-By-Step Method
This wholemeal sourdough bread recipe is made over 2 days, but you can extend the cold retardation (long time in the fridge increases the nutty and sour taste of the final bread).
DAY 1
Step 1: Feed Sourdough Starter
First thing in the morning, feed your sourdough starter. I typically feed 70g of my starter in a ratio of 1 part starter:1 part water:1 part flour. This simply means that I mix 70g of starter with 70g water and 70g flour. Scoop the mixture into a clean jar, and leave it in a warm spot (ideally, 21-27°C), semi-covered for 4-5 hours.
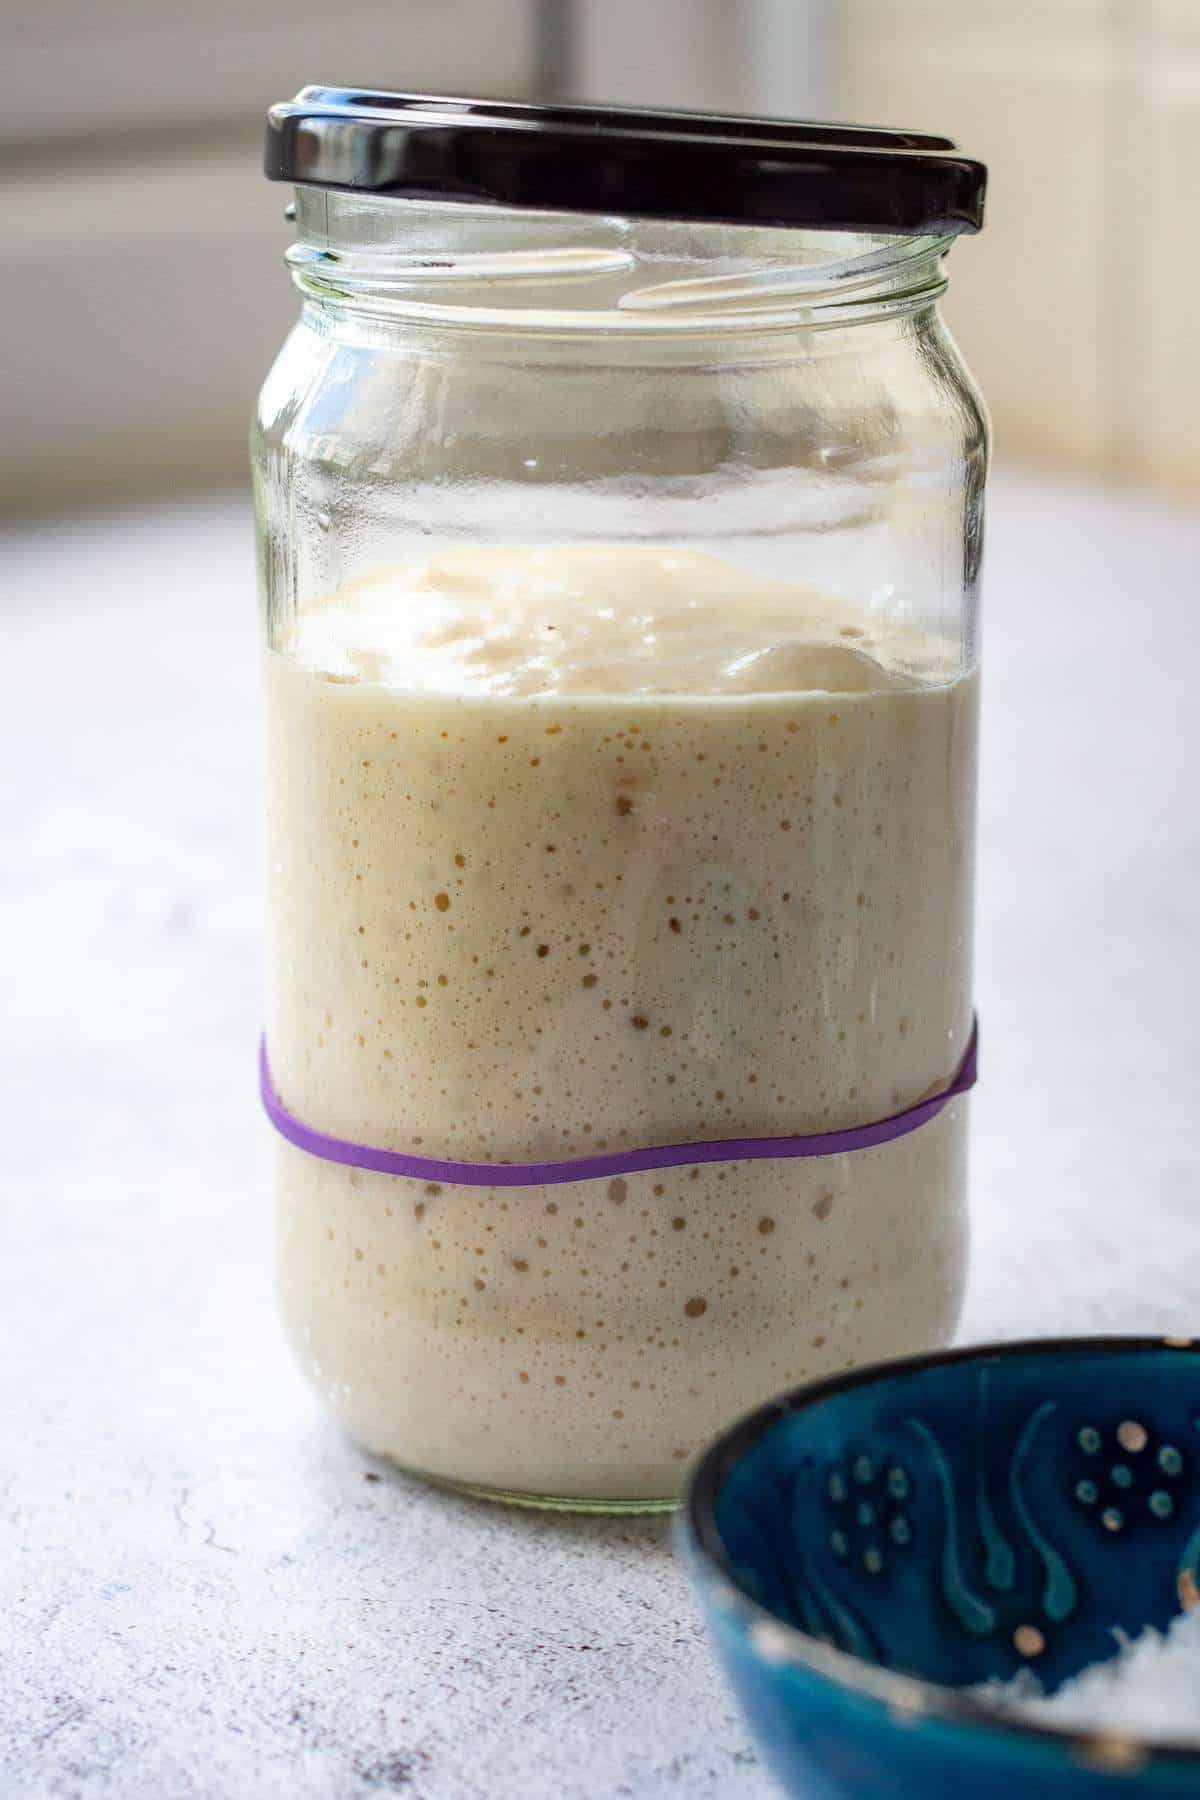
Your starter should at least double in volume in this time without deflating. If it doesn't, it may need a couple of good feeds before your wild yeast is strong enough and your starter is fit for purpose.
I use 160g of active starter for baking and feed the remaining 50g before storing it for the future.
Step 2: Autolyse
When your starter is almost doubled, mix the wholemeal flour with water in a bowl of a stand mixer into a rough dough. You only need to mix enough for the flour to hydrate (no dry pockets of flour remain). Cover the bowl with a damp tea towel and leave it to autolyse for 1 hour.

Step 3: Mixing The Final Dough
After an hour, add the salt, active sourdough starter and, fitted with a dough hook attachment, run your stand mixer for approximately 10 minutes. If your sourdough looks very dry, add 10ml of water at a time while mixing the dough (whole wheat flour absorbs A LOT of water - some more than others).


Step 4: Coil Folds And Bulk Fermentation
Scoop the dough into a large bowl, cover with a damp kitchen towel or plastic wrap and leave it in a warm place (21-27°C) for 30 minutes.
After 30 minutes, with cold wet hands, perform the first set of coil folds (or a set of stretch and folds if that's what you're used to). Simply lift the bread dough with both hands from the sides and tuck it under to form a coil (video below). Rotate the bowl a quarter turn and coil again. Cover the bowl again, and let the dough rest for 30 minutes again.
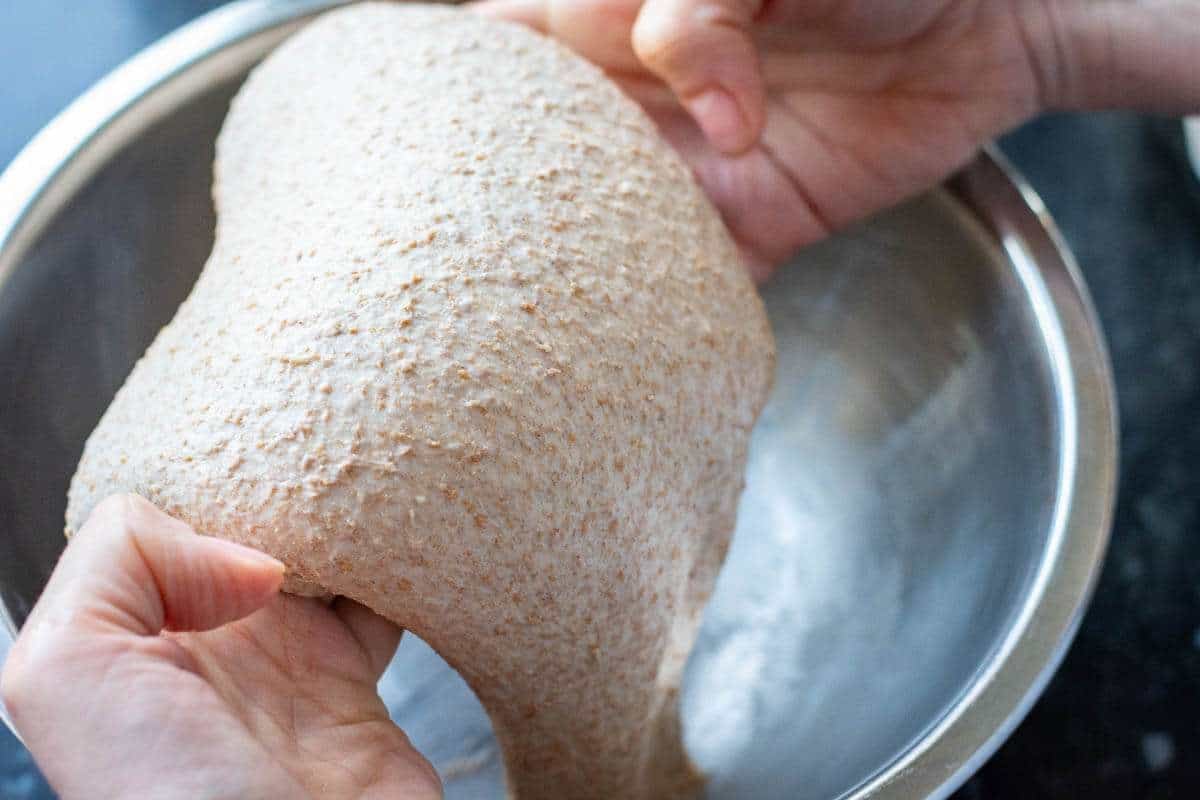
You should repeat the process every 30 minutes until you have done 4-6 sets of coil folds. Your dough will spread less with every set of folds, and by the end of it, you will have a much less sticky, very soft and elastic dough that has blisters on top of the dough. For more information on how to coil fold and when to know when you've done enough folding, head to our dedicated article about Sourdough Coil Folds.
Once all the folds have been completed, cover the dough and let the dough rise at warm room temperature for 2-4 hours to finish bulk fermentation (also known as first rise). Your dough should just about double its original size. If you are using a see-through glass bowl for bulk fermenting, you should see a lot of activity and bubbles forming at the base and sides of the bowl.

Step 5: Shaping and Cold Retardation
At the end of bulk fermentation, using a bowl scraper, scoop the dough onto a lightly floured surface. Try and make sure that the smooth top of the dough (the side that is not intact with the bowl) is placed on the floured work surface.
Then swiftly fold the four corners of the dough into the centre and flip the dough over.


Cupping the dough with your hands, drag it against the worktop to create surface tension. You should see a few bubbles surfacing on the dough. It takes some practice, but you should aim for a tight round ball of dough (known as sourdough boule) that holds its shape and doesn't spread much.
Place the dough ball into a well-floured banneton basket (or any proofing basket alternatives). We recommend using rice flour for dusting your proofing baskets. The smooth side of the sourdough ball should be at the bottom, with the seam at the top.
Pinch the seam together with your fingers, if the dough starts spreading in the bowl to make sure the dough is tight. Sprinkle with some flour, and cover the dough with a clean fabric napkin or small lightweight tea towel.

Place the proofing basket in a large plastic bag - it will protect the dough from drying out. Then place the whole thing in the fridge for its final rise (a.k.a. second rise) in the fridge for 12-36 hours.
DAY 2
The next day, place the Dutch Oven in the oven, and preheat it to 240°C (typically, it is the highest temperature home ovens will go to) with the Dutch oven in it. It needs to be piping hot!
Step 6: Scoring The Dough
Once the oven is hot, take the dough out of the fridge and out of the bag.
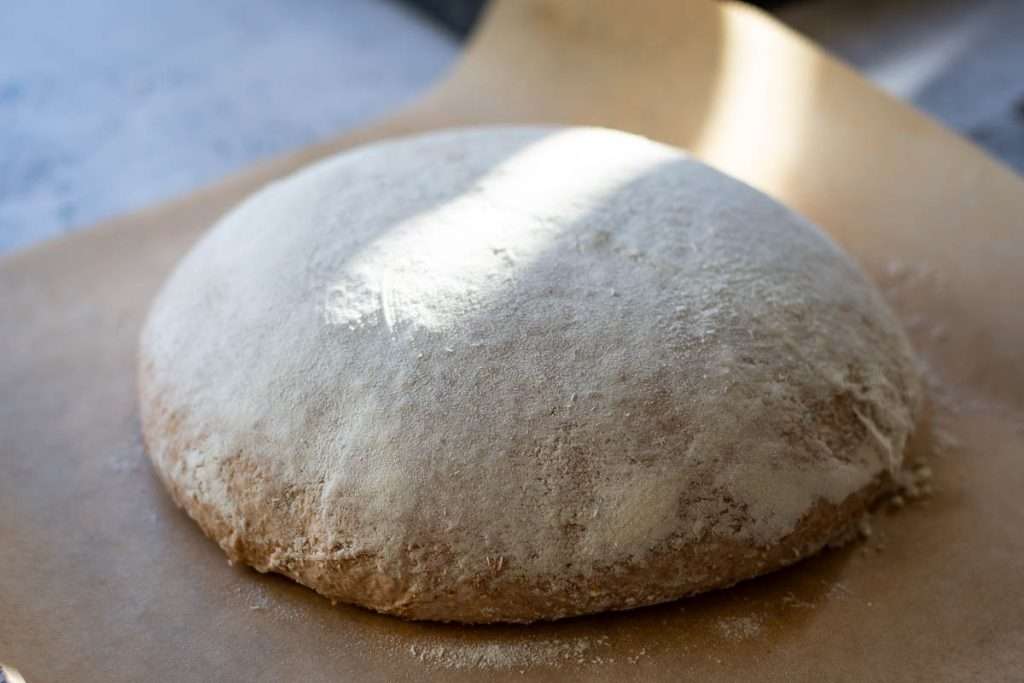
Invert the dough gently onto a large piece of parchment paper. If your dough was properly bulk fermented and shaped correctly, it should not spread once inverted.
Dust the surface of the dough with flour. Using a bread lame or a razor blade, score the dough deeply (approximately 1cm deep).

Step 7: Baking
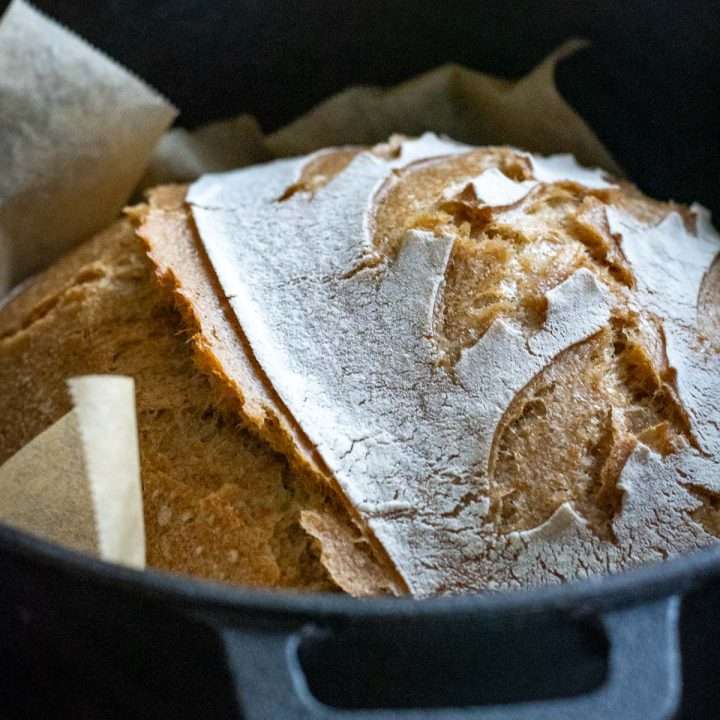
Take the hot Dutch Oven out of the oven, take the lid off, and lift the sourdough into it, holding the edges of the parchment paper. Be mindful of how you lift the paper. Sometimes, the scored slash can begin to close up during this process. To prevent this, lift the parchment from the sides that the two edges of the scored dough won't push back together.
Place the lid back on the Dutch Oven and place the bread into the hot oven for 30 minutes.

After 30 minutes, reduce the temperature to 200°C, take the lid off, and return the sourdough to the oven for another 20-25 minutes.
Alternatively, try baking this whole wheat sourdough in an inverted Dutch Oven.
Step 8: Cooling
Once baked, take the Dutch Oven out of the oven. Lift the bread out by holding the corners of the parchment paper. Place the bread onto the wire rack, and slide the parchment paper from underneath the loaf.
Leave the sourdough to cool down to room temperature before slicing.
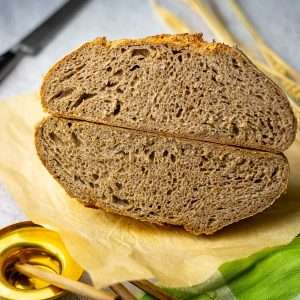
100% wholemeal sourdough will be denser and slightly sticky on the inside - it's just the nature of wholemeal flour.


Tips For Baking With Wholemeal Flour
If it's your first time working with whole wheat flour, here's what to expect-it behaves quite differently from white flour, so a few adjustments will help you get the best results.
- Type of Flour. Not all whole wheat flours are the same. Stone-ground varieties retain more bran and germ, adding flavor and nutrients but also absorbing more water and making the dough heavier. For a balance between nutrition and workability, look for a high-protein whole wheat flour.
- Increase Hydration. Whole wheat absorbs more water than white flour, so be prepared to add extra liquid to keep the dough from feeling too stiff. This is important for creating a less dense loaf.
- Don't Skip Sourdough Autolyse. Allowing the flour to hydrate before mixing the final dough will allow you to judge how much water is needed.
- Expect a Denser Tacky Texture. Unlike white dough, which develops a strong, stretchy gluten network, whole wheat dough is naturally more compact. This means the final loaf will have a tighter crumb.
- Don't Over-Proof - Whole wheat ferments faster than white flour due to its higher enzyme activity.

What To Pair With Whole Wheat Sourdough?
Whole wheat sourdough is the perfect base for hearty open-faced sandwiches, whether topped with smoked salmon and cream cheese, a cheddar and apple. We also like it with hard-boiled eggs and mayo or a simple spread of butter with a sprinkle of sea salt. Its dense, nutty crumb holds up beautifully to rich toppings, making every bite satisfying.
However, this whole wheat bread also pairs wonderfully with autumnal soups and stews.
More Sourdough Recipes With Different Flour Types
Check out our new recipe for Barley Flour Sourdough and French Sourdough Pain De Campagne! Some more ideas below:


100% Wholemeal Sourdough Bread
Equipment
- Bench Scraper
- Banneton Basket
- Razor Blade or Bread Lame
Ingredients
- 400 g strong wholemeal flour a.k.a. whole wheat flour, with at least 13% protein
- 7 g salt
- 160 g active sourdough starter 100% hydration
- 300 ml water you may need more*
Instructions
Feed Sourdough Starter
- First thing in the morning, feed your sourdough starter. I typically feed 70g of my starter in a ratio of 1 part starter:1 part water:1 part flour. This simply means that I mix 70g of starter with 70g water and 70g flour. Scoop the mixture into a clean jar, and leave it in a warm spot (ideally, (21-27°C)), semi-covered for 4-5 hours. Your starter should at least double in volume in this time without deflating. If it doesn't, it may need a couple of good feeds before it's fit for purpose.
- I use 160g of active starter for baking and feed the remaining 50g before storing it for the future.
Autolyse
- When your starter is almost doubled, mix the wholemeal flour with water in a bowl of a stand mixer. You only need to mix enough for the flour to hydrate (no dry pockets of flour remain). Cover the bowl with a damp tea towel and leave it to autolyse for 1 hour.
Mixing The Final Dough
- After an hour, add the salt, active sourdough starter and, fitted with a dough hook attachment, run your stand mixer for approximately 10 minutes. If your sourdough looks very dry, add 10ml of water at a time while mixing the dough (whole wheat flour absorbs A LOT of water - some more than others).
Coil Folds And Bulk Fermentation
- Scoop the dough into a large bowl, cover with a damp kitchen towel or plastic wrap and leave it in a warm place (21-27°C) for 30 minutes.
- After 30 minutes, with cold wet hands, perform the first set of coil folds. Simply lift the bread dough with both hands from the sides and tuck it under to form a coil (video in the text above). Rotate the bowl a quarter turn and coil again. Cover the bowl again, and let the dough rest for 30 minutes again.
- You should repeat the process every 30 minutes until you have done 4-6 sets of coil folds. Your dough will spread less with every set of folds, and by the end of it, you will have a much less sticky, very soft and elastic dough that has blisters on top of the dough. For more information on how to coil fold and when to know when you've done enough folding, head to our dedicated article about Sourdough Coil Folds.
- Once all the folds have been completed, cover the dough and let the dough rise at warm room temperature for 2-4 hours to finish bulk fermentation. Your dough should just about double its original size. If you are using a see-through glass bowl for bulk fermenting, you should see a lot of activity and bubbles forming at the base and sides of the bowl.
Shaping and Cold Retardation
- At the end of bulk fermentation, using a bowl scraper, scoop the dough onto a lightly floured surface. Try and make sure that the smooth top of the dough (the side that is not intact with the bowl) is placed on the floured work surface. Then swiftly fold the four corners of the dough into the centre and flip the dough over.
- Cupping the dough with your hands, drag it against the worktop to create surface tension. You may see some bubbles surfacing on the dough. It takes some practice, but you should aim for a tight round ball of dough that holds its shape and doesn't spread much.
- Place the dough ball into a well-floured banneton basket (or any proofing basket alternatives). We recommend using rice flour for dusting your proofing baskets. The smooth side of the sourdough ball should be at the bottom, with the seam at the top.
- Pinch the seam together with your fingers, if the dough starts spreading in the bowl to make sure the dough is tight. Sprinkle with some flour, and cover the dough with a clean fabric napkin or small lightweight tea towel.
- Place the proofing basket in a large plastic bag - it will protect the dough from drying out. Then place the whole thing in the fridge for its final rise (a.k.a. second rise) in the fridge for 12-36 hours.
DAY 2
- The next day, place the Dutch Oven in the oven, and preheat it to 240°C (typically, it is the highest temperature home ovens will go to) with the Dutch oven in it. It needs to be piping hot!
Scoring The Dough
- Once the oven is hot, take the dough out of the fridge and out of the bag.
- Invert the dough gently onto a large piece of parchment paper. If your dough was properly bulk fermented and shaped correctly, it should not spread once inverted.
- Dust the surface of the dough with flour. Using a bread lame or a razor blade, score the dough deeply (approximately 1cm deep).
Baking
- Take the hot Dutch Oven out of the oven, take the lid off, and lift the sourdough into it, holding the edges of the parchment paper. Be mindful of how you lift the paper. Sometimes, the scored slash can begin to close up during this process. To prevent this, lift the parchment from the sides that won't push the two edges of the scored dough back together.
- Place the lid back on the Dutch Oven and place the bread into the hot oven for 30 minutes.
- After 30 minutes, reduce the temperature to 200°C, take the lid off, and return the sourdough to the oven for another 20-25 minutes.
Cooling
- Once baked, take the Dutch Oven out of the oven. Lift the bread out by holding the corners of the parchment paper. Place the bread onto the wire rack, and slide the parchment paper from underneath the loaf.
- Leave the sourdough to cool down to room temperature before slicing. 100% wholemeal sourdough will be denser and slightly sticky on the inside - it's just the nature of wholemeal flour.
Notes
Nutrition




Leave a Reply