
If you've ever wished your sourdough could behave a little more like soft sandwich bread, this evaporated milk sourdough bread might become your new favourite bake. It's everything you love about sourdough - natural fermentation, deep flavour and beautiful structure - but with a soft crust and fluffy crumb that's perfect for everyday slices. This sourdough sandwich bread with evaporated milk bakes in a loaf pan, making it ideal for toast, sandwiches and anything that benefits from a pillowy slice of bread.

Jump to:
As an Amazon Associate I earn from qualifying purchases, at no extra cost for you! Thank you!
Think of it as the sourdough baker's answer to classic white bread - soft, sliceable and incredibly versatile.
How Evaporated Milk Affects Sourdough Bread
Evaporated milk is a surprisingly useful ingredient in enriched sourdough breads. Because it's shelf-stable at room temperature, it works beautifully in doughs that undergo long bulk fermentation and extended proofing periods without worrying about milk spoiling.
Here's how it influences the dough.
Dough Handling. Evaporated milk creates a softer milk bread dough that feels smooth and supple during mixing. The fats and proteins in the milk help strengthen gluten, making the dough easier to handle and shape.
Bulk Fermentation. Because evaporated milk contains lactose and concentrated milk solids, the dough tends to ferment steadily during bulk fermentation and the final rise. The structure stays stable, which is helpful for sandwich loaves.
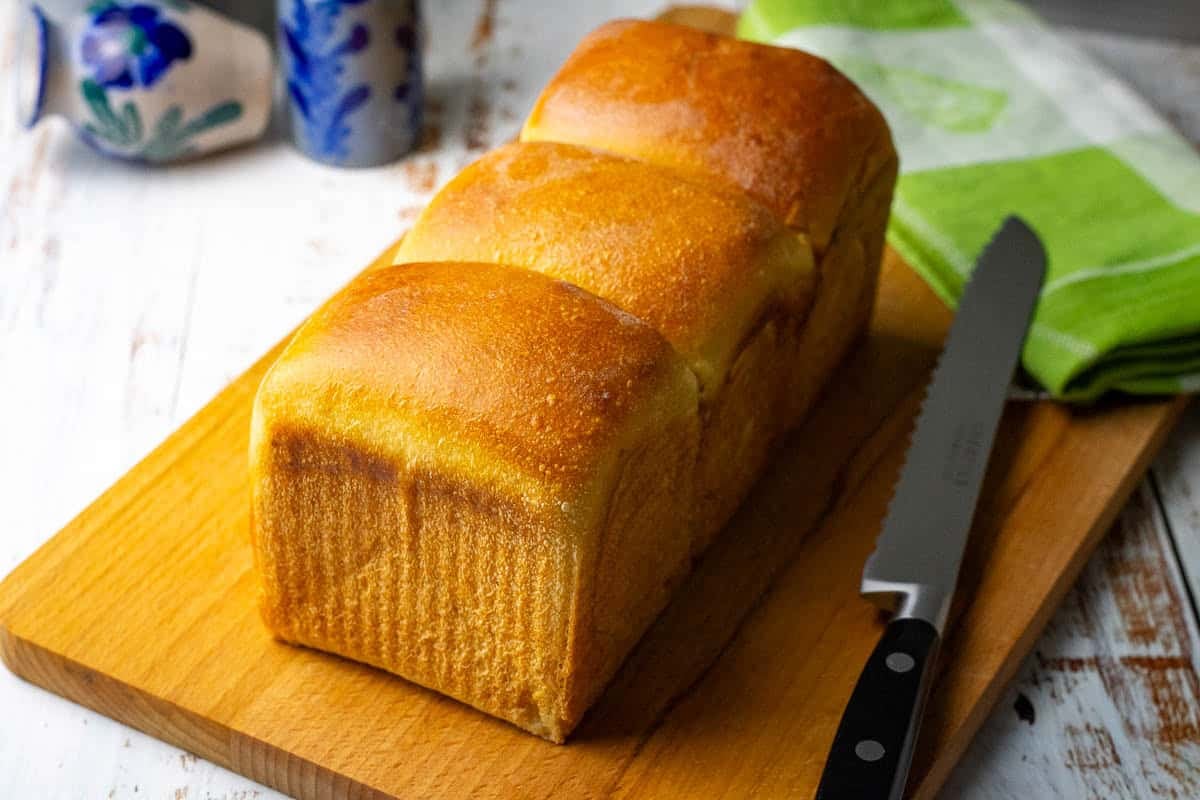
Crumb and Crust. The finished loaf has a soft crust and tender crumb, similar to enriched breads like our sourdough Japanese milk bread (Hokkaido milk bread), but without needing techniques like the tangzhong method.
Flavour. Evaporated milk adds subtle sweetness and a creamy richness that pairs beautifully with sourdough's gentle tang.
Ingredient Notes
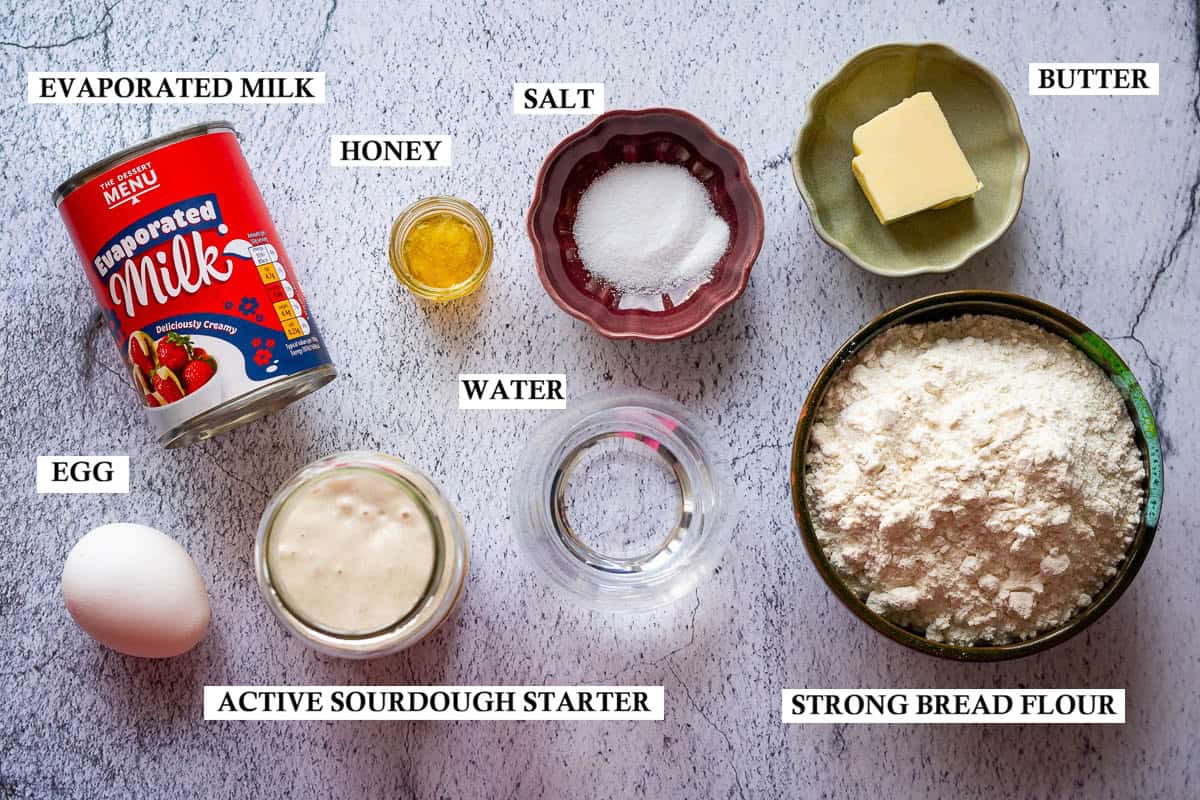
- Bread flour. Strong bread flour (around 12% protein) helps the dough develop structure and pass the windowpane test early, which is key for soft sandwich loaves.
- Active sourdough starter. Use a bubbly sourdough starter that has doubled in volume. A healthy starter ensures a good dough rise and light crumb.
- Evaporated milk. This is the star ingredient. It adds richness without making the dough too heavy.
- Water. Balances hydration and prevents the dough from becoming overly rich.
- Butter. Adds tenderness and improves shelf life. Use unsalted butter.
- Honey. A little sweetness balances the tang of sourdough and encourages browning.
- Salt. Enhances flavour and strengthens gluten.
- Egg wash. Brushed over the top before baking, it creates that beautiful golden brown crust.
Step-By-Step Method
Day 1
Feed the Starter
1. Feed your active starter first thing in the morning and leave it in a warm spot until doubled and bubbly. If you have trouble, head to our article - My Sourdough Starter Not Doubling Within 4 Hours, or download our FREE Sourdough Starter Troubleshooting Guide below.
Mix the Dough
1. In a small saucepan over medium heat, gently warm the evaporated milk, water and butter until the butter melts. Allow the mixture to cool slightly.
2. In the bowl of a stand mixer, combine:
- bread flour
- salt
- honey
- active starter
- cooled milk mixture
3. Using a dough hook attachment, mix on low speed until a rough dough forms.
4. Increase to medium speed and knead for 10-15 minutes until a smooth dough forms that just about passes the windowpane test.
Top Tip: The dough should pull away from the sides of the bowl and feel elastic but still soft.
5. Shape the dough into a tight ball on the work surface and place it into a lightly oiled bowl.
6. Cover and allow the dough to rest for 30 minutes.
Coil Folds, Bulk Fermentation and Cold Proof
1. Perform your first coil fold with wet hands.
2. Repeat three more sets of folds at 30-minute intervals.
3. After the final fold, let the dough rest to complete bulk fermentation for another 2-3 hours until roughly doubled.

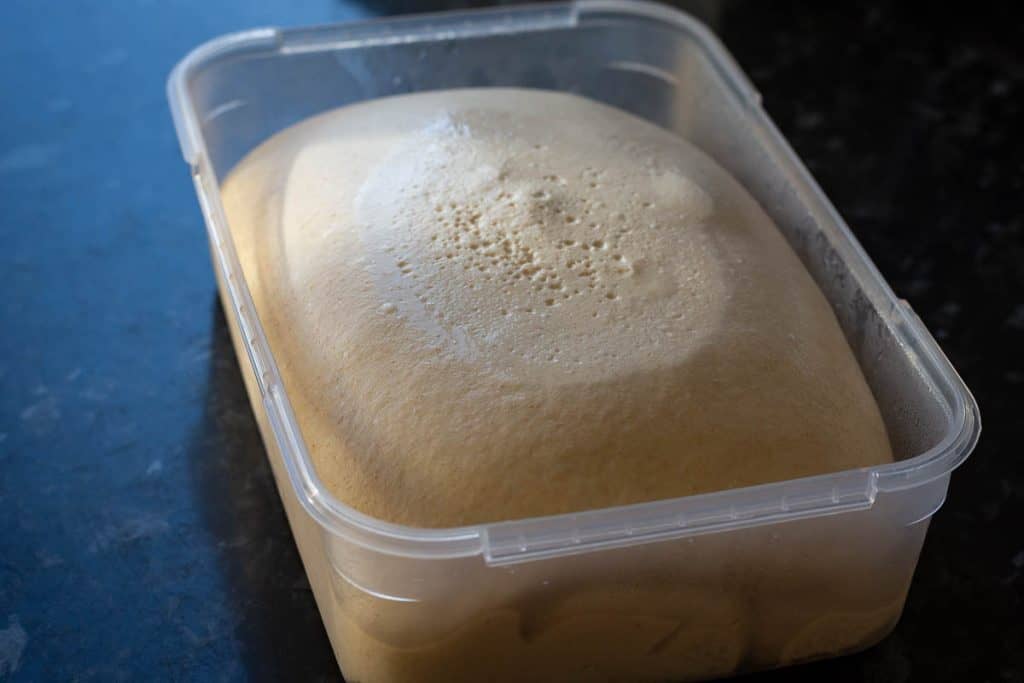
4. Transfer the bowl to the fridge and leave overnight for a slow cold proof.
Top Tip: Cold fermentation improves flavour and makes shaping easier the next day.
Day 2
Shaping and Final Rise
1. Lightly grease a loaf pan (Pullman pans also work beautifully for this recipe, you can find more information in our Sourdough Pullman Loaf (Sourdough Pain de Mie) recipe).
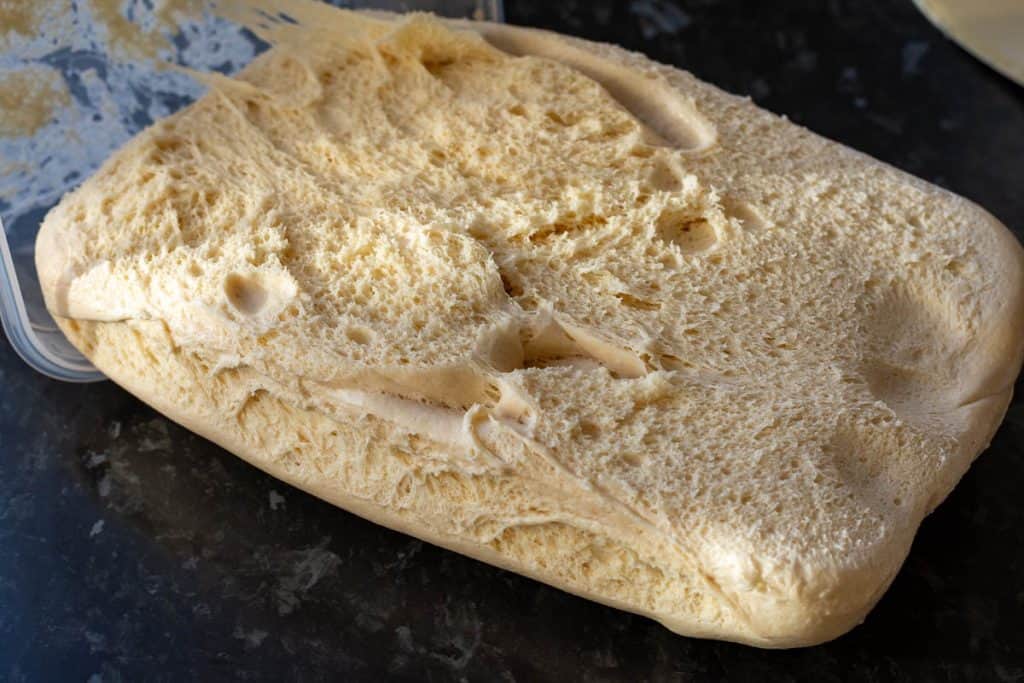
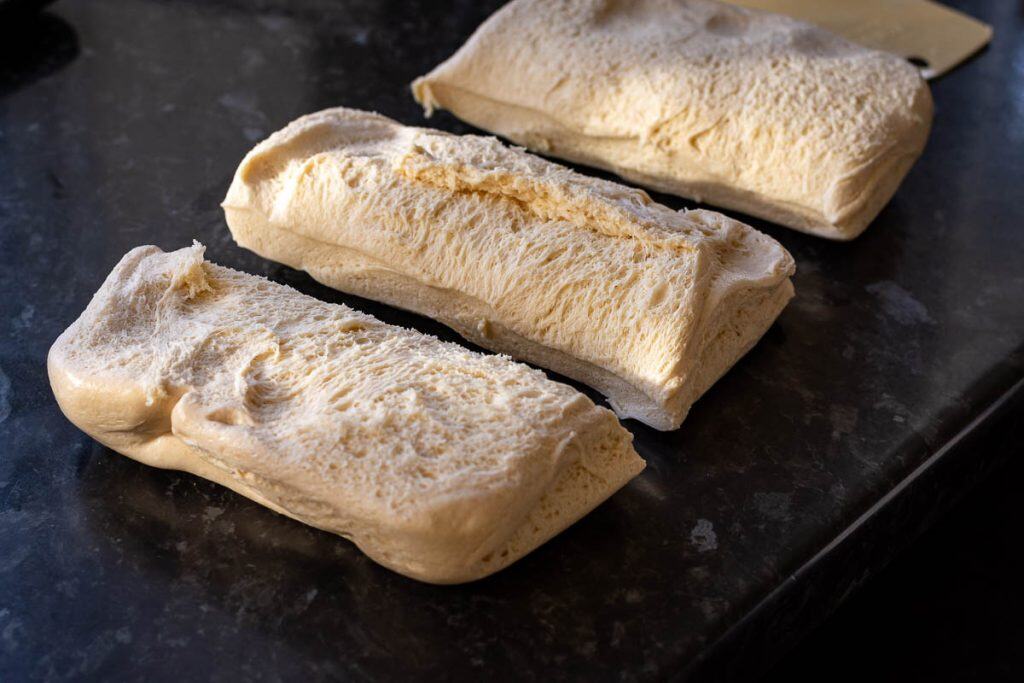
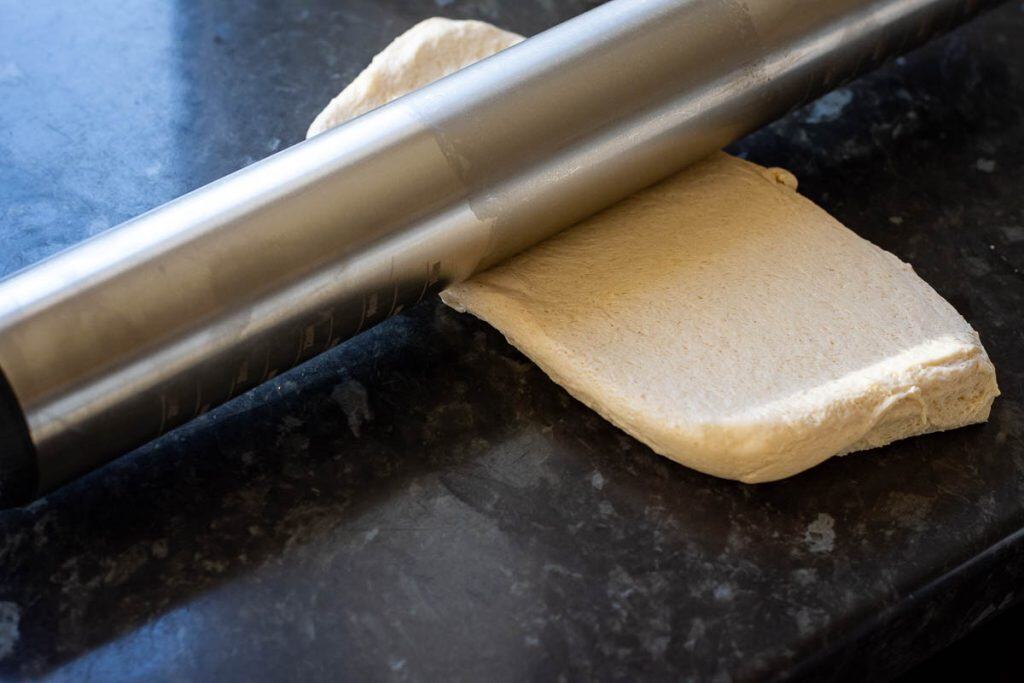
2. Turn the dough onto a lightly floured surface and stretch it into a rectangle roughly the length of your tin.
3. Roll the dough tightly into a log.
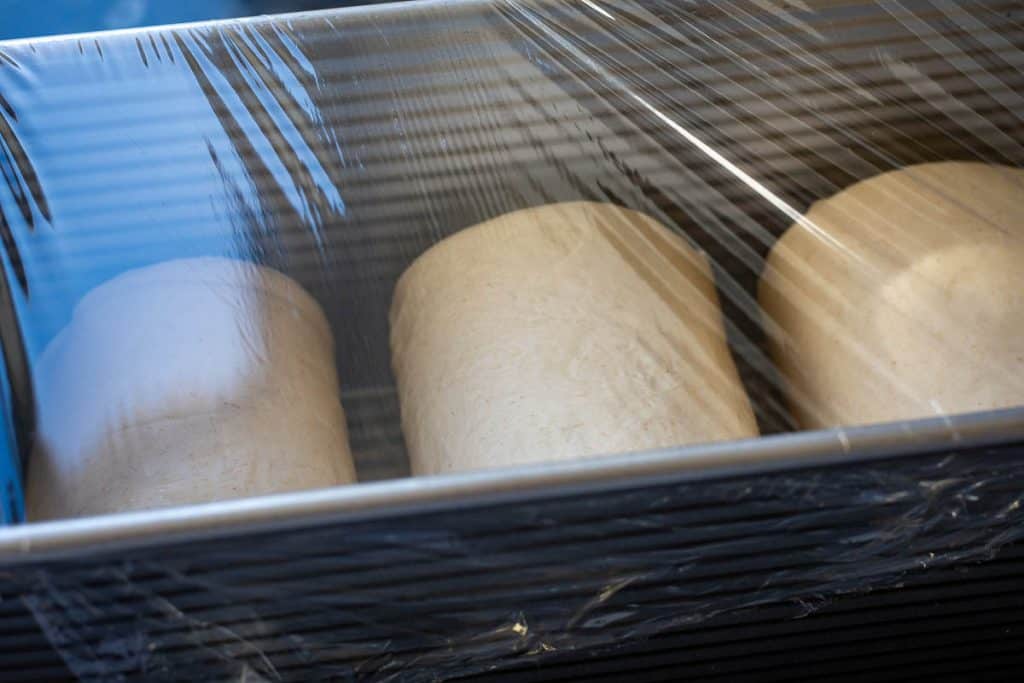
4. Place seam-side down in the tin and cover with plastic wrap or a tea towel.
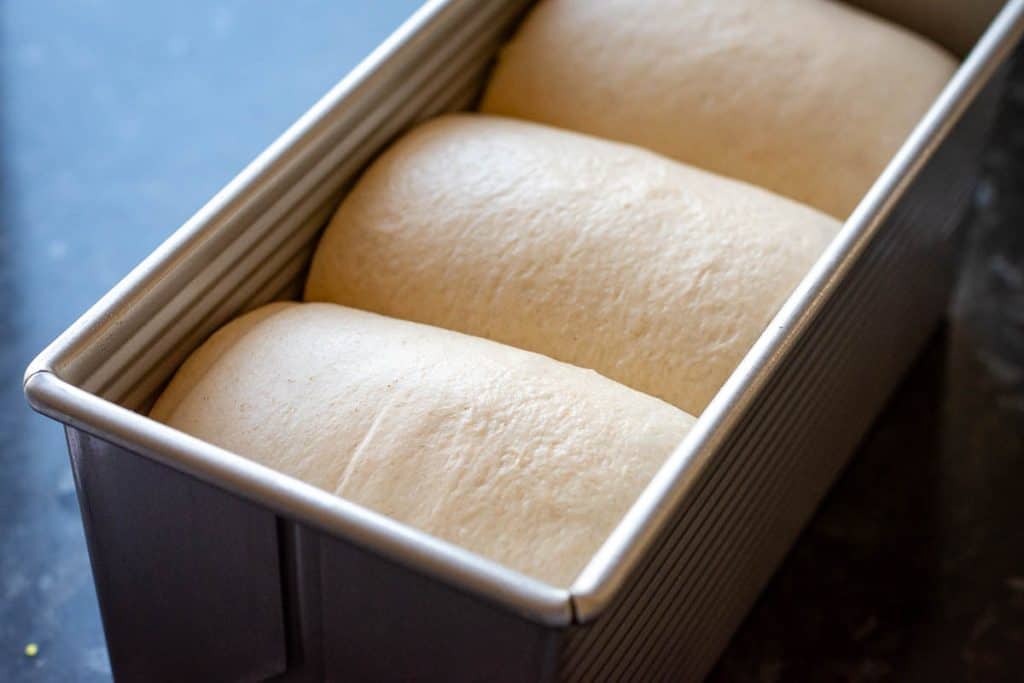
5. Leave in a warm place for the final proof until doubled.

Baking
1. Preheat the oven to 180°C.
2. Score the top of the loaf and brush with egg wash.
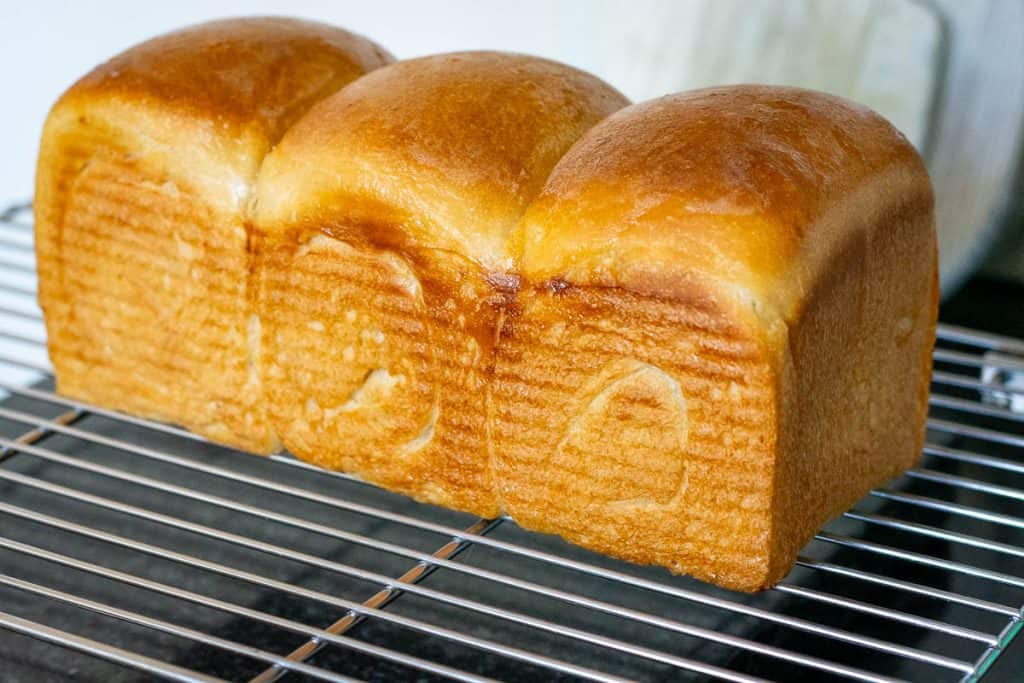
3. Bake for 35-40 minutes until deeply golden brown.
4. The loaf should reach an internal temperature of around 90°C.
5. If the crust browns too quickly, cover loosely with foil for the last part of baking.
6. Allow the bread to cool briefly in the pan before transferring to a wire rack.
Top Tip: Let the loaf cool fully before slicing to preserve the soft crumb.


Serving Suggestions
This sourdough sandwich bread with evaporated milk is incredibly versatile.
Classic ideas include:
- toast with butter and jam
- simple sandwiches
- grilled cheese
- avocado toast
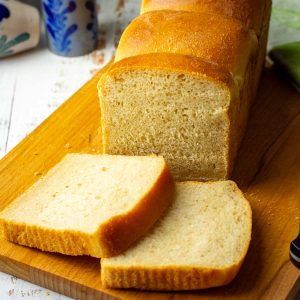
Because the crumb is soft and fluffy, it also works beautifully for French toast or sweet breakfast bakes.
Feeling adventurous? Try it:
- toasted with honey and sea salt
- as the base for savoury bread pudding
- sliced thick and grilled with olive oil
- turned into buttery sourdough croutons for salads
And if you end up with leftover bread, it makes excellent bread pudding or crunchy sourdough croutons.
Storage
Once fully cooled, store the loaf in an airtight container at room temperature for up to three days.
For longer storage, slice the loaf and freeze it. Frozen slices can be toasted directly from the freezer.
More Soft Crust Sourdough Bread Recipes
If you enjoyed this evaporated milk sourdough bread recipe, there are plenty more soft sourdough loaves to explore - perfect for sandwiches, toast and everyday baking.




Evaporated Milk Sourdough Sandwich Bread
Equipment
- Loaf Pan (9″ x 4″ x 4″ - 23 × 10 × 10 cm)
Ingredients
- 360 g strong white bread flour
- 220 g active sourdough starter 100% hydration
- 160 g evaporated milk
- 80 g water
- 30 g unsalted butter
- 1 tablespoon clear honey
- 1½ teaspoon salt
Egg wash
- 1 egg beaten
Instructions
Day 1
- First thing in the morning, feed the sourdough starter and leave it in a warm place (ideally between 21-27°C), loosely covered, for 4-5 hours. The starter should double in size by then. If it doesn't, it might need a few more good feedings to be ready.
Mix The Dough
- In a small saucepan, gently heat the evaporated milk, water and butter until the butter melts.
- Remove from the heat and allow the mixture to cool until it is just warmer than room temperature.
- In the bowl of a stand mixer fitted with a dough hook, combine flour, salt, honey, active starter and cooled milk mixture.
- Mix on low speed until the dough comes together, then increase the speed slightly and knead for 10-15 minutes, until smooth and elastic.
- Shape the dough into a ball on the work surface and place it in a lightly greased bowl or other bulk fermentation container, cover and leave in a warm spot for 30 minutes.
Coil Folds, Bulk Fermentation and Cold Proof
- After 30 minutes, with cold wet hands, perform the first set of coil folds. Simply lift the bread dough with both hands from the sides and tuck it under to form a coil. Rotate the bowl a quarter turn and coil again. Cover the bowl again, and let the dough rest for 30 minutes again.
- Repeat the coil folds three more times at 30 minute intervals (4 sets total). After the last coil fold, your dough should feel a lot less sticky and feel strengthened and elastic.
- Cover and let the dough rise and finish its bulk fermentation undisturbed for 2-3 hours. The dough should just about double in size from its original size.
- Cover well and transfer to the refrigerator overnight to continue slow fermentation.
Day 2
- Lightly grease a loaf pan (9″ x 4″ x 4″ - 23 × 10 × 10 cm).
Shaping and Second Rise
- Turn the dough onto a lightly floured surface. Gently stretch it into a rectangle roughly the length of your loaf tin.
- Roll the dough tightly into a log and place it seam-side down in the tin.
- Cover the tin with a damp tea towel or lightly oiled cling film.
- Leave the dough in a warm place for about 2-3 hours, or until the loaf has doubled in size. Here's how to know when your sourdough is ready to bake.
Baking
- Preheat the oven to 180°C (350°F).
- Score the top of the loaf with a sharp knife or bread lame. Gently brush the surface with beaten egg.
- Bake for 30-35 minutes, until the loaf is deeply golden brown.
- If the top begins browning too quickly, loosely cover it with foil for the final part of baking.
- The internal temperature should reach 88-93°C.
- Allow the loaf to cool in the tin for 10 minutes, then transfer to a wire rack to cool completely before slicing.
Nutrition





Leave a Reply