
Some sourdough loaves are all about flavour. Others are about pure visual drama. This Marbled Purple Sourdough Bread With Raspberry Powder is the kind of loaf that makes people stop mid-conversation, tilt their head, and ask, "How did you do that?" The answer is surprisingly simple: two doughs, a bit of lamination, and a natural colour that creates beautiful swirls throughout the crumb.

Jump to:
As an Amazon Associate I earn from qualifying purchases, at no extra cost for you! Thank you!
If you're the sort of baker who likes experimenting beyond the classic country loaf, this is a great way to try something playful without sacrificing technique. It's still proper sourdough - same fermentation, same structure - just dressed in its Sunday best.
Naturally Coloured Sourdough Bread
Naturally coloured sourdough is one of those rabbit holes that many sourdough geeks fall into sooner or later. Once you realise that dough happily absorbs natural pigments, the temptation to experiment becomes irresistible.
Some ingredients work brilliantly. Matcha sourdough bread produces a beautiful, earthy green loaf, while turmeric gives sourdough a warm golden hue (like in our Turmeric Sourdough Bread recipe). There are also bakers using purple sweet potato powder, or even purple sweet potato puree, to create dramatic violet loaves similar to delicious marbled purple sweet potato sourdough bread you may have seen online.


Not all experiments succeed, though.
I once attempted to make a pink sourdough using beet powder and dragonfruit powder. Both looked promising during mixing… but the moment they hit the oven, the colour faded into an unfortunate shade of brown. Lesson learned: not all colour powders survive the heat of baking.
Raspberry powder, however, holds its colour remarkably well. Instead of fading, it bakes into a lovely purple colour, creating the dramatic marbled crumb that makes this loaf so eye-catching.
And the best part? It still behaves like proper sourdough.
How Does Raspberry Powder Affect Sourdough?
Adding raspberry powder to the dough changes more than just the colour.
Fermentation. Raspberry powder naturally contains a little sugar, which means the raspberry dough can ferment slightly faster than the plain dough. To balance this, we add a small amount of sugar to the plain dough so both ferment at roughly the same speed. This keeps the structure consistent when creating the layered marbled effect.
Dough texture. The raspberry dough is usually just a touch softer and slightly less elastic than the plain dough. It tears easily. This happens because the powder absorbs moisture differently from flour. If you've ever worked with fruit powders before, you'll know they can make dough feel a bit more delicate.
Flavour. Despite the colour, this loaf doesn't taste like raspberry jam. The flavour is subtle - more aroma than sweetness. It's still very much a savoury sourdough bread, which means you can enjoy it with anything you'd normally serve with bread.

Recipe Tips For Best Results
Getting those striking, beautiful patterns in your loaf is surprisingly easy once you know a few tricks.
Distribute the raspberry powder evenly. When mixing the purple dough, make sure the raspberry powder is fully incorporated with the flour before adding water. Clumps of powder can create uneven colour patches instead of smooth beautiful swirls.
Don't overhydrate the raspberry dough. Fruit powders already absorb moisture, which means the raspberry dough is slightly softer and less elastic. Adding too much water can make it slack and difficult to shape.
Use coil folds to build structure. Regular coil fold sets during bulk fermentation help strengthen both doughs so they can hold their shape during shaping and baking.

Stretch both doughs evenly when laminating sourdough. When creating the layered marbled effect, stretch each dough into a rough rectangle of similar thickness. Uneven layers can produce irregular marbling instead of consistent swirls. This is why it's super important to build proper gluten structure in your doughs - otherwise, they will tear. Have a look at how we laminate the two dough below (note, the video shows our Matcha Sourdough, but this exact method is used here too):
Cold fermentation helps the structure. Resting the dough in the fridge overnight allows the gluten to strengthen and the flavours to develop, while making shaping easier the next time you bake this loaf.

More Fun Sourdough Recipes To Try
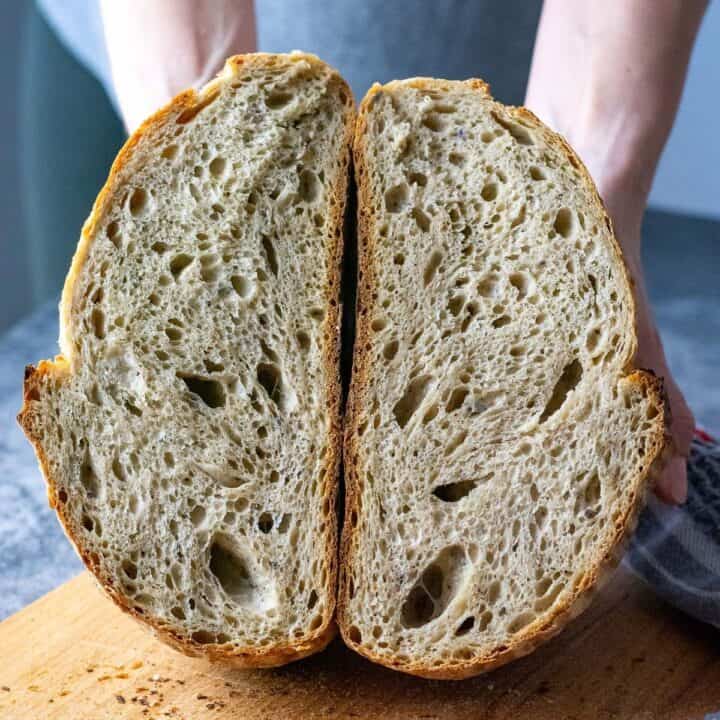
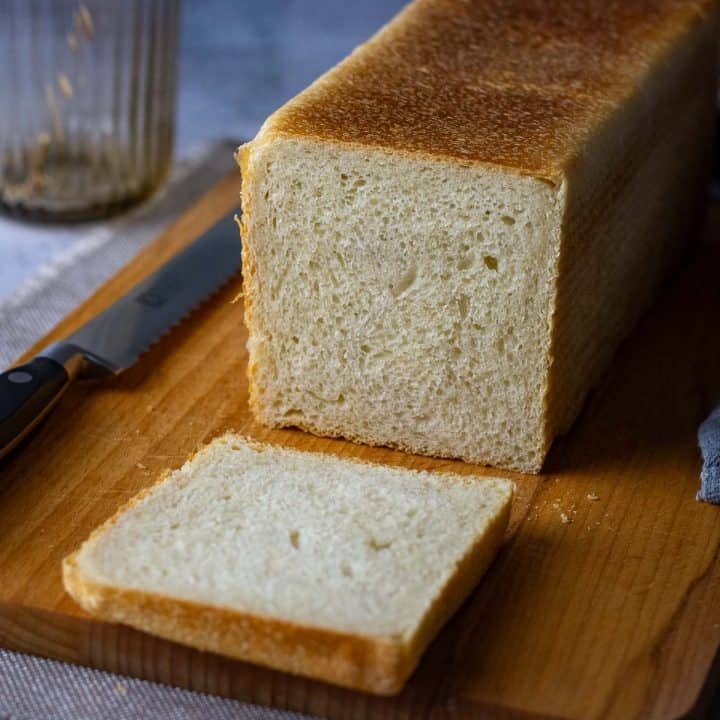
If you enjoyed experimenting with this colourful loaf, there are plenty more creative sourdough bakes worth exploring next:


And as always, happy baking.

Marbled Purple Sourdough Bread (With Raspberry Powder)
Equipment
- Bench Scraper
- Proofing Basket
- Razor Blade or Bread Lame
Ingredients
For Plain Sourdough:
- 250 g strong bread flour with at least 12% protein content
- 5 g salt
- 1 teaspoon granulated sugar
- 80 g active sourdough starter 100% hydration
- 150-160 ml water
For Purple Sourdough:
- 240 g strong bread flour with at least 12% protein content
- 15 g raspberry powder
- 5 g salt
- 80 g active sourdough starter 100% hydration
- 150-160 ml water
Instructions
DAY 1:
Feed Sourdough Starter
- First thing in the morning, feed your sourdough starter. I typically feed 70g of my starter in a ratio of 1 part starter:1 part water:1 part flour. This simply means that I mix 70g of starter with 70g water and 70g flour. Scoop the mixture into a clean jar, and leave it in a warm spot (ideally, 21-27°C), semi-covered for 4 hours. Your starter should at least double in volume in this time. If it doesn't, it may need a couple of good feeds before it's fit for purpose.
- I use 160g of active starter for baking and feed the remaining 50g before storing it for the future.
Mixing The Plain Dough
- Once the sourdough starter is active and bubbly (and at least doubled in volume), mix the plain dough. I use a stand mixer for this. Simply mix the flour, sugar and salt in the bowl of a stand mixer. Then add the water and sourdough starter. Run the mixer, fitted with a dough hook attachment for 10 minutes, until your dough is smooth and elastic. It does not need to pass the windowpane test just yet (the gluten will continue developing when we fold the dough during the bulk fermentation period).
- Scoop the dough into a large bowl (reserve the mixer bowl and dough hook attachment for the next step- no need to wash them), cover with a damp kitchen towel or plastic wrap, and leave it in a warm place (21-27°C) for 30 minutes.
Mixing Raspberry Sourdough
- To the bowl of a stand mixer, combine the flour, raspberry powder and salt. Add sourdough starter and water, and, just like before, run the mixer for 10 minutes, until smooth dough forms.
- Scoop it into a separate container, cover and place in a warm spot for 30 minutes.
Coil Folds And Bulk Fermentation
- You will have to repeat the same steps to fold the two doughs in this section.
- After 30 minutes, with wet hands, perform the first set of coil folds on the plain sourdough. Simply lift the bread dough with both hands from the sides and tuck it under to form a coil (video below). Rotate the bowl a quarter turn and coil again. Cover the bowl again, and let the dough rest for 30 minutes again. Repeat with the purple dough.
- You should repeat the process every 30 minutes until you have done 4-6 sets of coil folds. Your doughs will spread less with every set of folds, and by the end of it, you will have a much less sticky, very soft and elastic doughs that have blisters on top. For more information on how to coil fold and when to know when you've done enough folding, head to our dedicated article about Sourdough Coil Folds.
- Once all the folds have been completed, cover both doughs and let them rise at a warm room temperature for 1-2 hours. Your dough should just about double its original size. If you are using a see-through glass bowl for bulk fermenting, you should see a lot of activity and bubbles forming at the base and sides of the bowls.
Shaping and Cold Fermentation
- At the end of bulk fermentation, using a bowl scraper, scoop the plain dough onto a kitchen surface sprayed with a little water to prevent sticking.
- Stretch the dough into a rough square of about 35x35cm (14 x14 inches) by pulling on the sides of the dough. It doesn't have to be precise, but try to keep the dough thickness relatively even.
- Take the raspberry powder dough and spread it into a square on top of your plain dough, by pulling the sides of the dough.
- Fold ⅓ of the right side of the layered dough into the centre, then ⅓ of the left side over (like a pamphlet).
- Roll the dough away from you into a right log, and pinch the seam together.
- Place it on a lightly floured section of the worktop, covered with an upside-down large bowl or a light tea towel for 30-60 minutes.
- After the rest period, come back to the dough. With your bench scraper held at a shallow angle to the work surface, push the dough while using your hand to tuck it under itself, creating tension. This fluid circular motion involves pushing and gently rounding with the bench knife, while your free hand continues the rounding motion, tucking the dough slightly under itself. It takes some practice, but you should aim for a tight round ball of dough that holds its shape and doesn't spread much.
- Place the dough ball into a well-floured banneton basket (or any proofing basket alternatives). We recommend using rice flour for dusting your proofing baskets. The smooth side of the sourdough ball should be at the bottom, with the seam at the top.
- Pinch the seam together with your fingers, if the dough starts spreading in the bowl to make sure the dough is tight. Sprinkle with some flour, and cover the dough with a clean fabric napkin or small lightweight tea towel.
- Place the whole thing in the fridge for its final rise (a.k.a. second rise) in the fridge for 12-36 hours (NOTE: If your fridge tends to dry things out, place the dough (in its basket) into a large plastic bag).
DAY 2:
- The next day, place the Dutch Oven in the oven, and preheat it to 240°C (typically, it is the highest temperature home ovens will go to) with the Dutch oven in it. It needs to be piping hot!
Scoring The Dough
- Once the oven is hot, take the dough out of the fridge and out of the bag.
- Invert the dough gently onto a large piece of parchment paper. If your dough was properly bulk fermented and shaped correctly, it should not spread once inverted.
- Dust the surface of the dough with flour. Using a bread lame or a razor blade, score the dough deeply (approximately 1cm deep) at a 30- 45º angle. One single deep slash is all that's needed for that sought-after sourdough "ear".
Baking
- Take the hot Dutch Oven out of the oven, take the lid off, and lift the sourdough into it, holding the edges of the parchment paper. Be mindful of how you lift the paper. Sometimes, the scored slash can begin to close up during this process. To prevent this, lift the parchment from the sides that won't push the two edges of the scored dough back together.
- Place the lid back on the Dutch Oven and place the bread into the hot oven for 25 minutes.
- After 25 minutes, take the lid off, and return the sourdough to the oven for another 25 minutes. If you don't want your loaf of bread too dark in colour, you can reduce the oven temperature to 200°C.
Cooling
- Once baked, take the Dutch Oven out of the oven. Lift the bread out by holding the corners of the parchment paper. Place the bread onto the wire rack, and slide the parchment paper from underneath the loaf.
- Leave the marbled sourdough to cool down to room temperature before slicing.
Nutrition





Leave a Reply