
If you've ever wrestled with lowering a delicate sourdough loaf into a scorching Dutch oven and prayed you wouldn't burn yourself, it's time to flip things upside down-literally. Enter the inverted Dutch oven method, where the lid becomes the base and the pot becomes the cover. It's not just a quirky twist; it's a game-changer for home bakers looking for easier handling, cleaner scoring, and all the perks of perfectly crusty sourdough without the hassle.

Jump to:
- Why Use a Dutch Oven for Sourdough?
- Dutch Oven Recommendation
- What is the Inverted Dutch Oven Method?
- Benefits of Baking in An Inverted Dutch Oven
- And Some Drawbacks...
- How to Use the Inverted Dutch Oven Method (Step-by-Step)
- Sourdough Recipes To Get You Started
- What to Look for When Buying a Dutch Oven
- More Sourdough Baking Tips
As an Amazon Associate I earn from qualifying purchases, at no extra cost for you! Thank you!
Why Use a Dutch Oven for Sourdough?
Baking sourdough in a Dutch oven is what professional bakers swear by and here's why:
- Perfect humid environment: The tight seal traps steam, creating that signature crispy, golden crust that's not too hard. Learn more on how to make sourdough crust softer here.
- Good oven spring: The steam gives your dough a major lift, resulting in a beautiful rise and open-crumbed loaf.
- Consistent heat: Dutch ovens distribute heat evenly, ensuring a perfectly baked loaf every time.
- Foolproof results: It helps mimic the conditions of a professional steam oven, making bakery-quality bread possible at home.

Whilst for the first year of my sourdough journey I was reluctant to invest in a good Dutch oven, buying one was truly what turned things around for me and my sourdough. I would highly recommend getting a cast-iron Dutch oven with a flat lid and handles on both the base and the lid.
Dutch Oven Recommendation
If you are looking for a great Dutch Oven, that doesn't cost a small fortune, I would highly recommend a Pinnacle Cookware 5 Quart Pre-Seasoned Cast Iron Dutch Oven. It's what I use and love!

What is the Inverted Dutch Oven Method?
The inverted Dutch oven method flips the script on traditional baking. Here's how it works:
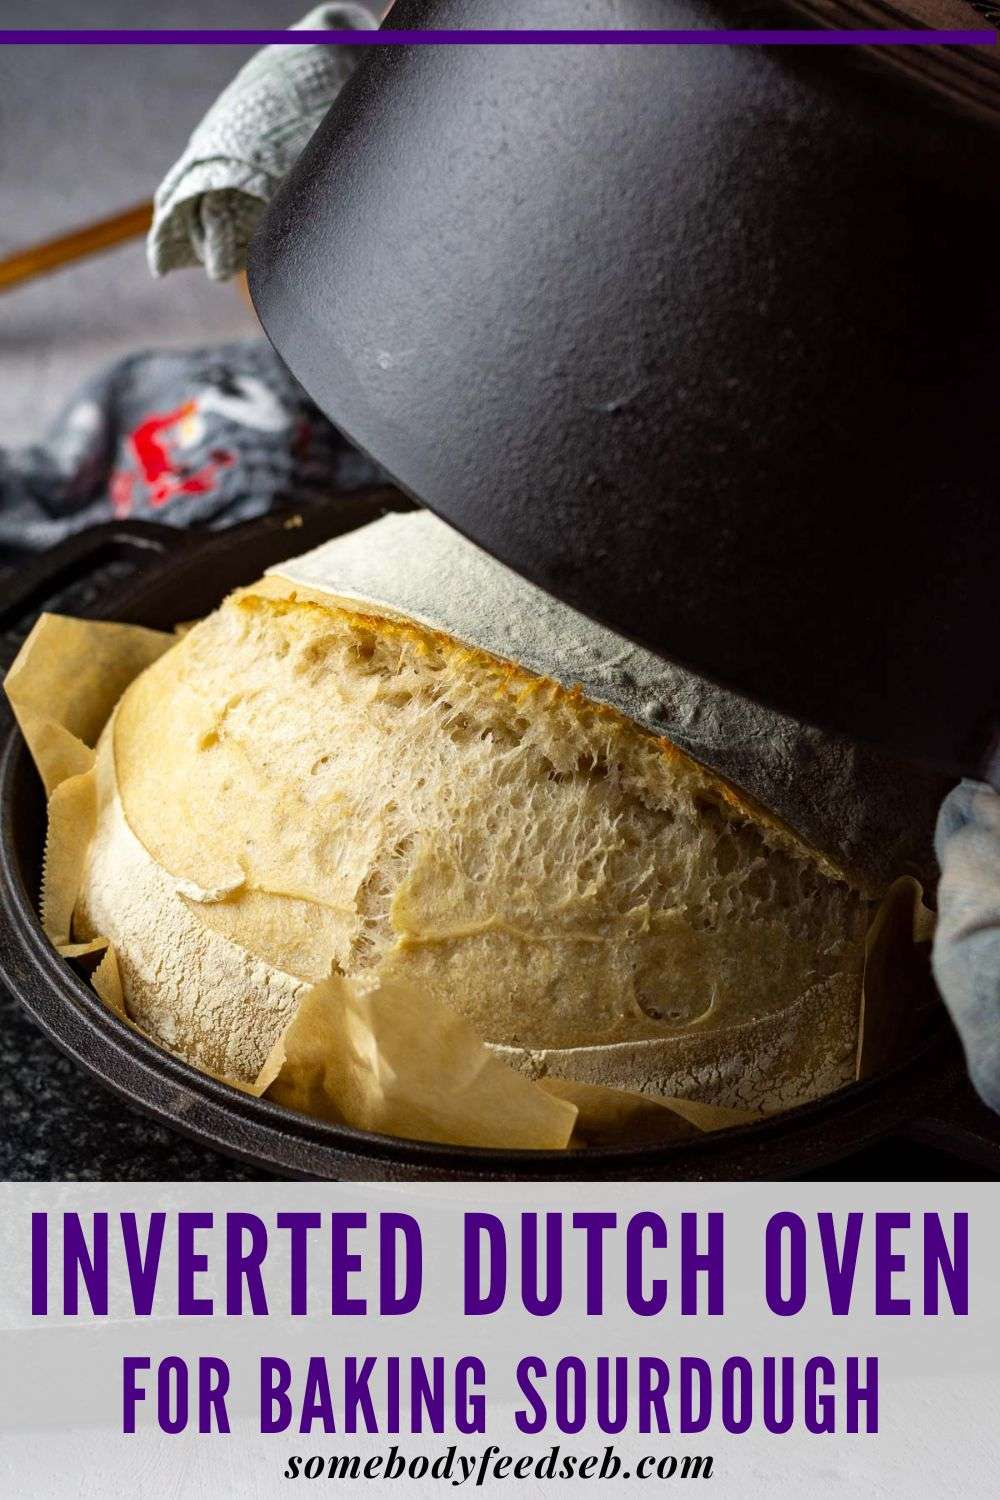
- The Dutch oven lid becomes the base, where your dough sits, while the pot acts as a cover.
- Steam is still trapped inside, creating the perfect environment for that gorgeous oven spring and crunchy, but thinner sourdough crust we all crave.
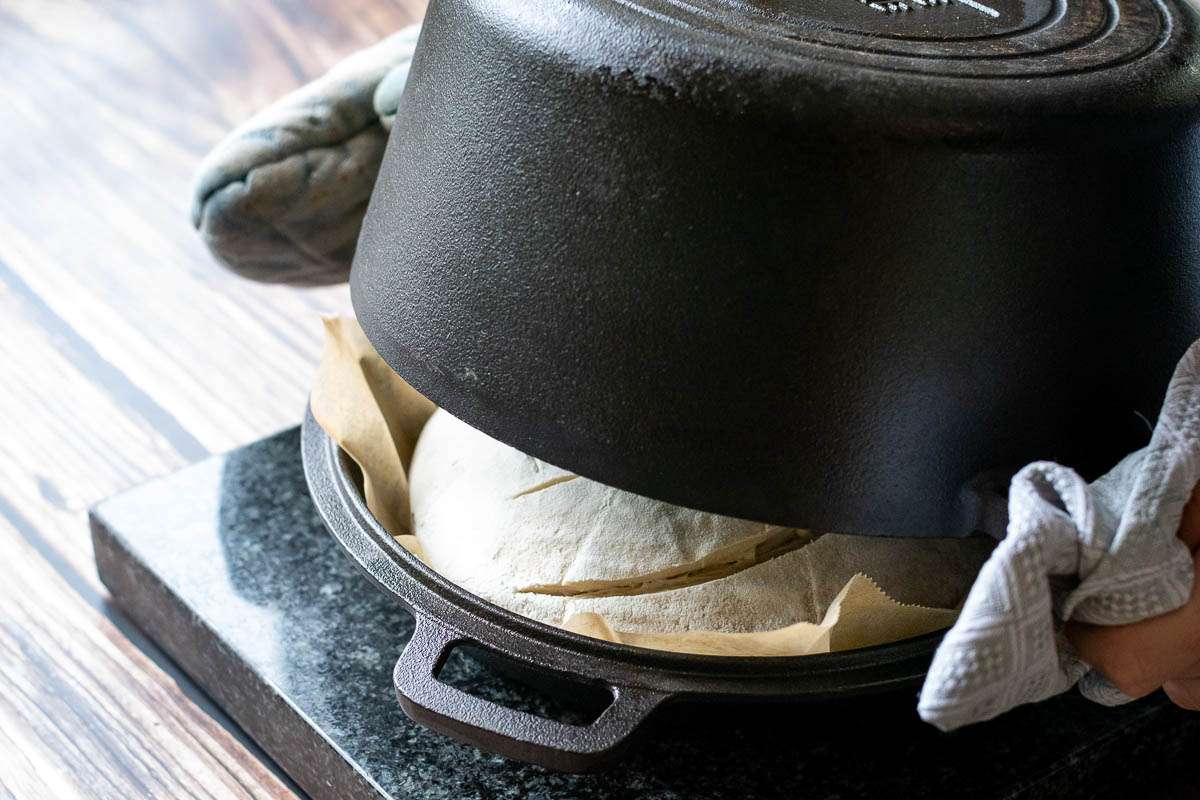
This method is especially useful for bakers who want more control over their dough placement and scoring. You get the same Dutch oven bread benefits, with a little less hassle and a lot more finesse!
Benefits of Baking in An Inverted Dutch Oven
- Easier Handling: No more struggling to lower dough into a deep, hot vessel. With this method, you simply place the dough on the preheated lid, making the baking process smoother.
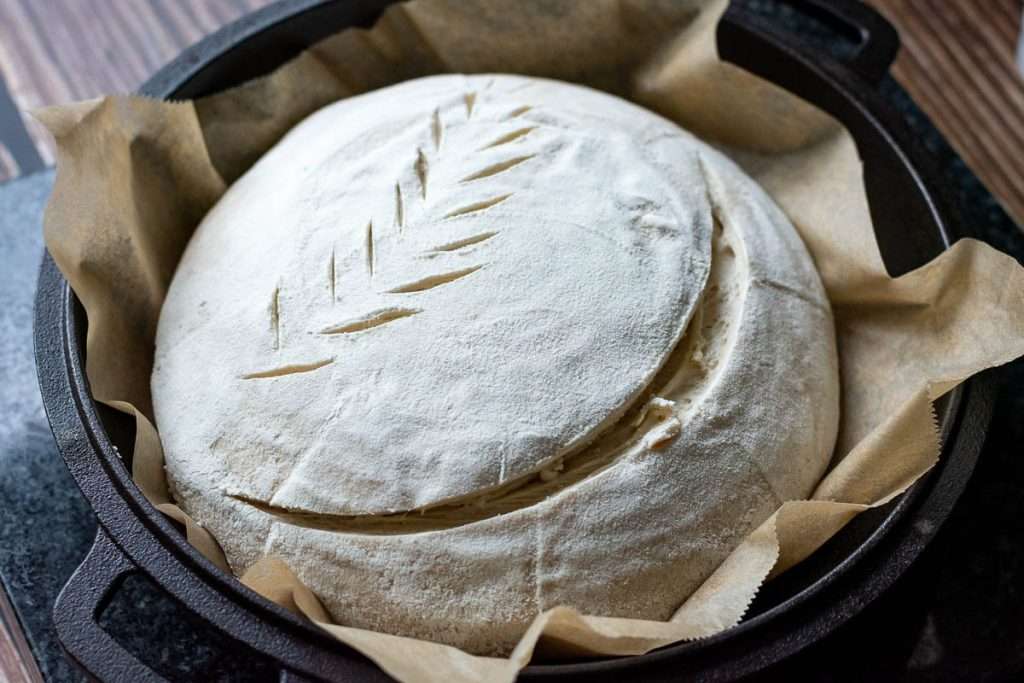
- Better Scoring Control: You can score your dough directly on the preheated lid, eliminating the need to move it afterward. This helps prevent the scores from closing up, giving you better results with a more pronounced "ear" and improved oven spring.
- Less Burn Risk: Using the pot as the cover means no more lowering your bread into a narrow, scorching hot Dutch oven, which significantly reduces the chance of burns.
- Better Looking Sourdough: The lid, acting as the base, allows you to unscrunch the parchment paper, ensuring smooth ball of bread dough without indents entering the oven.
And Some Drawbacks...
- Lid Design Limitations: Not all Dutch ovens have a flat lid suitable for baking. Some only have handles on the lid, but not the base, meaning you might need to invest in a new Dutch oven that works with this method.
- Uncovering Mid-Bake: Removing the pot halfway through the bake to let the crisp crust form can be tricky. Lifting a chunky, heavy pot in a hot oven requires plenty of space. We recommend taking the entire Dutch oven out of the oven to uncover it. Luckily, the heat loss at this stage won't affect the final bake too much
- Heavy to Handle: Dutch ovens are heavy, and using the inverted method makes it even more cumbersome to manoeuvre, especially when taking the cover off.
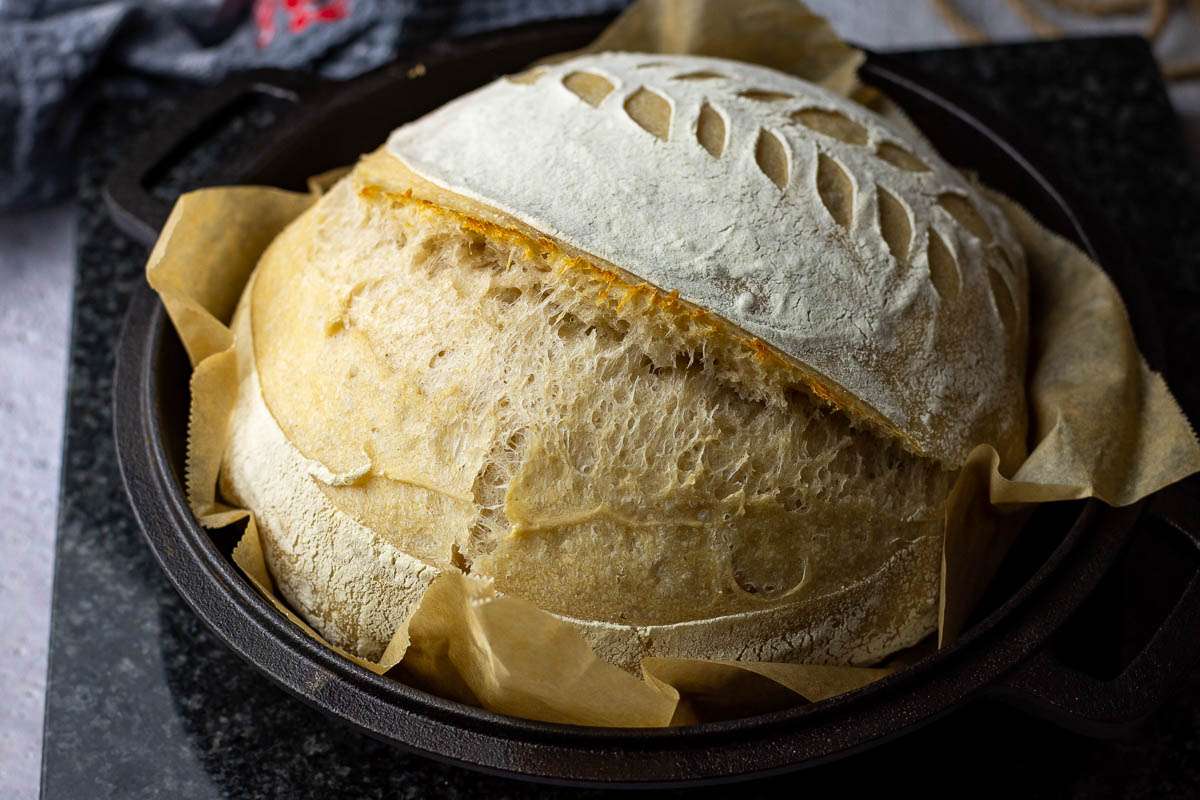
How to Use the Inverted Dutch Oven Method (Step-by-Step)
1. Preheat Your Dutch Oven
Place the entire Dutch oven (both pot and lid) in a hot oven at 240°C (465°F) until it is piping hot throughout.
2. Prepare the Dough
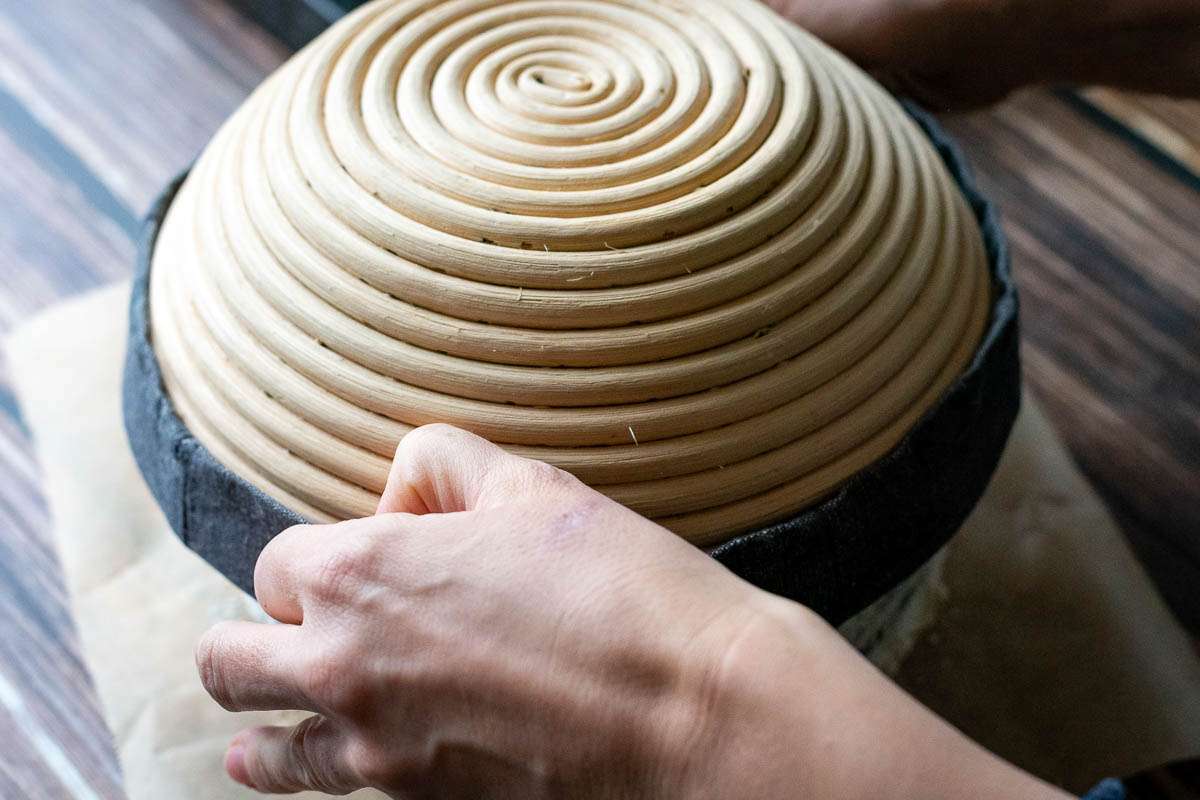
While the Dutch oven is preheating, invert your sourdough bread onto a piece of parchment paper.
3. Place the Dough on the Lid
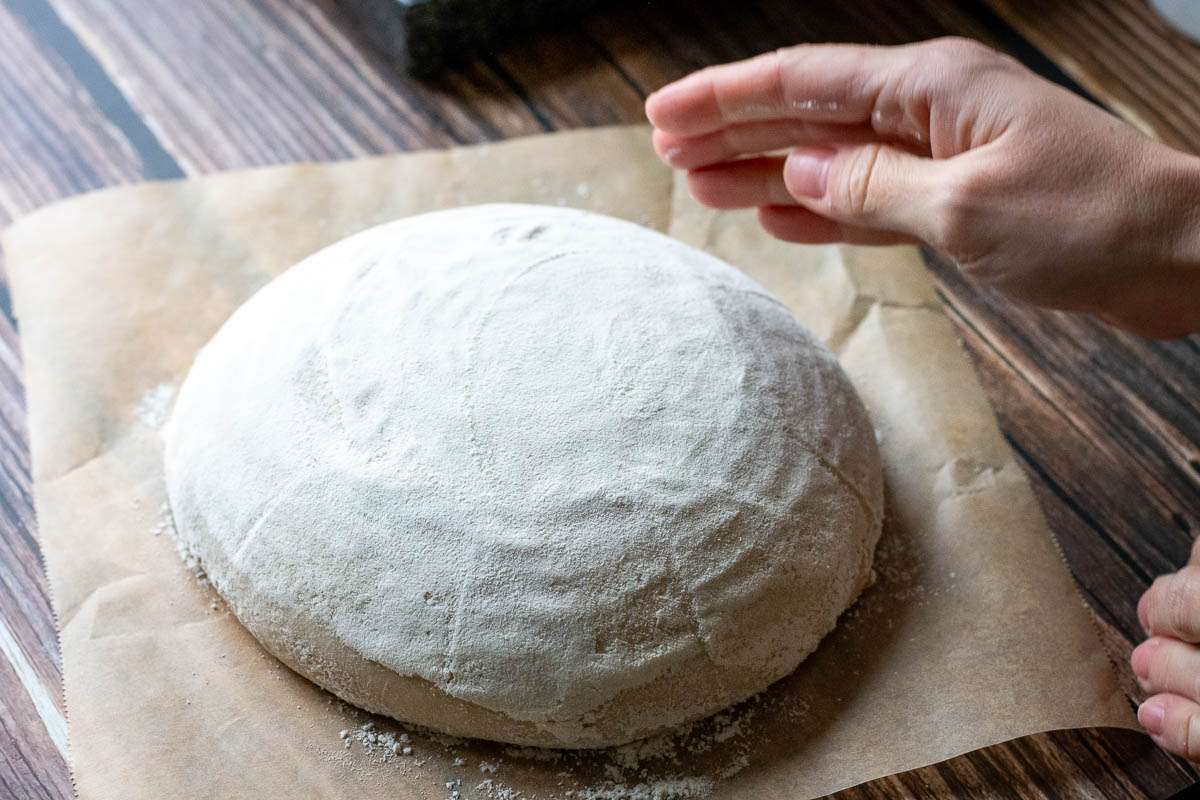
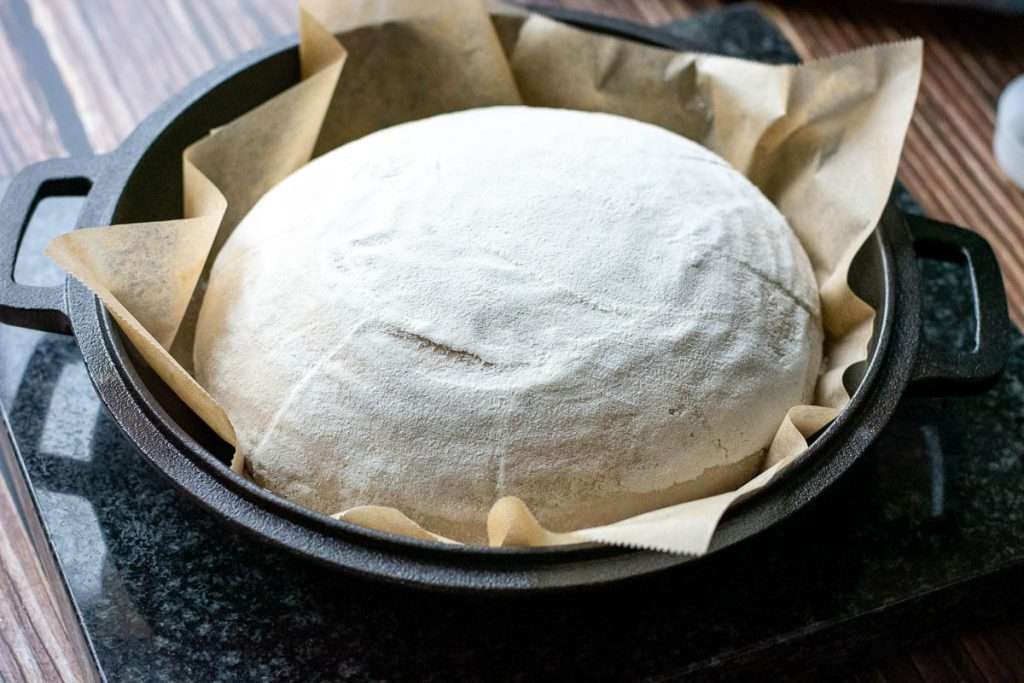
Carefully (and with oven mitts) remove the lid and place it on your work surface. Gently lift the loaf onto preheated Dutch oven lid, holding the parchment paper.
4. Score the Dough
With the dough now sitting on the lid, you can score the top of the loaf with full control. This prevents the scoring from closing up during the transfer.
5. Cover with the Pot
Use the actual pot of the hot Dutch oven (typically the bottom of the Dutch oven) to cover the dough, effectively trapping steam inside. This steam is essential for helping the dough rise.
6. Bake
Place the whole thing back into the hot oven and bake covered for the first half of the baking time. Then, carefully remove the pot and continue baking uncovered for until your sourdough is fully cooked through and crisp crust forms.
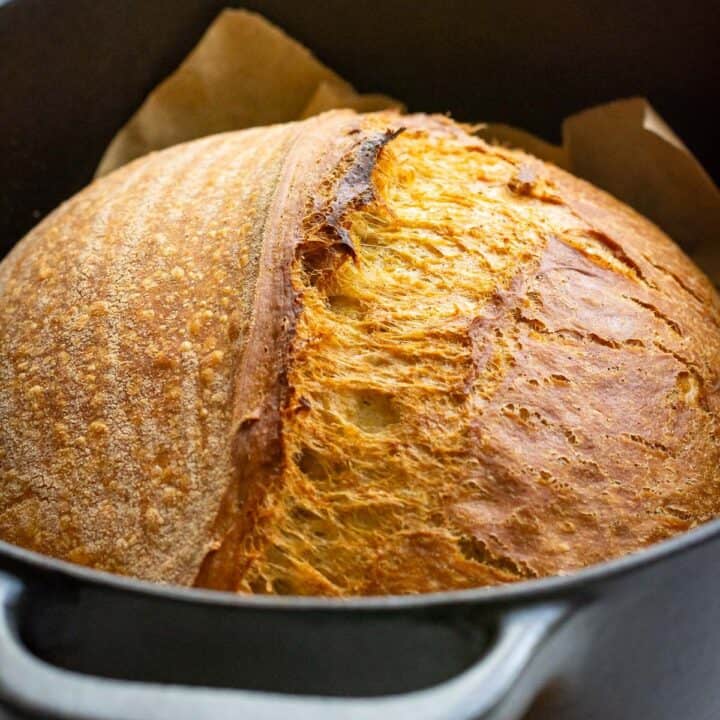
And there you have it-a perfectly baked sourdough loaf, using the inverted Dutch oven method!
If you wish, you can bake sourdough in a loaf pan! Head to our article about baking sourdough in a loaf pan to learn more!
Sourdough Recipes To Get You Started
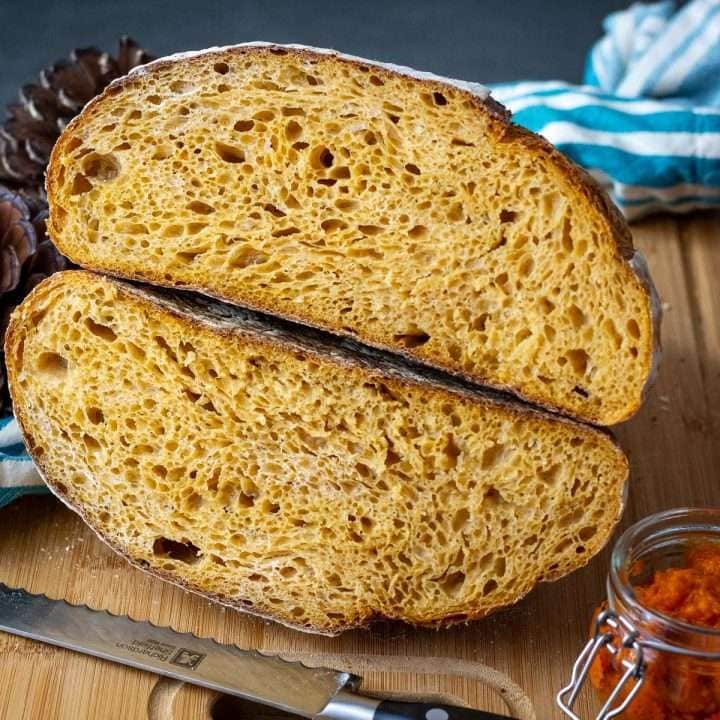
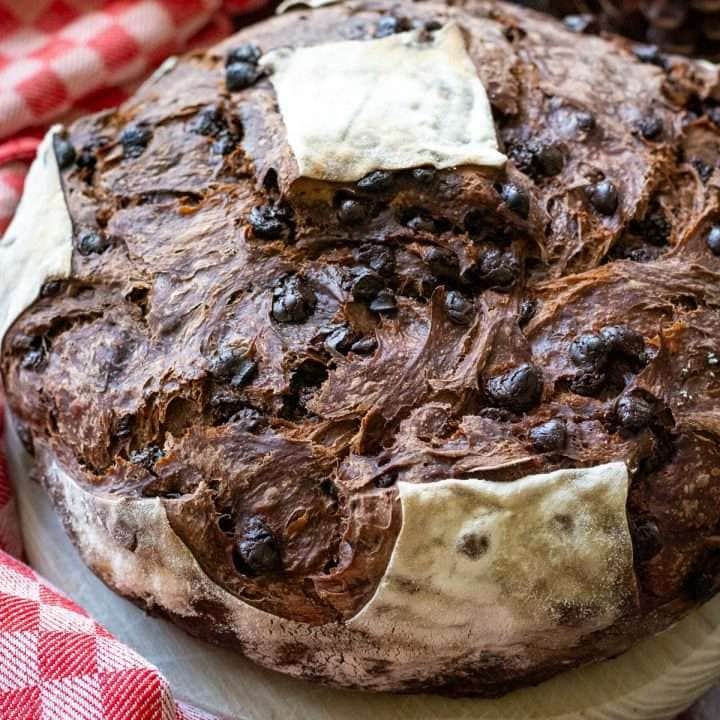
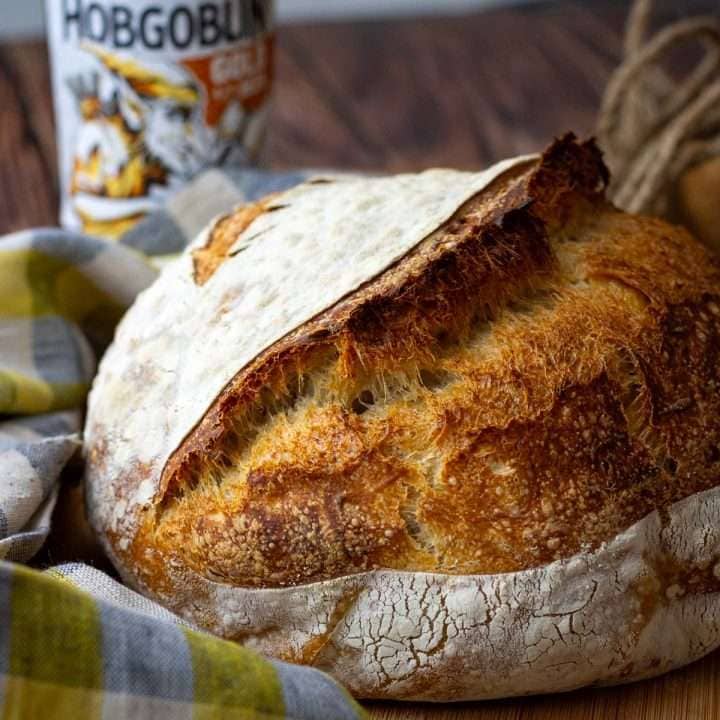
So many artisan breads to bake and enjoy! Where to start? Try my Everyday Sourdough Bread recipe, or venture out into flavoured sourdough with mix-ins! Cheese lover? Try Parmesan Sourdough or Cheddar & Jalapeno Sourdough. Our other favourite recipes are below:

And I am completely obsessed with our new recipe for Jalapeno and Cheddar Sourdough Bread!
What to Look for When Buying a Dutch Oven
- Size and Fit: Look for a Dutch oven with a wide, flat lid that can easily support your loaf during baking.
- Material: A cast iron Dutch oven is your ideal choice. It's durable, distributes heat evenly, and can handle high temperatures. While enamelled Dutch ovens also provide good results, they tend to stain over time, and no home bread bakers want to spend hours scrubbing kitchen tools.
- Handles: A must for the inverted Dutch oven method is having sturdy handles on both the pot and the shallow lid. This allows you to safely maneuver the Dutch oven, even when it's scorching hot.
- A tight-fitting lid is essential for trapping steam and ensuring a crisp crust.
- Shape: Whether you prefer oval or round Dutch ovens depends on the shape of your typical loaves. Round Dutch ovens are more common, but if you bake batards, oval may be better.
- Preheating Durability: The best Dutch oven can withstand the high heat (465°F / 240°C) required for baking sourdough.
- Price Tag vs. Quality: While cast iron comes with a higher price tag, it's an investment that pays off with performance, longevity, and great results. Be sure to follow the proper care instructions for your Dutch oven to make it last.
Head to our article on Sourdough Equipment For Beginners for more information!

More Sourdough Baking Tips
Looking for more ways to perfect your sourdough bread? These tips will help you achieve the best results, from maintaining a healthy sourdough starter to mastering that ideal chewy texture in every loaf of bread.
- How To Feed Sourdough Starter (Feeding and Maintaining Tips)
- Sourdough Starter Hooch: What It Is, Why It Forms and What to Do
- Runny Sourdough Starter: Why It Happens and How to Fix It
- Stiff Sourdough Starter: Conversion, Ratios & Benefits
- Windowpane Test For Sourdough Baking: How, When & Why?
- Sourdough Bulk Fermentation: Key Techniques Explained
- When is Sourdough Bread Done Proofing and Ready to Bake?
- Coil Folds For Sourdough Bread





Leave a Reply