
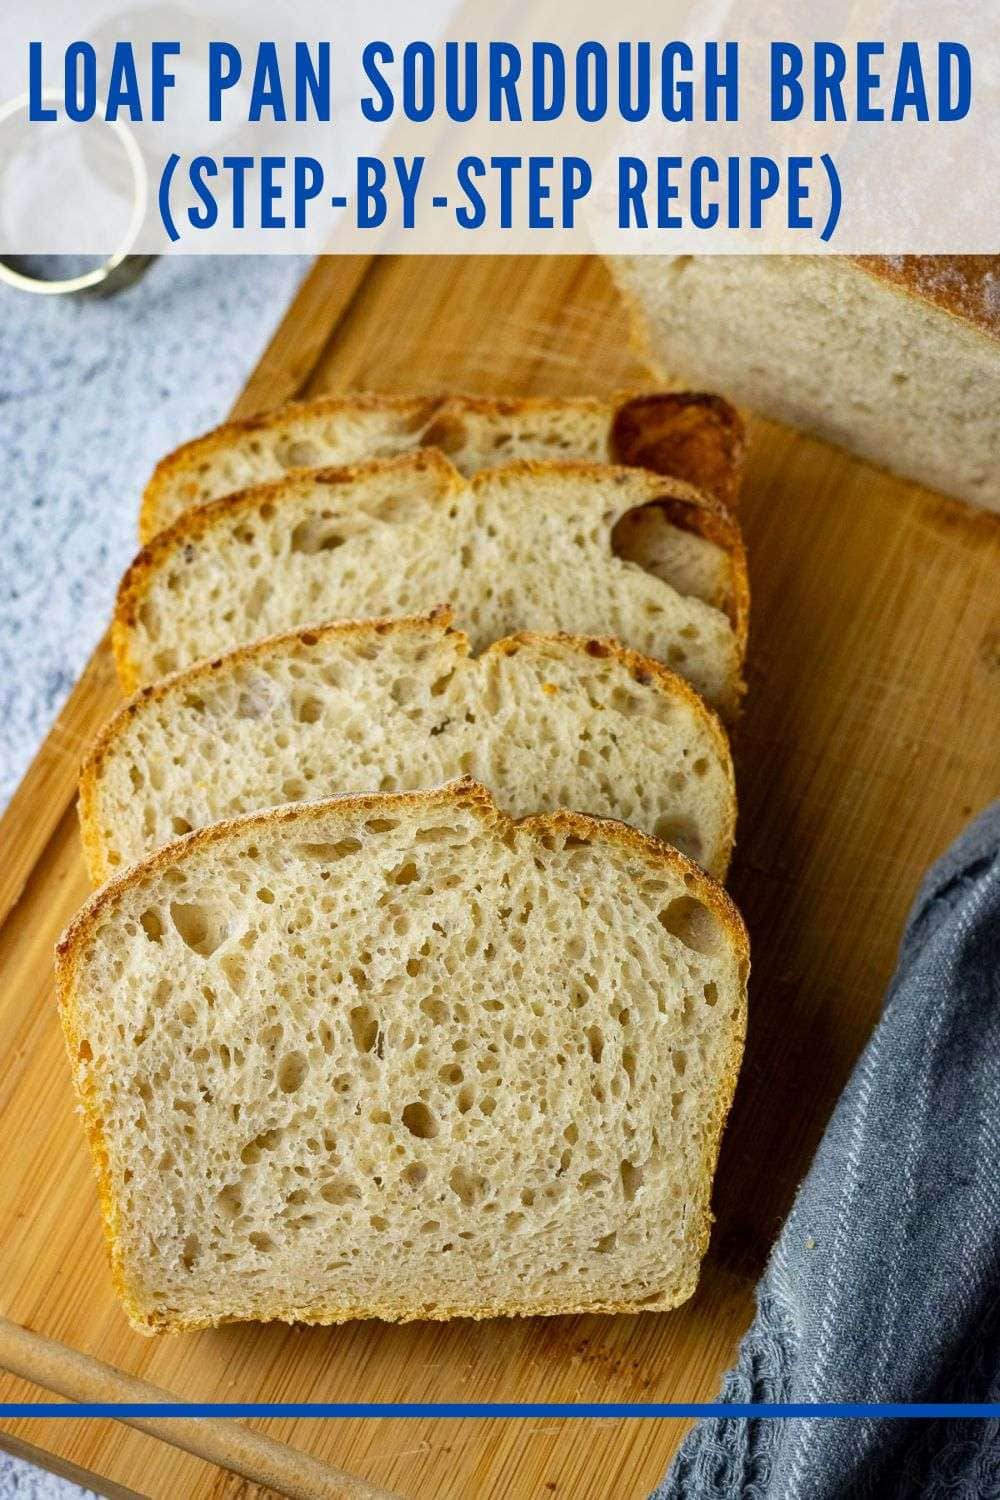
Baking sourdough in a loaf pan might just become your new favourite way to bake bread! Picture this: a perfectly risen loaf, with a golden brown top and a beautiful crust that's as satisfying to look at as it is to slice. Whether you're new to sourdough or simply want a reliable method, this loaf pan sourdough bread recipe is a guaranteed winner every time!

Fancy a sourdough loaf with soft crust? Try our Sourdough Sandwich Bread recipe or take it a step further and have a go at Japanese-style Sourdough Milk Bread!
Jump to:
As an Amazon Associate I earn from qualifying purchases, at no extra cost for you! Thank you!
Why Bake Sourdough In A Loaf Pan?
Using a loaf pan for sourdough has some great benefits, especially for home bakers looking to simplify the process or experiment without having a disaster. Here's why baking homemade sourdough bread in a loaf pan could be the easiest way to achieve delicious results:
- No Need for a Dutch Oven: If you don't have a Dutch oven, a loaf pan offers a fantastic alternative without requiring special equipment, so you can still enjoy a lovely homemade sourdough loaf.
- Easy-to-Slice Bread: Baking in a loaf pan creates a uniform shape that's easy to slice-perfect for making sandwiches or toast.
- Bake at a Lower Temperature: Unlike the high temperatures needed for baking in a Dutch oven, you can bake sourdough in a loaf pan at a slightly lower temperature, which is often easier for your oven and for managing the crust.
- No Advanced Shaping Techniques Required: Since the dough is supported by the sides of the loaf pan, shaping isn't as crucial. This allows even beginners to get great results without worrying about perfect shaping techniques.
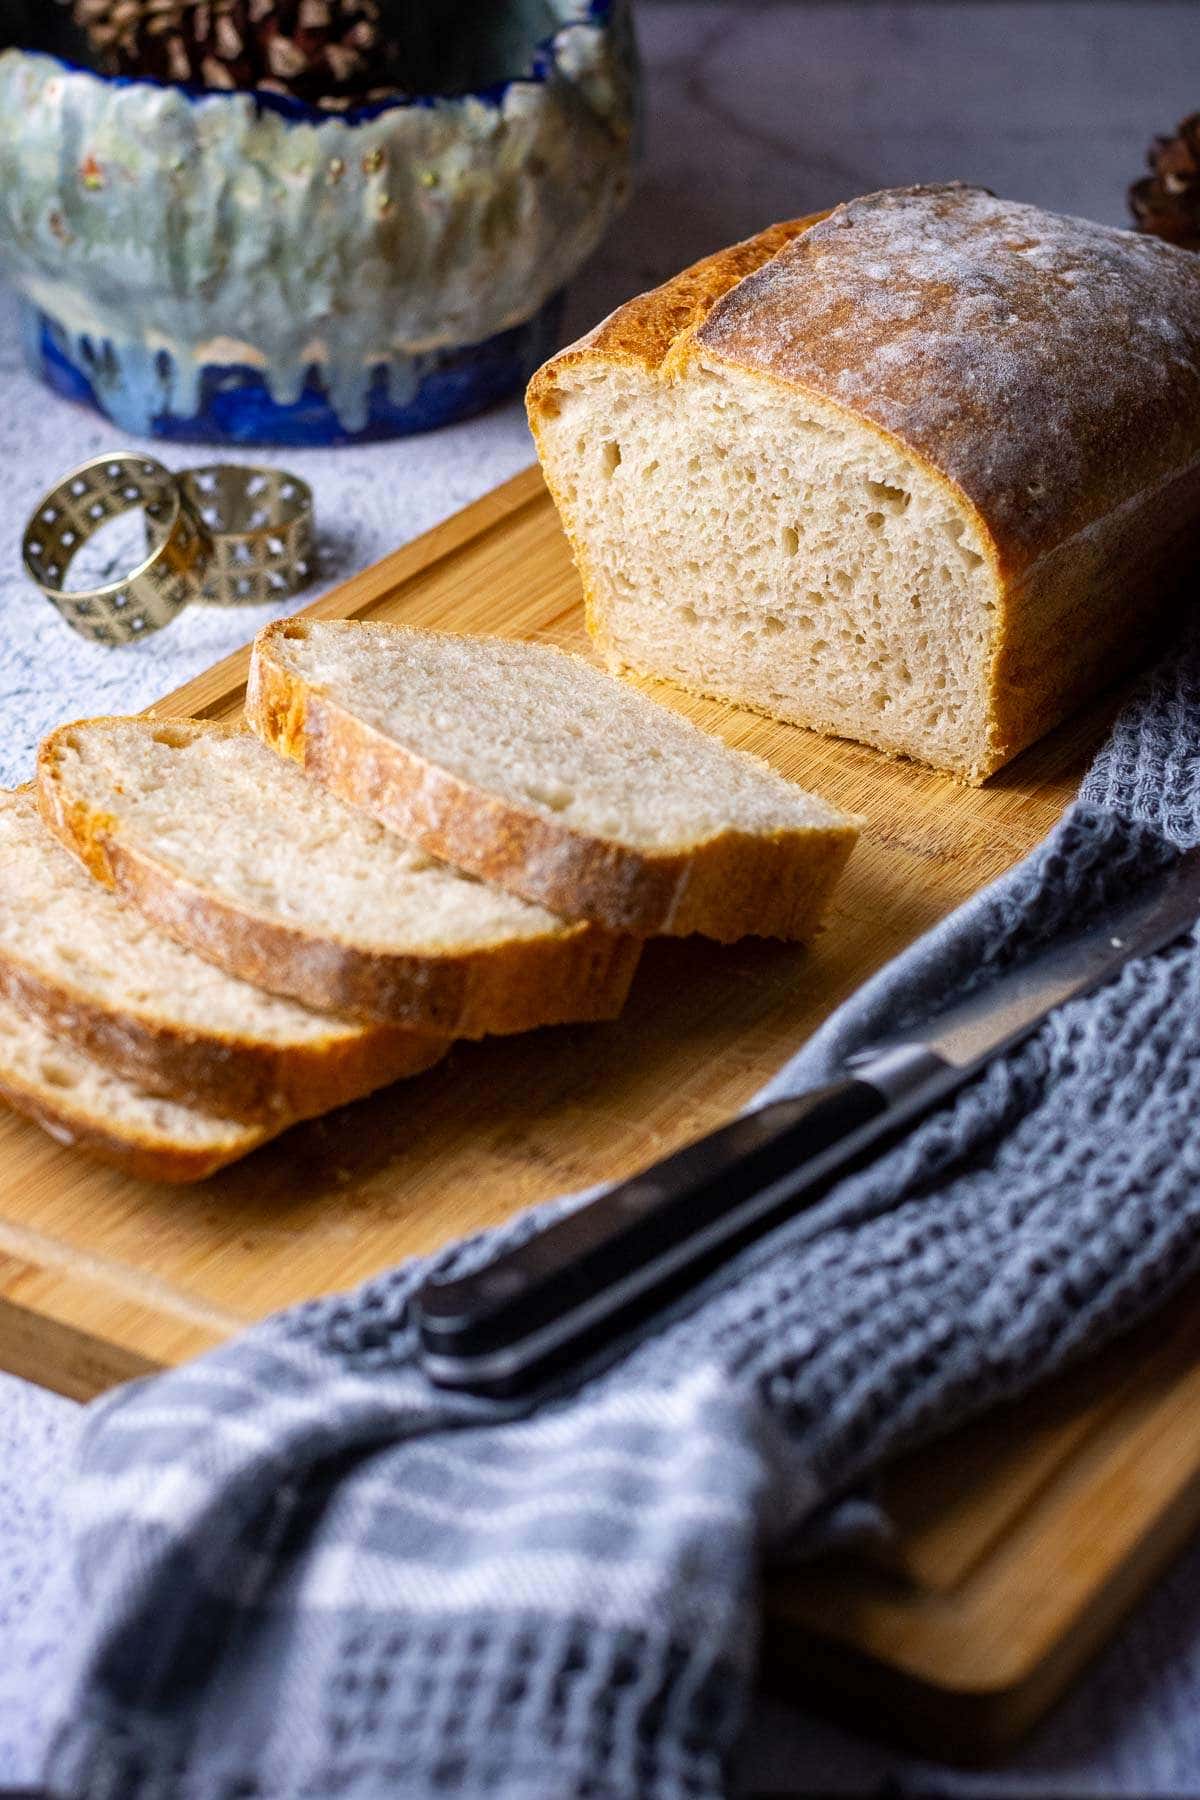
- Higher Hydration Doughs: The loaf pan supports the dough as it bakes, allowing for higher hydration levels of sourdough, if you choose so. However, I personally prefer lower-hydration dough to give me smaller, more regular air pockets, more suitable for sandwiches.
- Handles Overfermented Dough: If you accidentally leave your dough to ferment a bit too long, the loaf pan's structure still provides support, helping prevent the dough from spreading too much as it bakes.
- Ideal for Beginners: For new bakers, this is a great way to jump into sourdough baking. The support from the loaf pan offers an easy, confidence-boosting approach to bread bakes while reducing the learning curve for shaping and managing wet doughs. You can even bake our Same Day Sourdough In A Loaf Pan.
Ingredient Notes
I use the same recipe for my Everyday Sourdough Bread for baking sourdough in a pan loaf - no adjustments. However, you can increase the hydration of the sourdough slightly, as the dough will be supported by the laof tin. Here's everything you will need for this loaf of sourdough:
- strong bread flour: you may replace up to 25% of white flour with whole wheat flour. However, whole wheat flour absorbs more water, so increase the water amount by approx 20 ml (here's my recipe for 100% wholemeal sourdough bread). I find that baking sourdough in a loaf pan is a lot more forgiving, and can even be made with all-purpose flour. You may also mix in some ground flaxseed. Just follow our Flaxseed Meal Sourdough Recipe.
- salt.
- water: we simply use tap water, but if you like in an area with highly-chlorinated tap water, use filtered (but never distilled) water. Using luke warm water can also speed up the bulk fermentation process.
- active sourdough starter: 100% hydration, low in acidity and with strong and active wild yeast colonies.
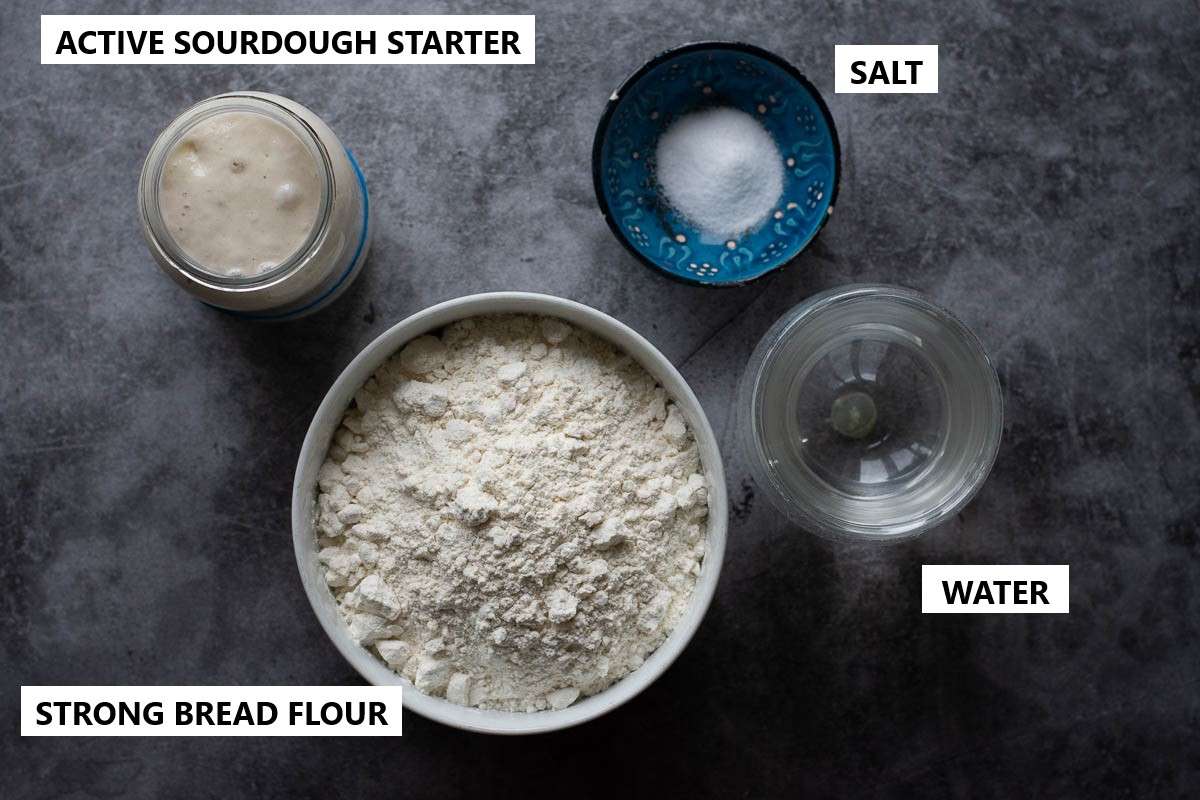
Find ingredient quantities, full recipe and nutritional information in the recipe card at the bottom of the post.
Step-By-Step Instructions
Let's jump into the details!
Step 1: Feed Your Sourdough Starter
First thing in the morning, feed your sourdough starter. I typically feed 70g of my starter in a ratio of 1 part starter:1 part water:1 part flour. This simply means that I mix 70g of starter with 70g water and 70g flour.
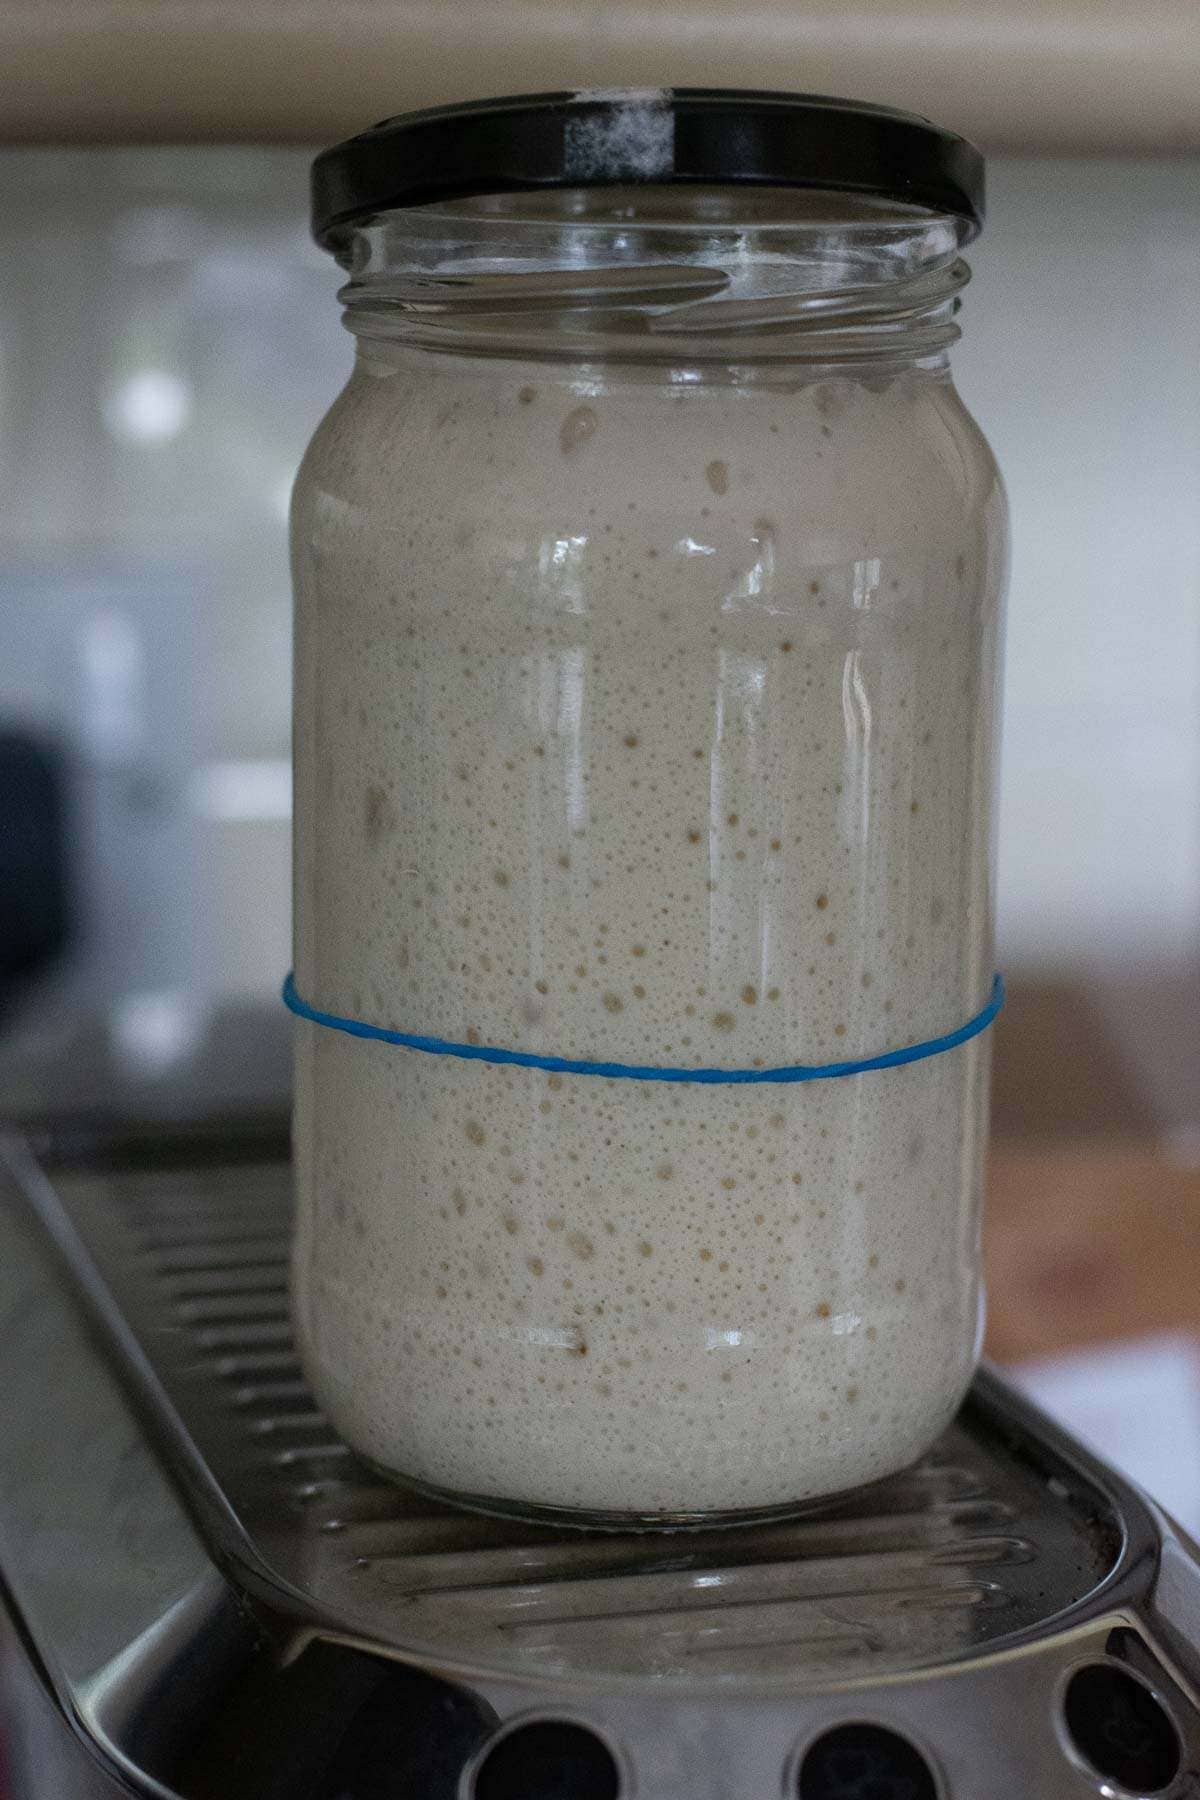
Scoop the mixture into a clean jar, and leave it in a warm spot (ideally, (21-27°C)), semi-covered for 4 hours. Your starter should at least double in volume in this time. If it doesn't, it may need a couple of good feeds before it's fit for purpose.
I use 160g of active starter for baking and feed the remaining 50g before storing it for the future.
Step 2: Mixing The Dough
Once the sourdough starter is active and bubbly (and at least doubled in volume), mix the dough. I use a stand mixer for this. Simply mix the flour and salt in the bowl of a stand mixer.
Then add the water and sourdough starter. Run the mixer, fitted with a dough hook attachment for 10 minutes, until your dough is smooth and elastic. It does not need to pass the windowpane test just yet (the gluten will continue developing when we fold the dough during the bulk fermentation period).
Step 3: Folds and Bulk Fermentation
Scoop the dough into a large bowl, cover with a damp kitchen towel or plastic wrap and leave it in a warm place (21-27°C) for 30 minutes.
After 30 minutes, with cold wet hands, perform the first set of coil folds (you can perform sets of stretch and fold if that's what you're used to). Simply lift the bread dough with both hands from the sides and tuck it under to form a coil (video below). Rotate the bowl a quarter turn and coil again. Cover the bowl again, and let the dough rest for 30 minutes again.
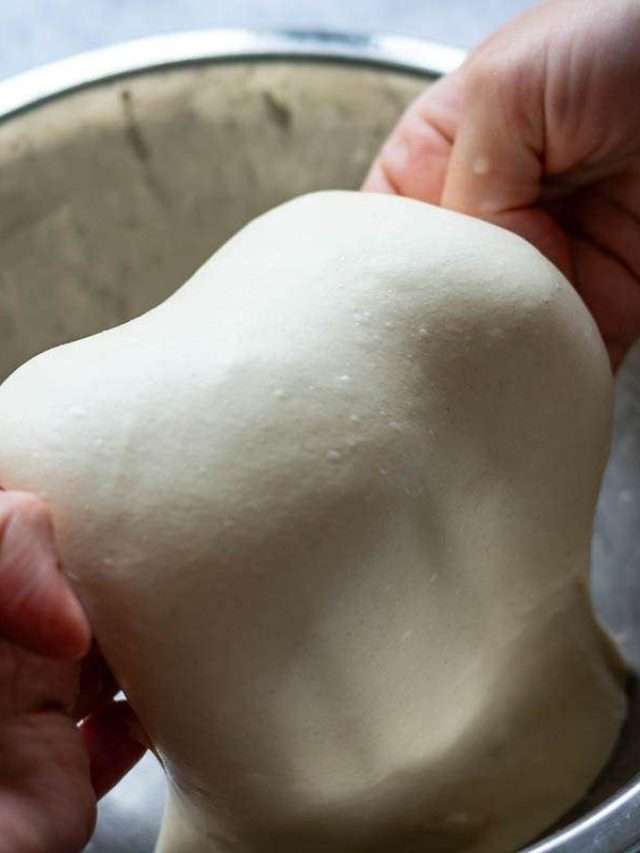
You should repeat the process every 30 minutes until you have done 4-6 sets of coil folds. Your dough will spread less with every set of folds, and by the end of it, you will have a much less sticky, very soft and elastic dough that has blisters on top of the dough.
For more information on how to coil fold and when to know when you've done enough folding, head to our dedicated article about Sourdough Coil Folds.
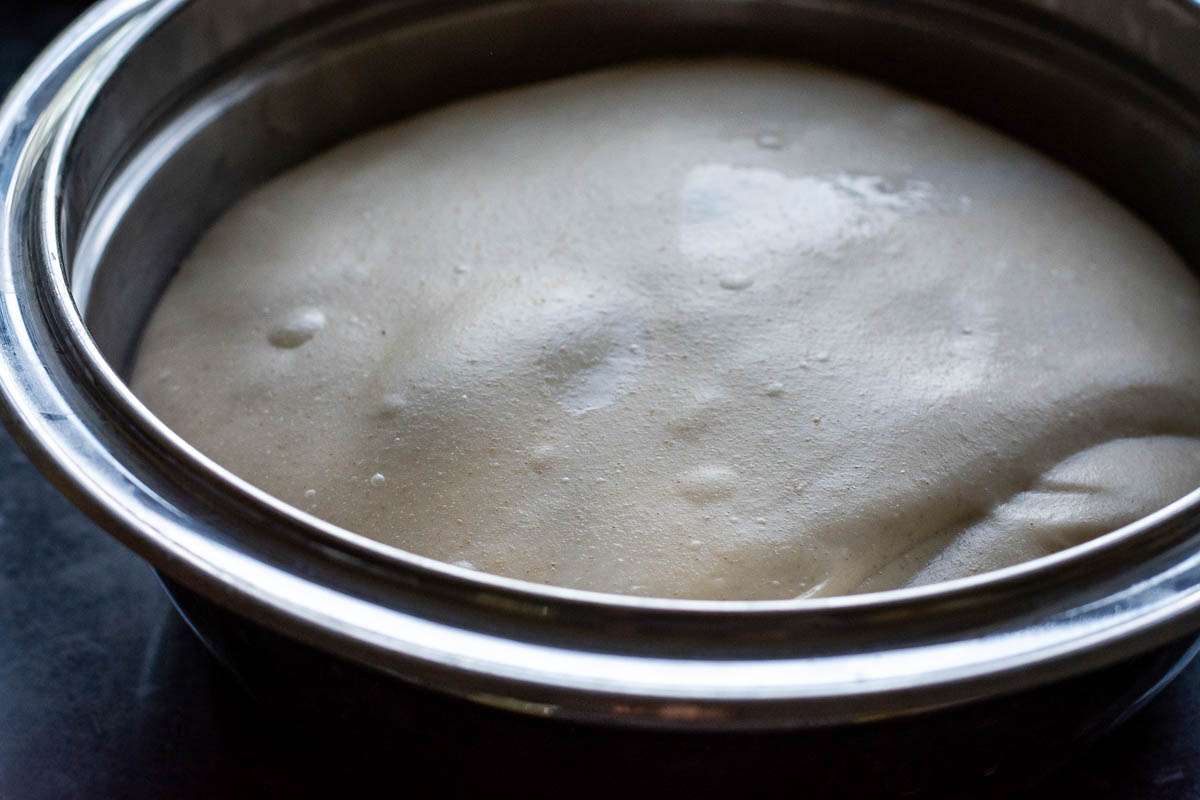
Once all the folds have been completed, cover the dough and let the dough rise at warm room temperature for 2-3 hours to finish bulk fermentation (a.k.a first rise). Your dough should just about double its original size. If you are using a see-through glass bowl for bulk fermenting, you should see a lot of activity and bubbles forming at the base and sides of the bowl.
Step 4: Shaping and Second Rise
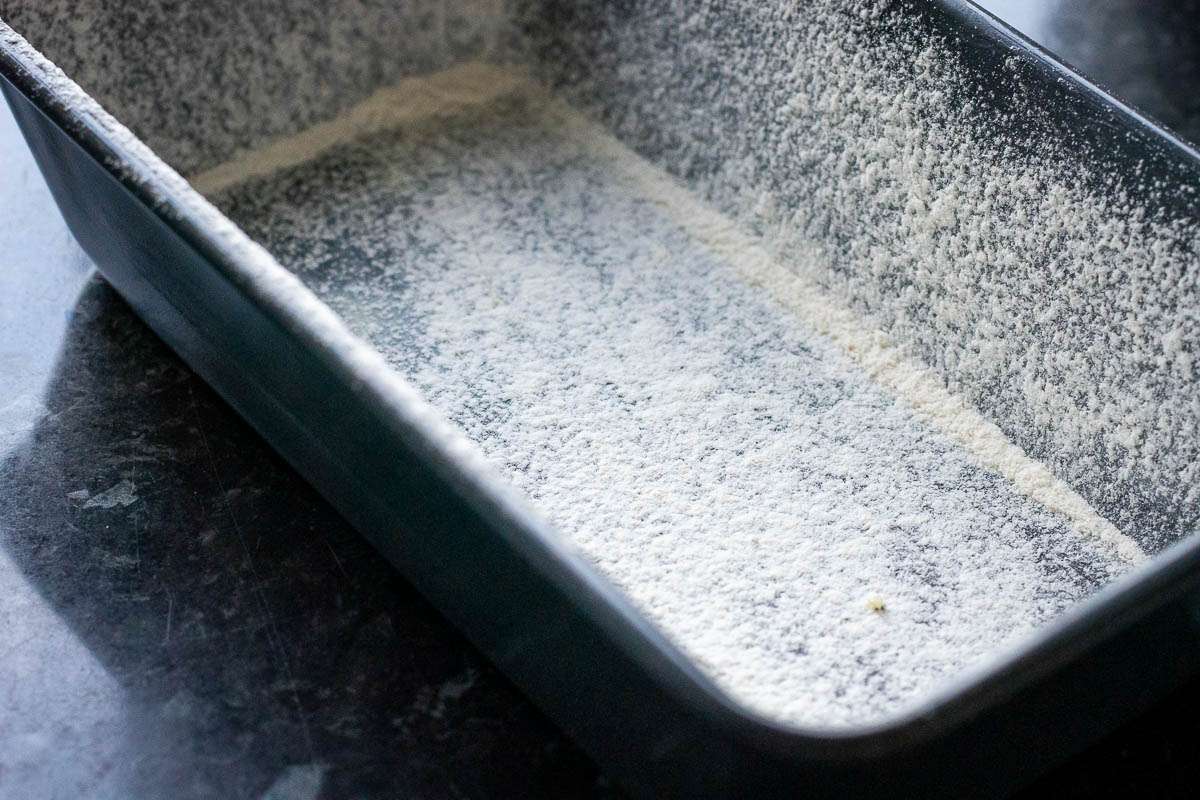
Prepare your loaf pan by greasing it with butter and dusting it with a little flour (this prevents the dough from sticking, even if your loaf pan is non-stick).
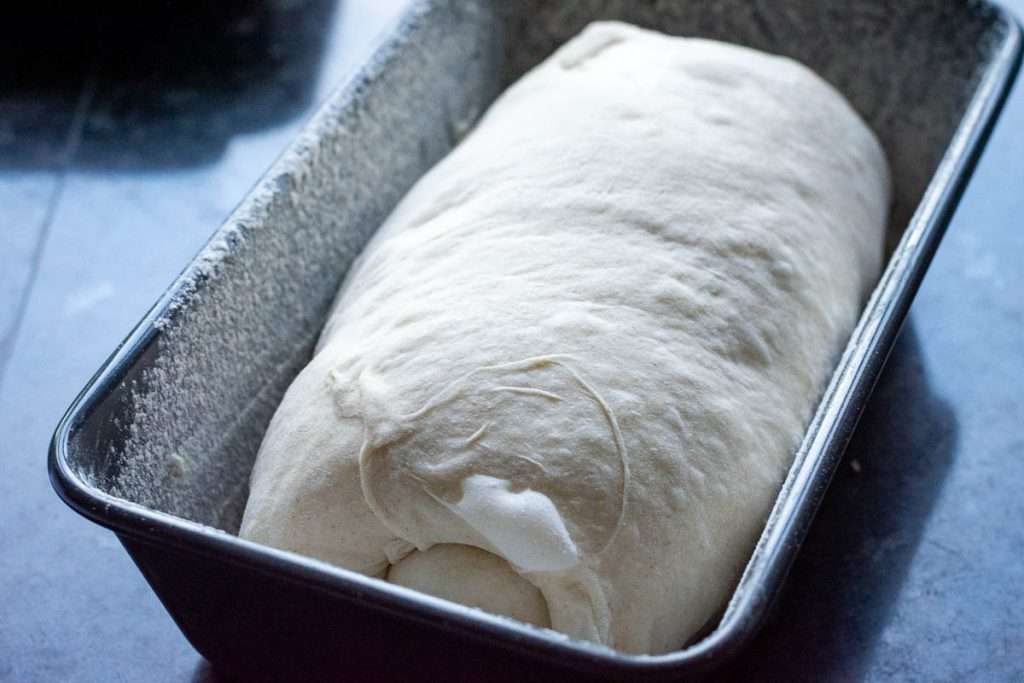
At the end of bulk fermentation, using a bowl scraper, scoop the dough onto a lightly floured surface. Try and make sure that the smooth top of the dough (the side that is not intact with the bowl) is placed on the floured work surface. Stretch the dough out a little into a rectangle, then fold the bottom third into the middle. Then fold both sides over like you're folding a tortilla wrap.
Finally, roll the dough away from you into a tight log. You may need to stretch your rolled dough slightly to the length of your loaf pan.
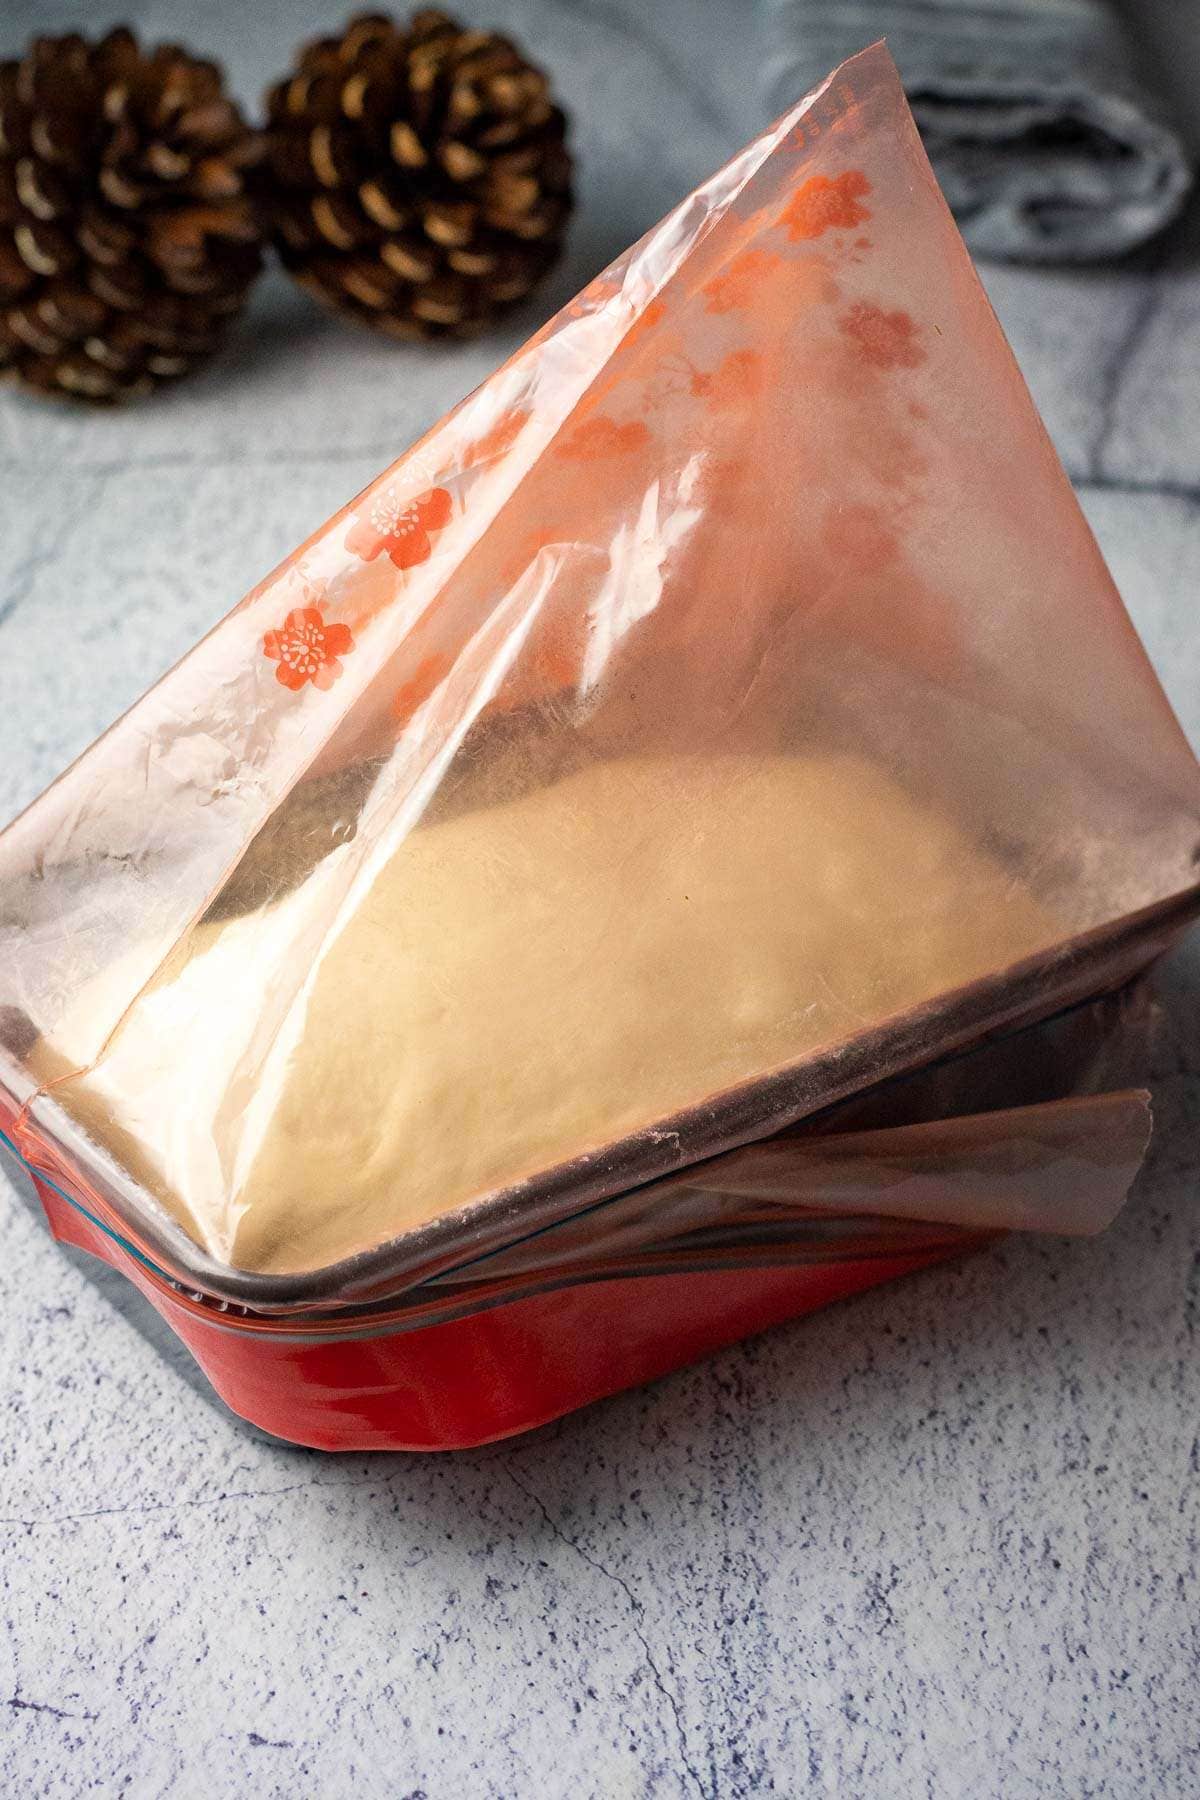
Place the sourdough roll seam side down into the prepared loaf tin. Cover it with a shower cap or a make shift cover made from a large ziplock bag. Make sure the bag does not touch the surface of the dough - you don't want it to stick.
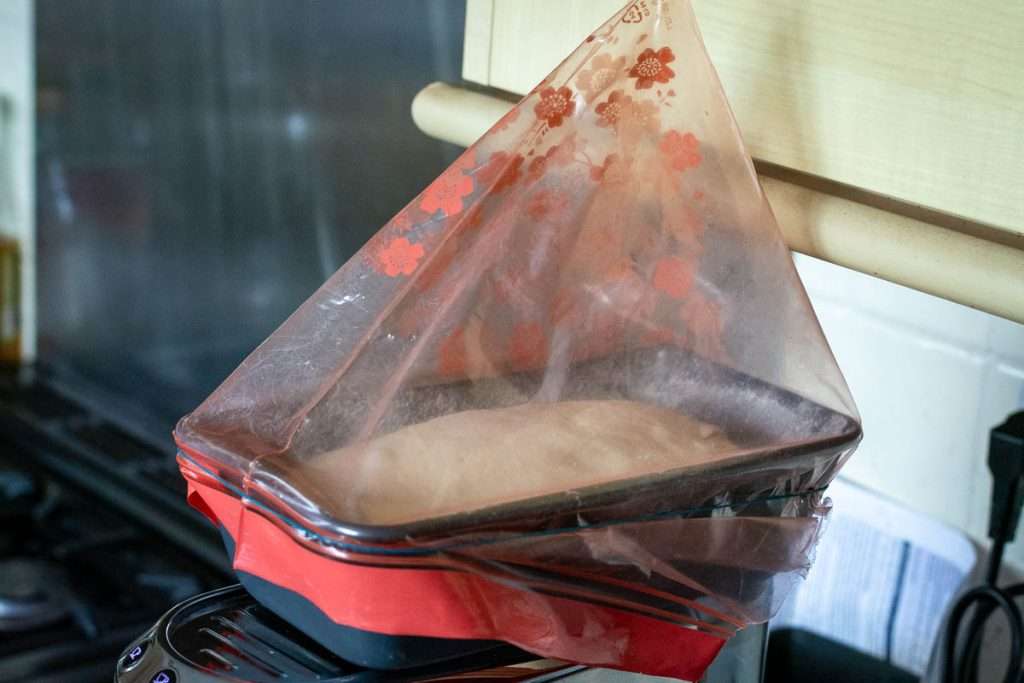
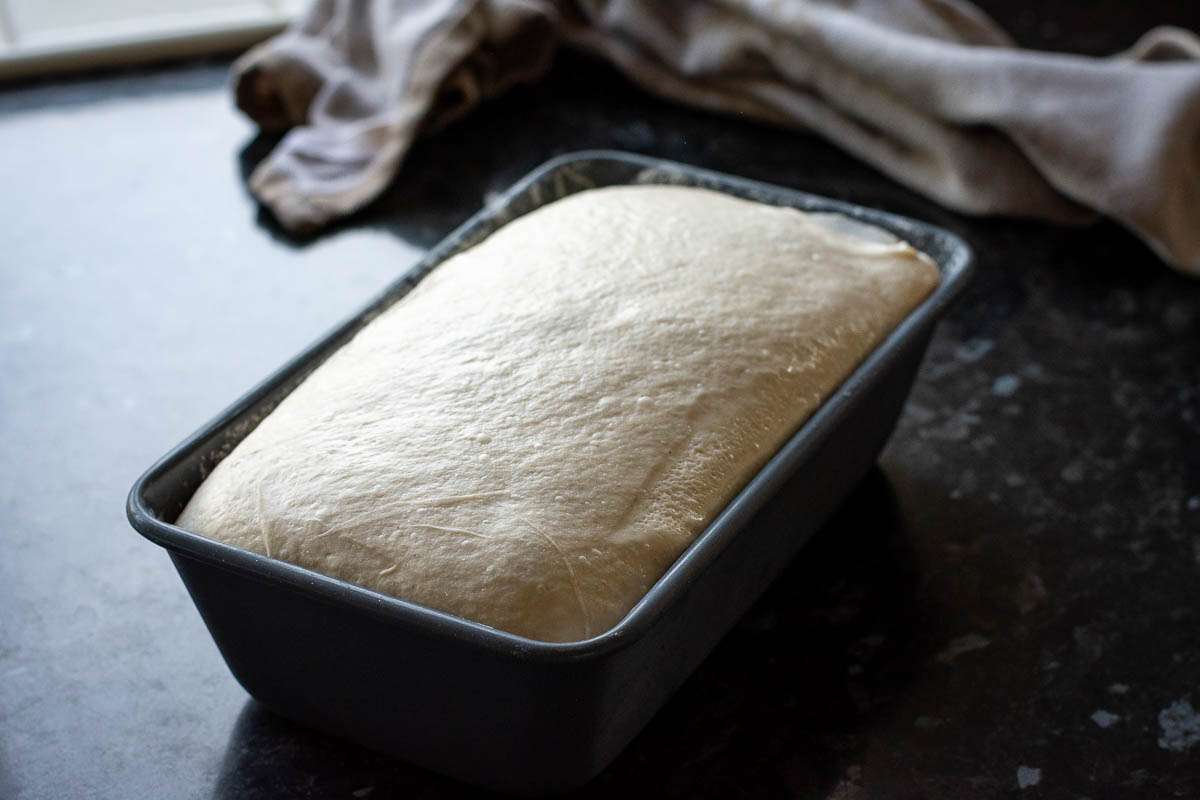
Place the loaf in a warm spot for 2-3 hours to proof again. It doesn't need to double in size, but should bulk up a little bit.
Step 5: Cold Fermentation (Optional)
Place the covered loaf in the fridge overnight (or up to 36 hours). If you are short on time, you can place it in the fridge for 2-3 hours. Not only will this step improve the flavour of your sourdough loaf, but the dough will have time to firm up.
This, in turn, makes it a lot easier to score, if you choose to do so. Having said that, if you want to bake your sourdough immediately after the second proof, you can!
Step 6: Scoring and Baking
The next day, preheat the oven to 200° C. Place an ovenproof dish full of boiling water on the bottom rack of your oven to create steam.
Take the sourdough out of the fridge and carefully uncover it.
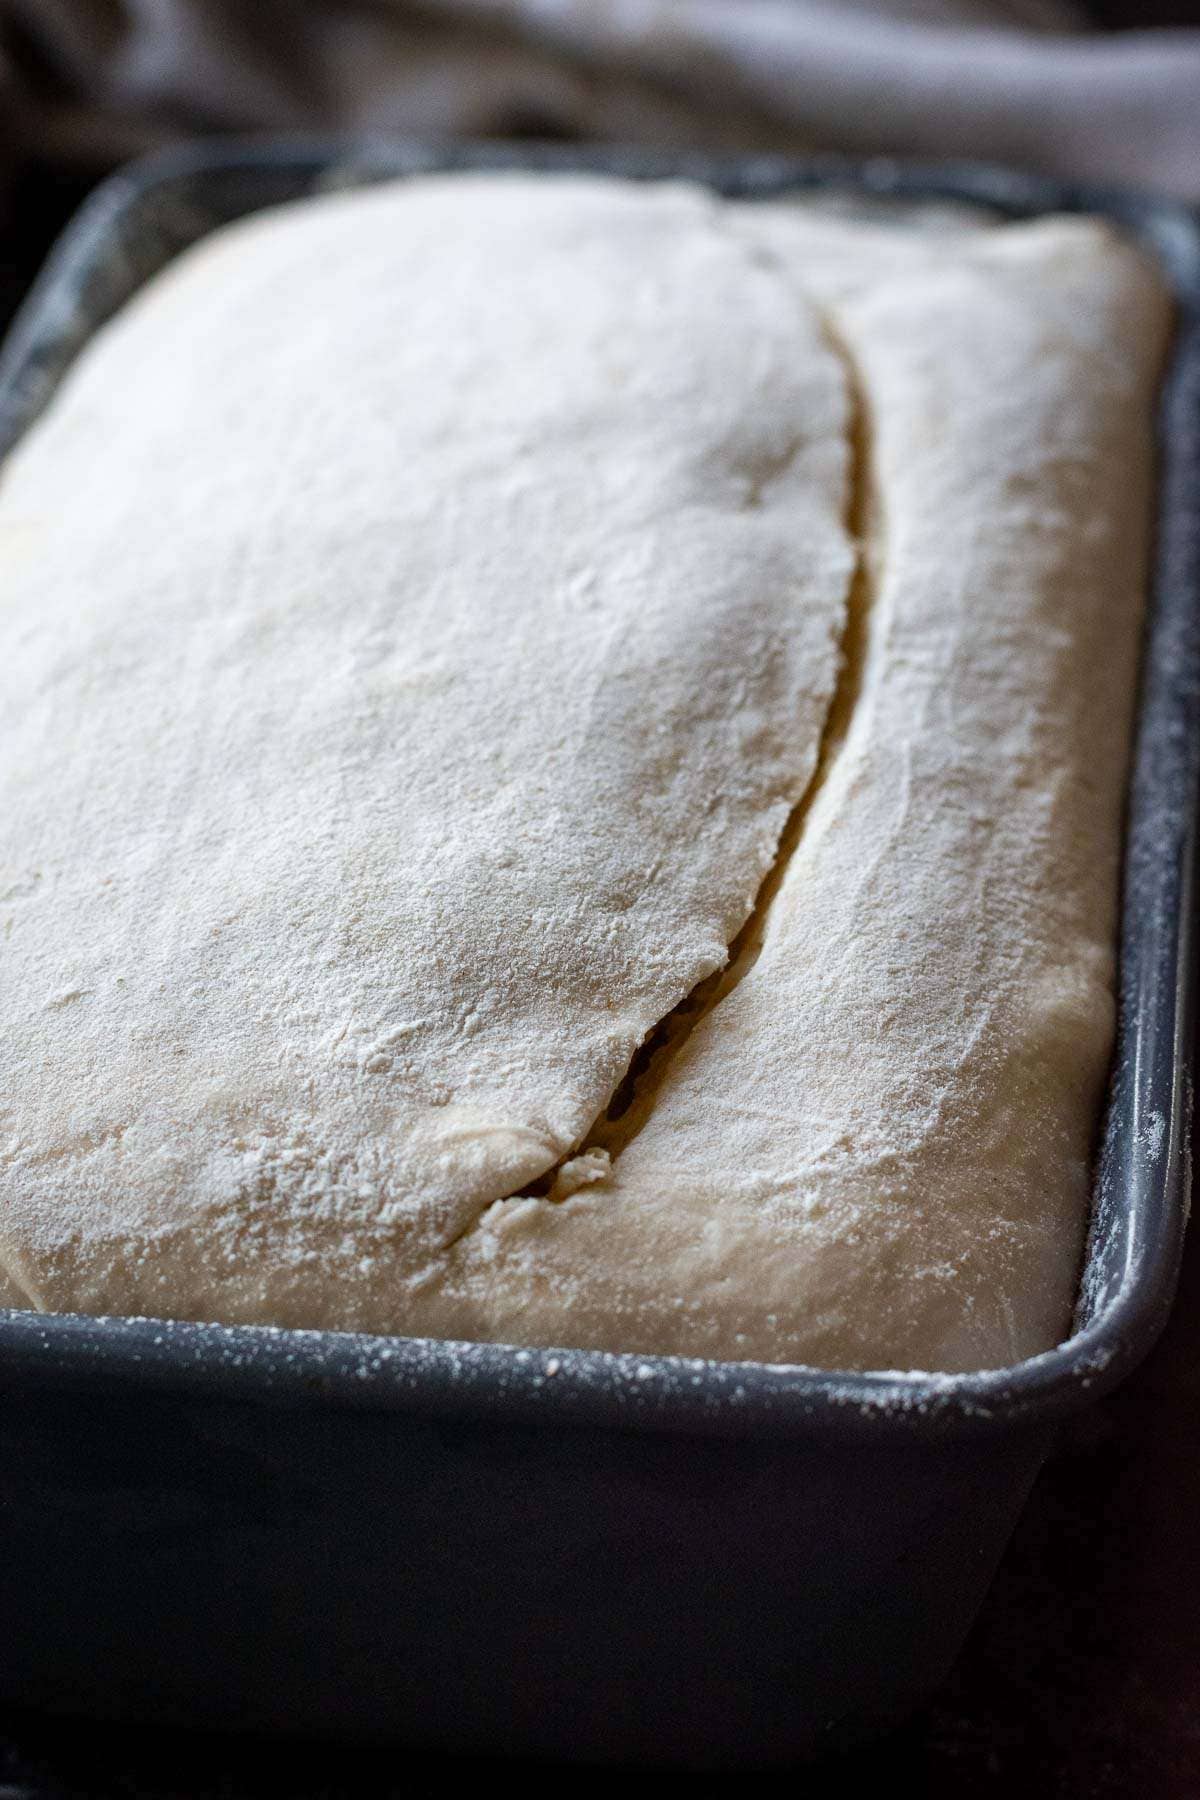
Lightly dust the top with flour, then score the dough in one swift motion using a dough scorer, a razor blade or a very sharp knife. Whilst scoring is not necessary, it helps the trapped steam escape in the oven. Skipping the scoring might mean, that your dough will tear on top (or on one side) when baking.
Bake sourdough for 40-45 minutes.
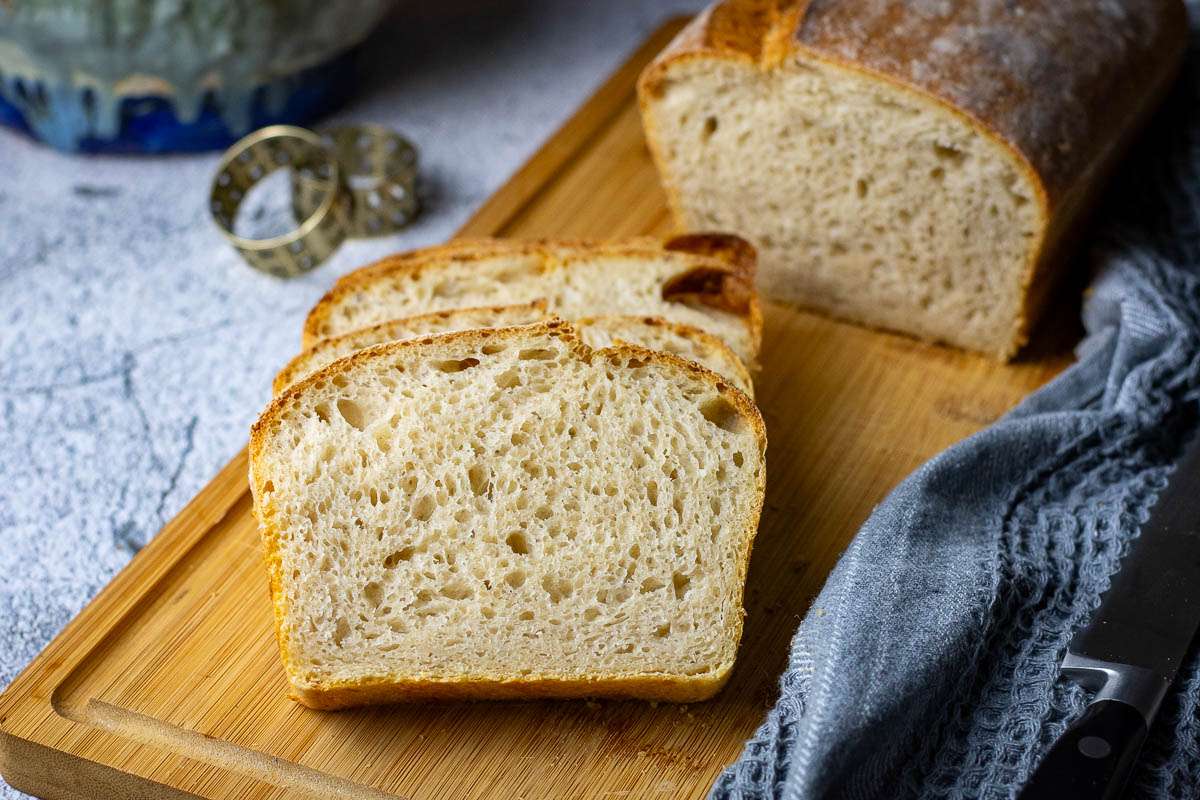
Once baked, leave the loaf in a pan for 5 minutes, then turn your loaf of bread out onto a wire rack and leave to cool completely to room temperature before slicing.

Tips for Best Results
Here are a few essential tips to help you achieve the best results when baking sourdough in a loaf pan:
- Keep Dough Covered
Always cover your dough with a damp tea towel or plastic wrap during bulk fermentation, between coil folds, and for its overnight rest in the fridge. This prevents a dry crust from forming on the dough's surface, which can affect its rise and reduce oven spring.
- Prepare Your Loaf Pan Carefully
Even if your loaf pan is non-stick, take extra precautions by greasing it with butter and dusting it lightly with flour. This will ensure the dough doesn't stick, making it easy to release your loaf after baking for that perfect loaf shape. - Avoid Contact During Proofing
When covering your loaf for its final proof and cold fermentation stage, ensure the top of the plastic bag, tea towel, or any other cover doesn't touch the surface of the dough. This avoids sticking, which can disrupt the loaf's shape and oven spring when you bake. - Score To Avoid Cracking: Whilst you can bake sourdough in a loaf pan without scoring it, it may (and most likely will) crack on top - the steam needs to escape somewhere!
- Add Steam to Your Oven
Place a small, ovenproof dish with boiling water at the bottom of the oven when baking. This steam helps create a crusty, golden exterior by allowing the dough to expand fully in the first 10-15 minutes of baking (details on this technique in the next section). - Cool Promptly to Avoid a Soggy Bottom
Once your loaf is baked, carefully remove it from the loaf pan within 5-10 minutes and place it on a cooling rack. Allowing the loaf to cool in the pan for too long will cause steam to collect underneath, which can lead to a soggy bottom-best avoided for a beautifully crisp crust and airy crumb!
Importance of Steam
Steam is a key player in sourdough baking, and it's crucial when baking sourdough in a loaf pan. But why does steam matter so much? Scientifically speaking, steam does two things in the baking process. First, it prevents the crust from forming too quickly, allowing the dough to expand (hello, oven spring!).
Second, it encourages the crust to develop into a beautiful, crispy golden layer. When steam hits the surface of the dough, it helps the gluten stretch, which is why you get that lovely open crumb and light, airy structure. Without enough steam, your loaf would dry out faster, and you'd miss out on both the spring and that ideal crust.
The main difference with loaf pan sourdough is that, unlike in a Dutch oven, you don't have a tight cover to trap the steam created by the dough's own moisture. To counter this, you'll want to create extra steam to keep that dough soft and rising for as long as possible.
In a home oven, the easiest way to do this is by placing a dish of boiling water at the bottom of the oven. The steam from this dish creates a humid environment, letting the dough expand fully before the crust sets.
For even better results, you can cover your loaf pan with a large, heavy, oven-safe dish (think of it as a Dutch oven lid alternative). Just make sure the cover allows plenty of space for the dough to rise without touching the top. This method gives you the same steam-trapping effect as a Dutch oven and helps create an even better oven spring. Remember to remove the cover halfway through baking to allow the crust to fully develop and get that final crunch.
So, whether you use a steaming dish or an ovenproof cover, this extra steam step is a great option for home bakers looking to master that crispy crust and well-risen loaf when baking sourdough in a loaf pan!
More Sourdough Recipes In A Loaf Pan
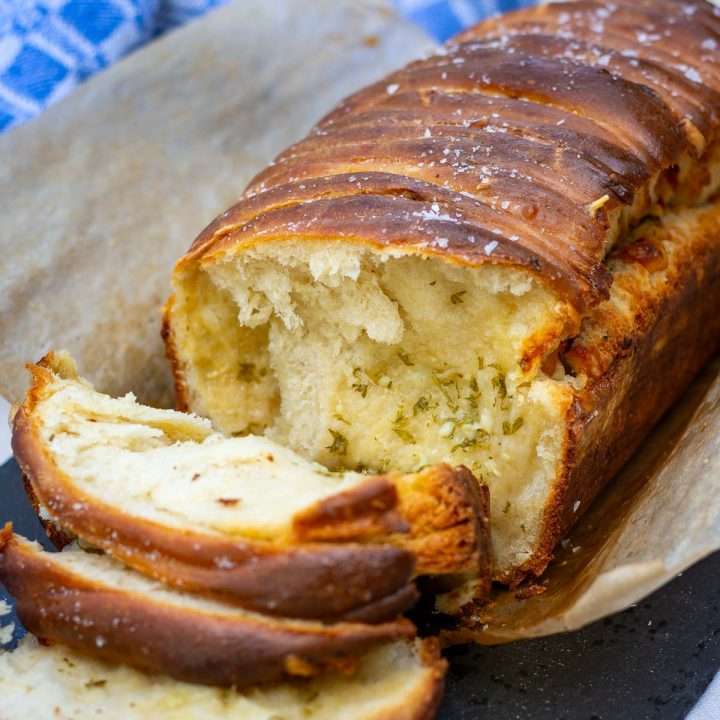
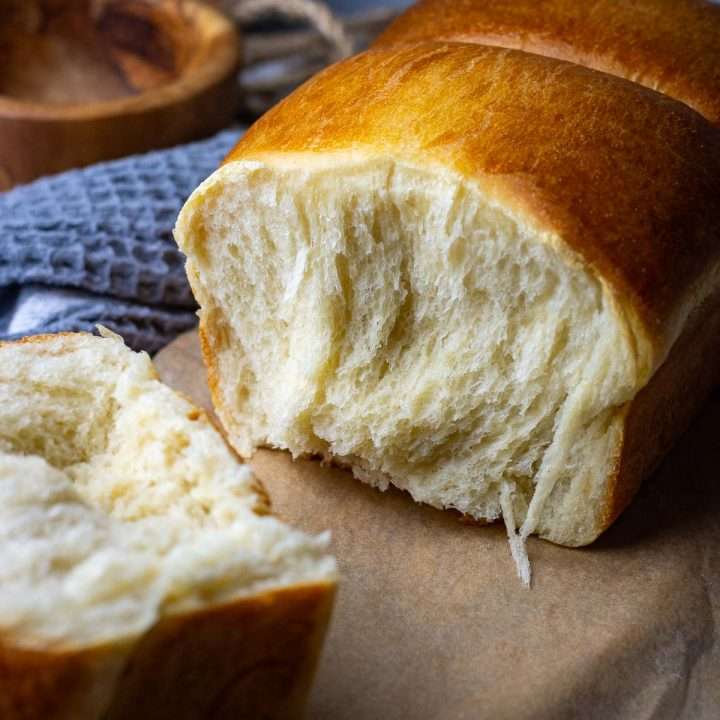
Good news for loaf pan fans: if you're craving more delicious bread baked in the comfort of a loaf pan, we've got some incredible sourdough recipes for you to explore!


Sourdough Bread Baked In A Loaf Pan
Equipment
- Dough Scorer optional
Ingredients
- 400 g strong bread flour
- 8 g salt
- 220 - 230 ml water
- 160 g active sourdough starter 100% hydration
Instructions
Step 1: Feed Your Sourdough Starter
- First thing in the morning, feed your sourdough starter. I typically feed 70g of my starter in a ratio of 1 part starter:1 part water:1 part flour. This simply means that I mix 70g of starter with 70g water and 70g flour. Scoop the mixture into a clean jar, and leave it in a warm spot (ideally, (21-27°C)), semi-covered for 4 hours. Your starter should at least double in volume in this time. If it doesn't, it may need a couple of good feeds before it's fit for purpose.
- I use 160g of active starter for baking and feed the remaining 50g before storing it for the future.
Step 2: Mixing The Dough
- Once the sourdough starter is active and bubbly (and at least doubled in volume), mix the dough. I use a stand mixer for this. Simply mix the flour and salt in the bowl of a stand mixer. Then add the water and sourdough starter. Run the mixer, fitted with a dough hook attachment for 10 minutes, until your dough is smooth and elastic. It does not need to pass the windowpane test just yet (the gluten will continue developing when we fold the dough during the bulk fermentation period).
Step 3: Folds and Bulk Fermentation
- Scoop the dough into a large bowl, cover with a damp kitchen towel or plastic wrap and leave it in a warm place (21-27°C) for 30 minutes.
- After 30 minutes, with cold wet hands, perform the first set of coil folds. Simply lift the bread dough with both hands from the sides and tuck it under to form a coil (video below). Rotate the bowl a quarter turn and coil again. Cover the bowl again, and let the dough rest for 30 minutes again.
- You should repeat the process every 30 minutes until you have done 4-6 sets of coil folds. Your dough will spread less with every set of folds, and by the end of it, you will have a much less sticky, very soft and elastic dough that has blisters on top of the dough.
- Once all the folds have been completed, cover the dough and let the dough rise at warm room temperature for 2-3 hours to finish bulk fermentation. Your dough should just about double its original size. If you are using a see-through glass bowl for bulk fermenting, you should see a lot of activity and bubbles forming at the base and sides of the bowl.
Step 4: Shaping and Second Proof
- Prepare your loaf pan by greasing it with butter and dusting it with a little flour (this prevents the dough from sticking, even if your loaf pan is non-stick).
- At the end of bulk fermentation, using a bowl scraper, scoop the dough onto a lightly floured surface. Try and make sure that the smooth top of the dough (the side that is not intact with the bowl) is placed on the floured work surface. Stretch the dough out a little into a rectangle, then fold the bottom third into the middle. Then fold both sides over like you're folding a tortilla wrap. Finally, roll the dough away from you into a tight log. You may need to stretch your rolled dough slightly to the length of your loaf pan.
- Place the sourdough roll seam side down into the prepared loaf tin. Cover it with a shower cap or a make shift cover made from a large ziplock bag. Make sure the bag does not touch the surface of the dough - you don't want it to stick.
- Place the loaf in a warm spot for 2-3 hours to proof again.
Step 5: Cold Proof (Optional)
- Place the covered loaf in the fridge overnight (or up to 36 hours). If you are short on time, you can place it in the fridge for 2-3 hours. Not only will this step improve the flavour of your sourdough loaf, but the dough will have time to firm up. This, in turn, makes it a lot easier to score, if you choose to do so. Having said that, if you want to bake your sourdough immediately after the second proof, you can!
Step 6: Scoring and Baking
- Preheat the oven to 200° C. Place an ovenproof dish full of boiling water on the bottom shelf of your oven to create steam.
- Take the sourdough out of the fridge and carefully uncover it.
- Lightly dust the top with flour, then score the dough in one swift motion. Whilst scoring is not necessary, it helps the trapped steam escape in the oven. Skipping the scoring might mean, that your dough will tear on top (or on one side) when baking.
- Bake sourdough for 40-45 minutes.
- Once baked, leave the loaf in a pan for 5 minutes, then turn your loaf of bread out onto a wire rack and leave to cool completely to room temperature before slicing.
Nutrition

Bonnie says
what temp are you cooking bread at for 45 minutes, certainly not 200 degrees
Ieva Greber says
Hi Bonnie! I can confirm that I do indeed bake this loaf at 200°C (392°F) for 45 minutes. It's just enough for it to form a chewy golden brown crust without drying out!